
PERSONAL ARTIFACT
SHOW & TELL SHARING
Over the weekend, think of a few items you have that is special to you and show how unique you are.
Examples of things could be a family/friends photograph, music, jewellery, a craft/something you made, ticket stubs, favourite T-shirt, a book, an award, old toy or stuffy, gift from someone special, a souvenir from a trip, something you are proud of, etc... I'm sure you can think of something.
Sometimes it's difficult to explain or share about who you are in word, but things that we are connected to help us in a big way.
Bring that item to class on Monday to share. Think of this like Show & Tell.
And if you can't decide between a number of choices, bring them all to class.
We are going to be using your "artifact" as part of a new project we are starting next week.
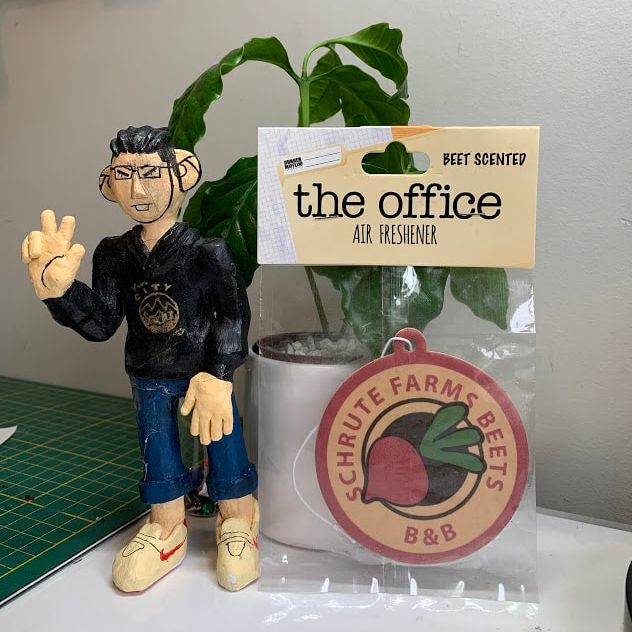
The photo attached are items that mean a lot to me. As you can see it's a mini-Choy that one of my students made as a gift for me. It reminds me of how I love teaching and the amazing connections I get to make with students. He's even wearing one of the shirt designs I created. The Office air freshener, well it's about how much I love that show. A student gave that as a Christmas gift one year.
Examples of things could be a family/friends photograph, music, jewellery, a craft/something you made, ticket stubs, favourite T-shirt, a book, an award, old toy or stuffy, gift from someone special, a souvenir from a trip, something you are proud of, etc... I'm sure you can think of something.
Sometimes it's difficult to explain or share about who you are in word, but things that we are connected to help us in a big way.
Bring that item to class on Monday to share. Think of this like Show & Tell.
And if you can't decide between a number of choices, bring them all to class.
We are going to be using your "artifact" as part of a new project we are starting next week.
The photo attached are items that mean a lot to me. As you can see it's a mini-Choy that one of my students made as a gift for me. It reminds me of how I love teaching and the amazing connections I get to make with students. He's even wearing one of the shirt designs I created. The Office air freshener, well it's about how much I love that show. A student gave that as a Christmas gift one year.
|
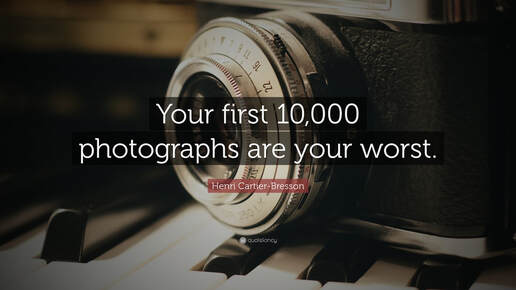
There's a famous quote by a photography, "Your first 10,000 photos are your worst."
I think this is true because to master and improve in anything you need to practice and practice. If you are taking only 1 or 2 photos for this project you haven't taken the time to explore the different perspectives and angles that are possible. There are countless ways to take 1 photos. Consider which side of the object you are focused on. How much of the item are you including in the frame, how much of it are you excluding? Go through the PDF for examples and understanding the concept of this project. I created a video to show some of the steps. Here's your challenge: 1. Find an object of interest (your artifact) 2. Using the Lightbox setup your object with the lighting and white backdrop. 3. Start shooting and pay attention to where your camera is focusing. 4. Zoom out and leave lots of white space around your object. Then fill your frame and get close to your subject. 5. Your goal is to get every side of the object you chose. 6. Shoot at least 25 different angles and perspectives, but try to get all of them! (see some examples i the PDF of ways you can frame your item) 7. This is your time to explore and experiment. Some photos will turn out terrible, some will be great. 8. DO NOT RUSH THROUGH THIS. There are no prizes for first place. 9. Airdrop or use Google Drive to upload your photographs to the computer. 10. Organize your photographs in Adobe Bridge (like we did in the outline portrait project) 11. Start the editing process in CAMERA RAW. Edit all your photos. 12. After you edit your images, choose 8-10 of your favourite and strongest photos to use in a collage. 13. In CANVA, create a 8.5" X 11" (LETTER) size document. To create a grid, go to ELEMENTS and search up "grid". 14. Choose the grid layout you like and drag it to your canvas. You can start dragging photos into those boxes. |


|
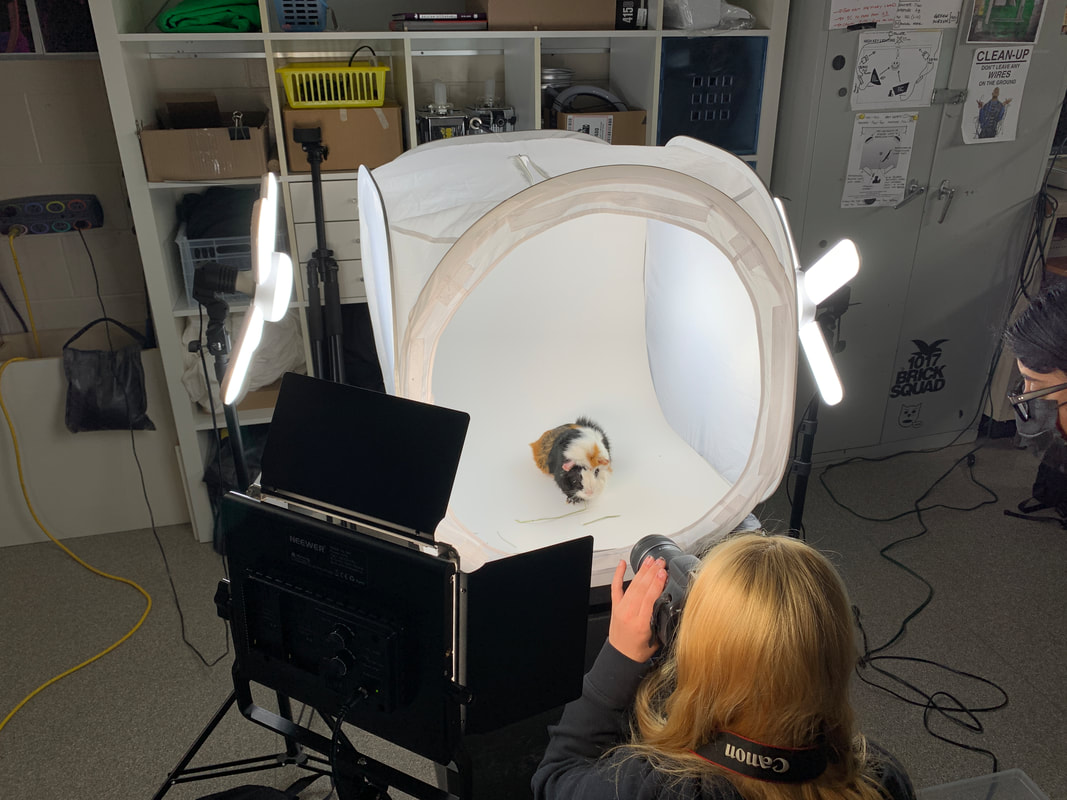
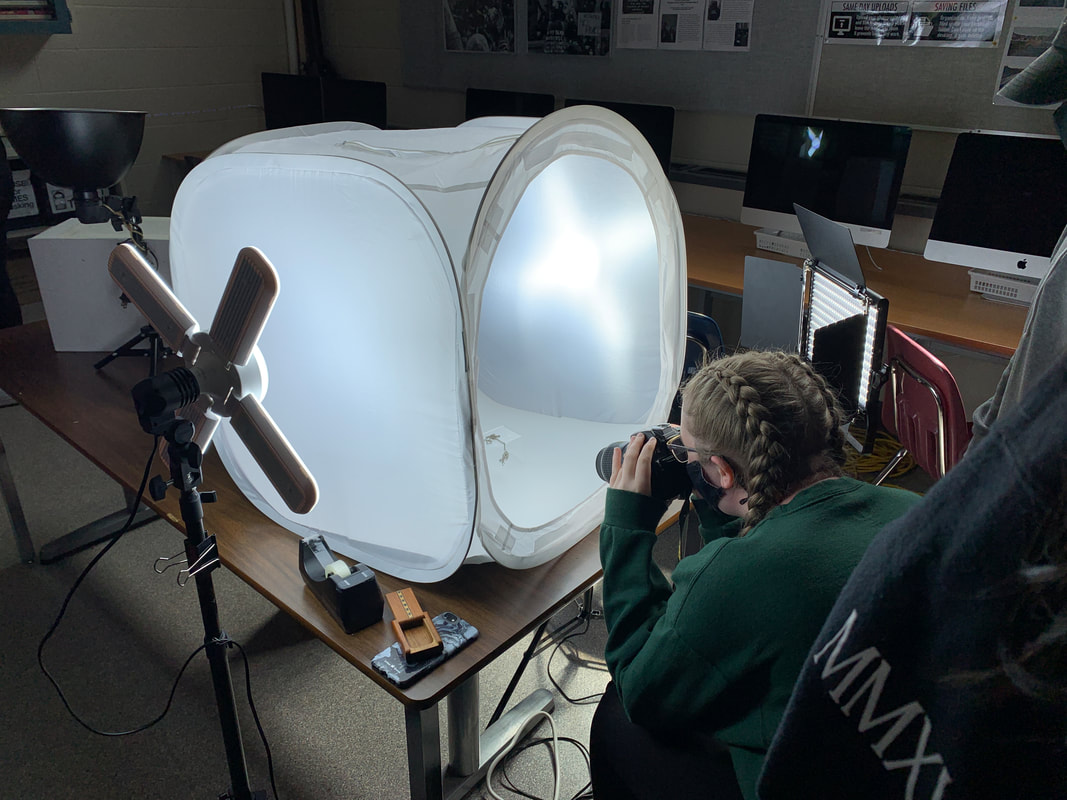
You'll be learning how to do product photography in this project. We'll spend some time experimenting with the lightbox and lighting. It will take some practice to get your photos looking clean and crisp. Don't expect to get it right the first or second time.
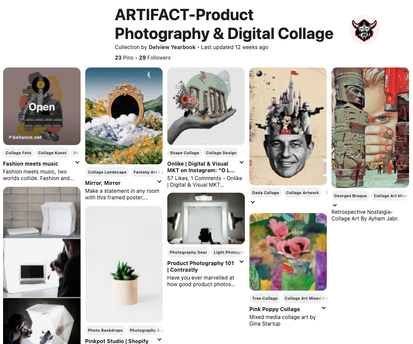
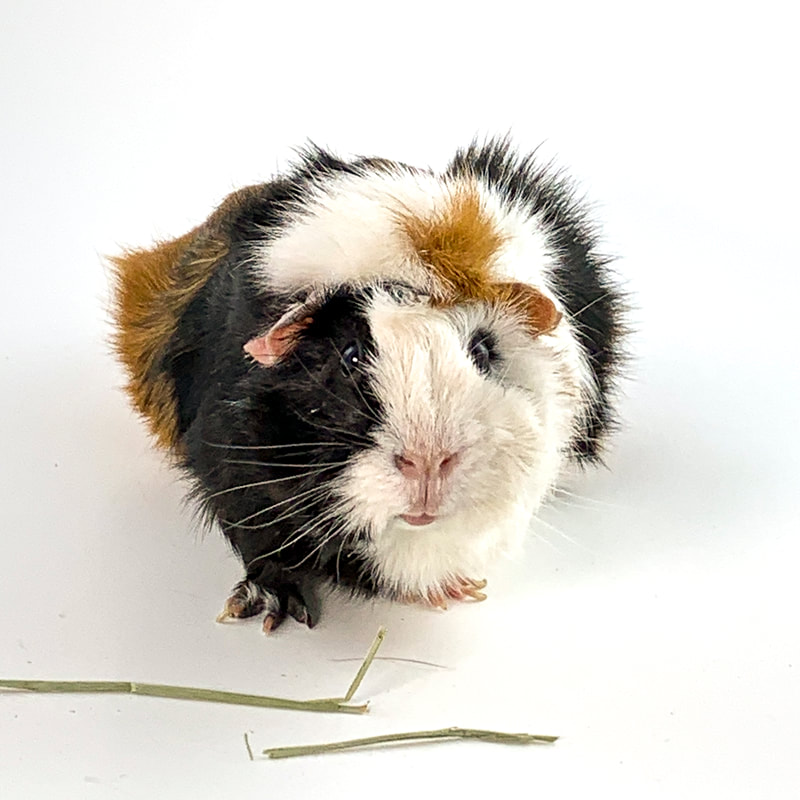
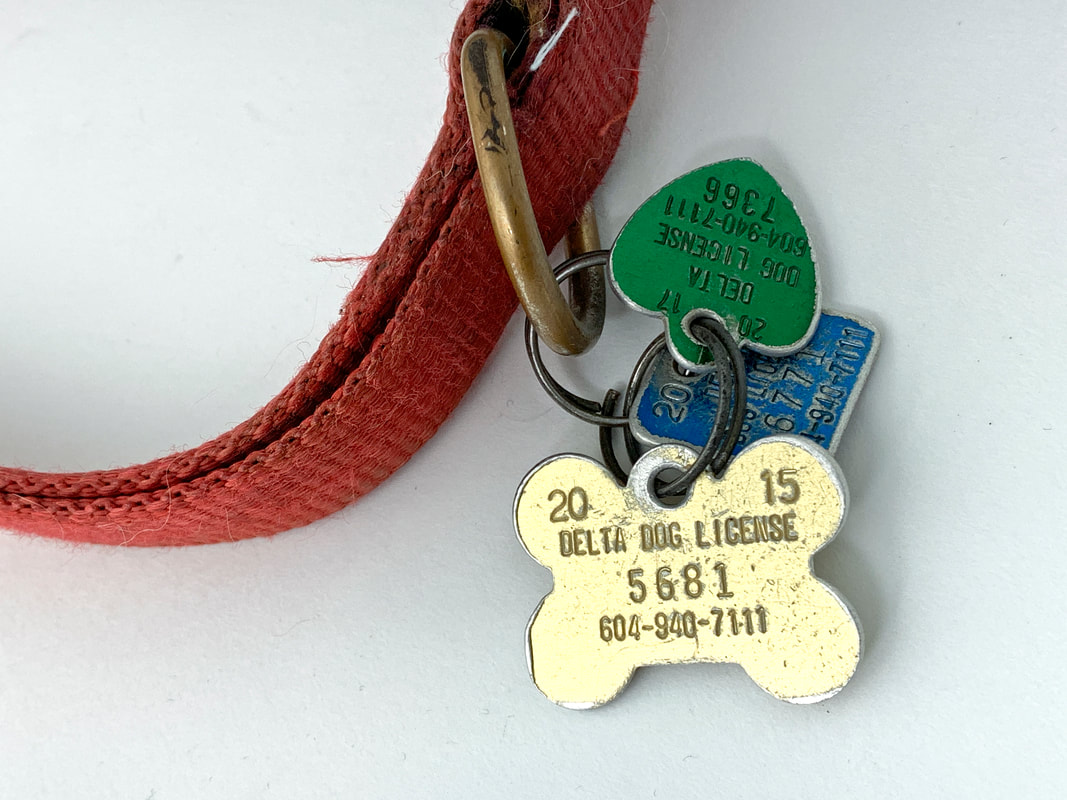
Product photography is a form of commercial photography that has the goal of presenting a product in the best possible photographic representation. Great product photography takes into careful consideration the tools of proper lighting, background materials, sharp camera focus with proper depth of field, advantageous camera angles and careful editing. White background photography allows the product to be the sole focus of the shot. It creates crisp, sharp shots that allow for examination of the product’s details. The white background can be paper, vinyl, muslin or canvas. Careful lighting produces a seamless, white background. A link below with the Pinterest board are some examples of what we are going to attempt to create. The other links are DIY tutorials on how to shoot product photos with your phones and the light box. |
|
