
PHOTO EDITING WORKFLOW
Editing photographs in Adobe Camera Raw involves several important steps to enhance the quality and aesthetics of your images. Here are 7 key steps to follow:
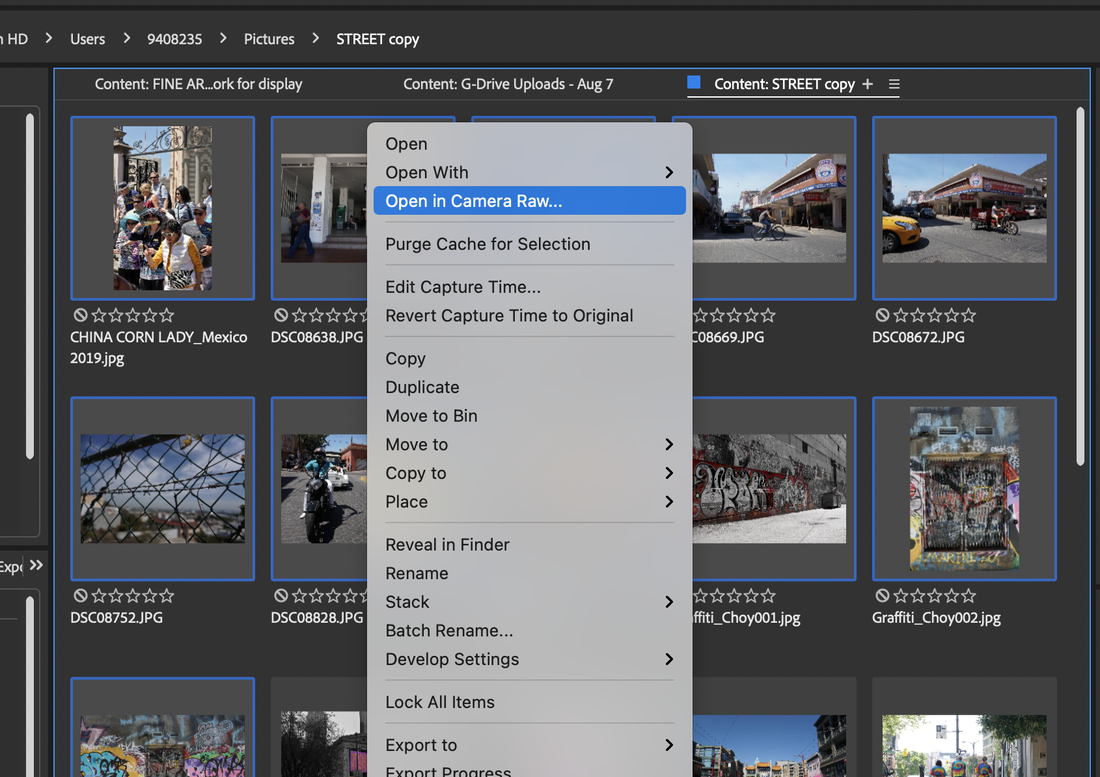
1. Import and Select the Image**: Start by importing your raw image into Adobe Camera Raw. Choose your best shots if you have multiple images to edit. Select multiple images by holding CMD ⌘ and clicking on the photos you want. Once you've chosen them, right click and choose OPEN IN CAMERA RAW, or go to FILE>OPEN IN CAMERA RAW.
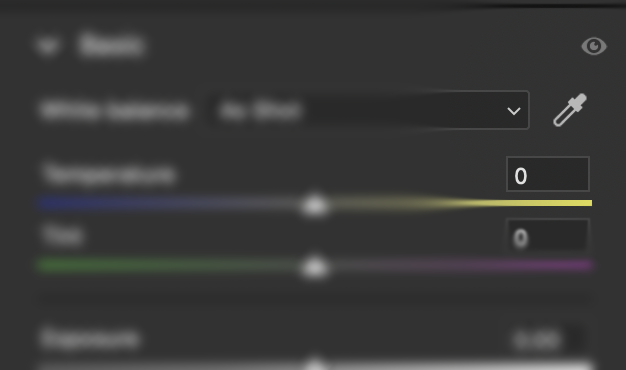
2. White Balance Adjustment: Begin with adjusting the white balance. Use the White Balance tool or presets to correct any color cast in your image, ensuring accurate color representation. Using the eye dropper tool, find what should be WHITE in your photograph and click on that part.
|
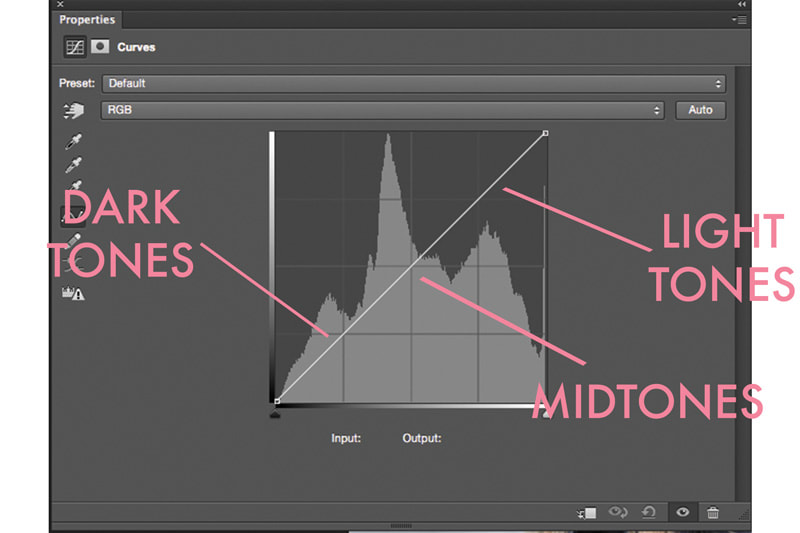
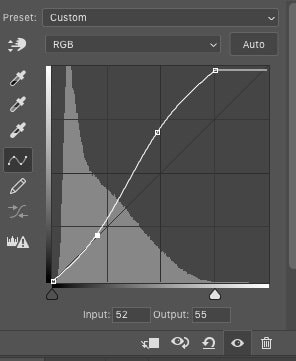
3. Exposure and Tone Adjustments: Make overall exposure adjustments to control brightness and contrast. Adjust the exposure, highlights, shadows, whites, and blacks sliders to achieve the desired tonal range.
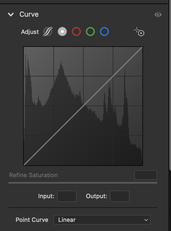
Open the Curves Tool:
|
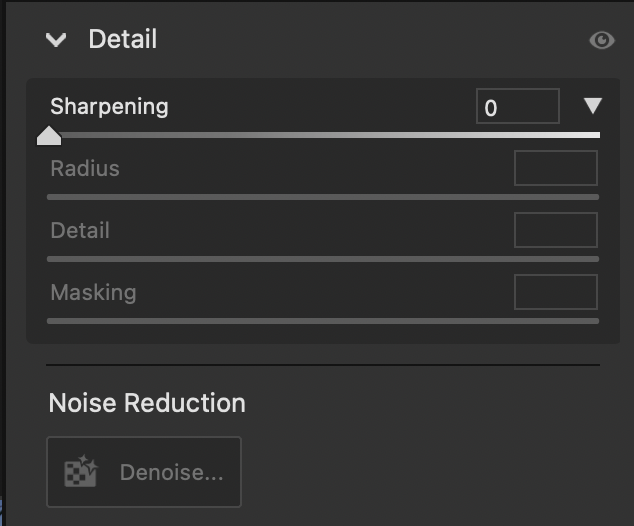
3. Detail Enhancement: Sharpen your image to enhance details and reduce noise. Use the sharpening and noise reduction sliders to achieve the right balance. The Masking slider can help protect areas with less detail from excessive sharpening.
|
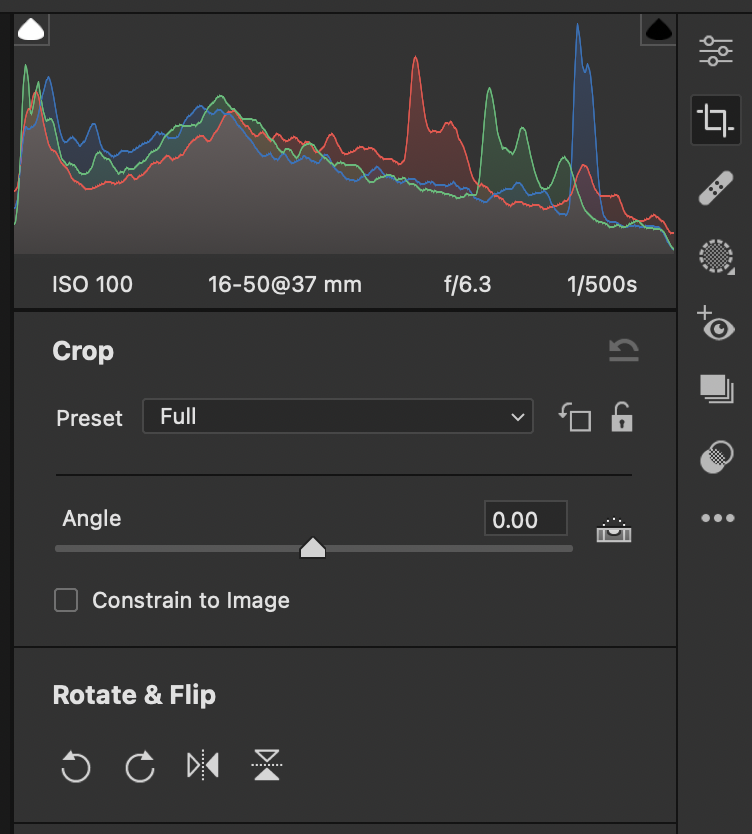
4.Cropping and Straightening: Crop and straighten your image to improve composition. Use the Crop tool to remove distractions, align horizons, or create a more pleasing aspect ratio.
|
|
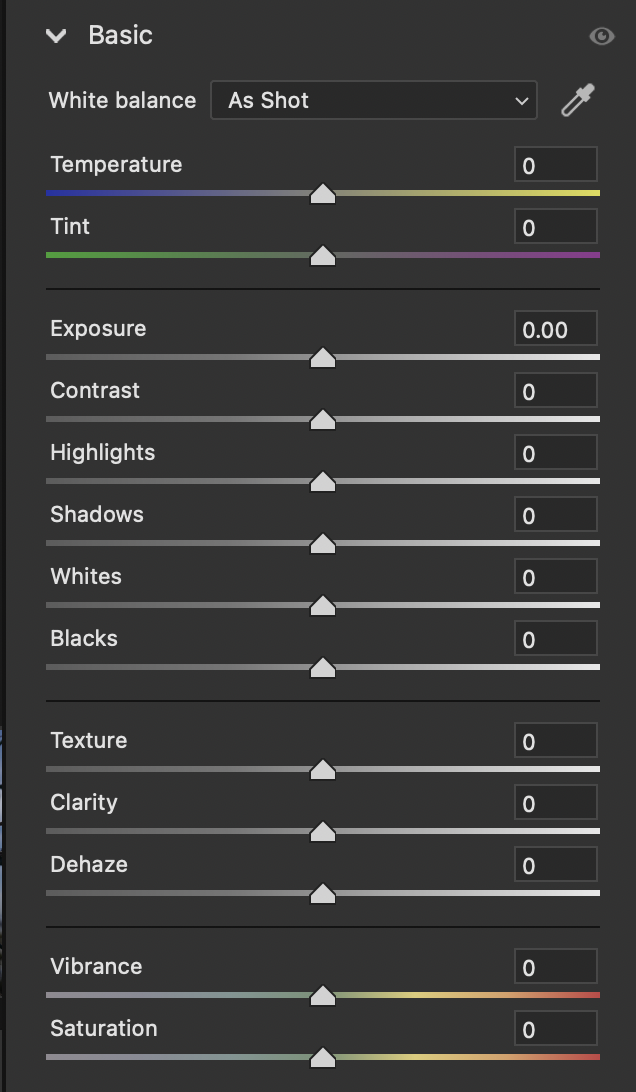
The Basic panel in Adobe Camera Raw is where you'll find some of the most fundamental adjustments for your photos. It allows you to control exposure, contrast, color balance, and other essential aspects of your image. Here's a simple explanation of how to use the Basic panel:
1. **Adjust White Balance:** - Start with the "White Balance" section at the top of the Basic panel. You can use the Temperature slider to make your photo warmer (move to the right) or cooler (move to the left). The Tint slider adjusts the magenta-green color balance. 2. **Exposure and Contrast:** - Below the White Balance section, you'll find the "Exposure" slider. Adjust this to make your image brighter (move to the right) or darker (move to the left). - The "Contrast" slider controls the difference between light and dark areas in your photo. Moving it to the right increases contrast, while moving it to the left decreases contrast. 3. **Highlights and Shadows:** - The "Highlights" and "Shadows" sliders allow you to recover details in the bright and dark areas of your image. Moving Highlights to the left reduces overexposure, while moving Shadows to the right brightens dark areas. 4. **Whites and Blacks:** - The "Whites" and "Blacks" sliders set the brightest and darkest points in your photo. Adjusting Whites to the right can make your highlights more pronounced, while moving Blacks to the left deepens shadows. 5. **Clarity, Vibrance, and Saturation:** - Further down in the Basic panel, you'll find sliders for "Clarity," "Vibrance," and "Saturation." These affect the overall clarity and color intensity of your image. Clarity adds mid-tone contrast, while Vibrance and Saturation enhance colors. Be cautious not to overdo these adjustments, as it can lead to unnatural-looking results. The Basic panel in Camera Raw is a powerful tool for making essential adjustments to your photos. It's a great place to start when editing your images to improve exposure, color balance, and overall appearance. |
