TOY STORY- Photography Project (Aperture- Depth of Field)
We will begin this project understanding depth of field. How do we control what is in focus and what is out of focus?
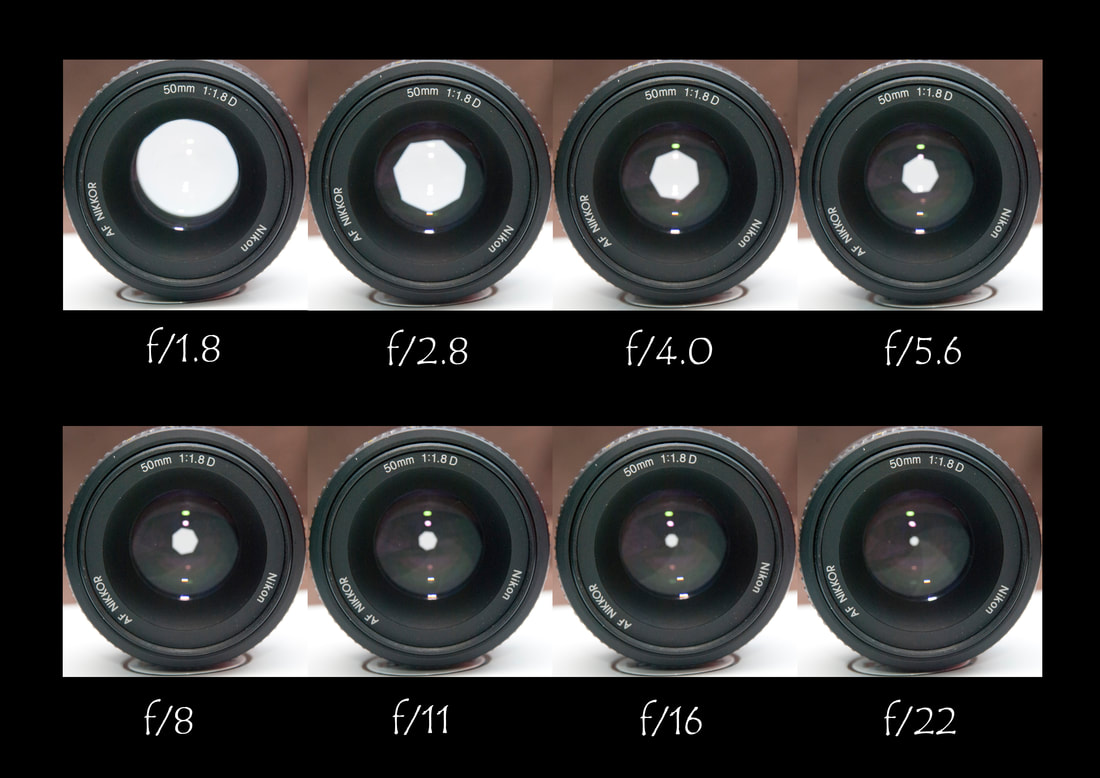
WHAT IS APERTURE?
Aperture is a hole within a lens, through which light travels into the camera body. It is an easy concept to understand if you just think about how your eyes work. As you move between bright and dark environments, the iris in your eyes either expands or shrinks, controlling the size of your pupil. In photography, the “pupil” of your lens is called your aperture. You can shrink or enlarge the size of the aperture to allow more or less light to reach your camera sensor. The image below shows an aperture in a lens:
“The opening in a lens through which light passes to enter the camera.”
|
|
|
|
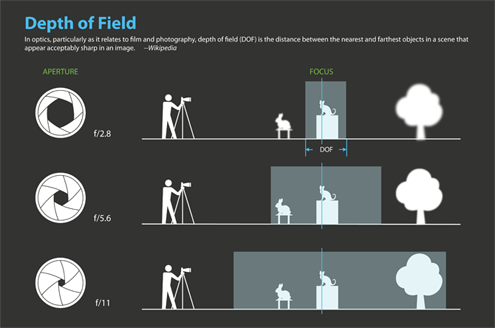
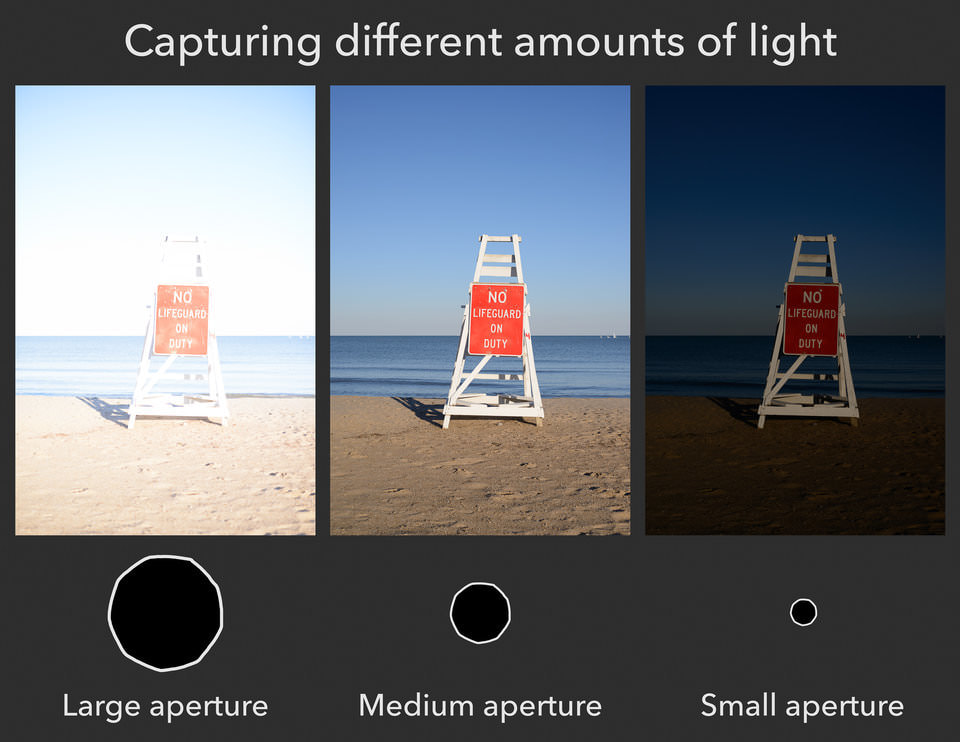
EFFECTS OF APERTURE: EXPOSURE
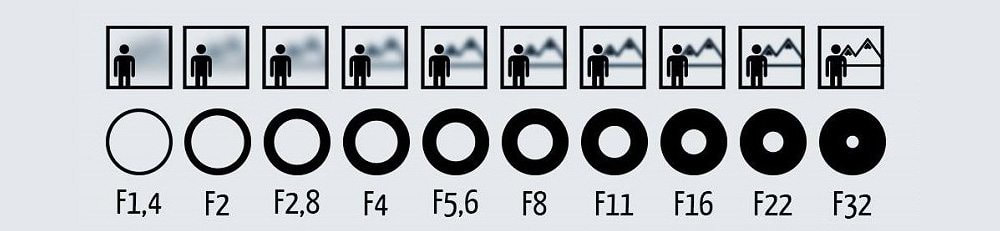
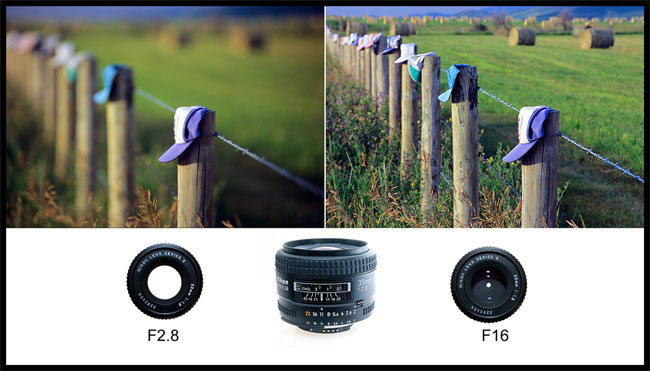
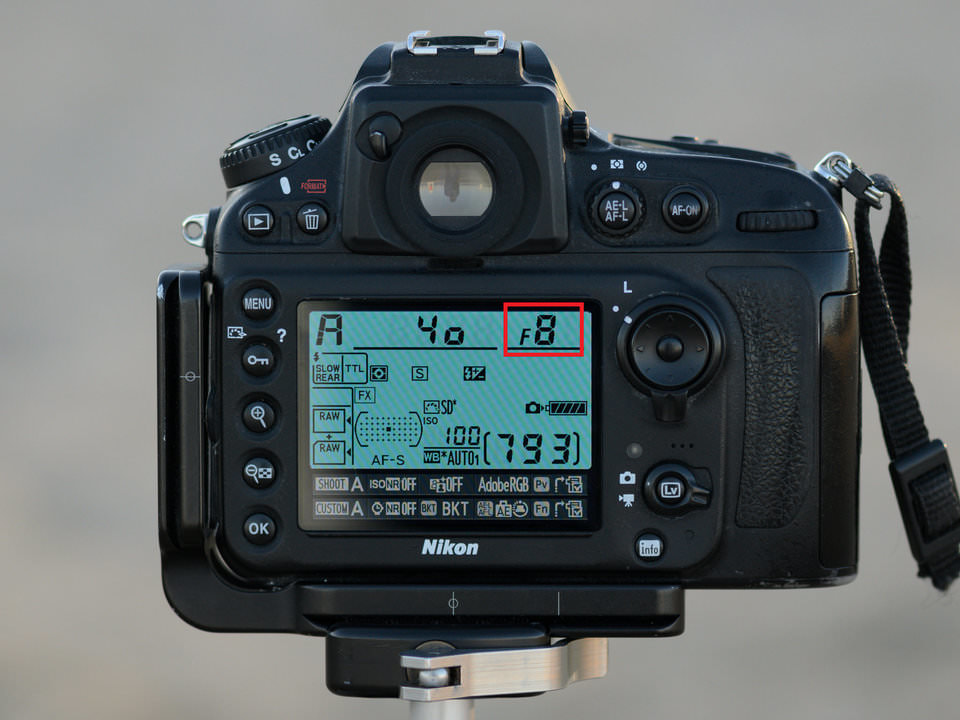
Aperture has several effects on your photographs. One of the most important is the brightness, or exposure, of your images. As aperture changes in size, it alters the overall amount of light that reaches your camera sensor – and therefore the brightness of your image. A large aperture (a wide opening) will pass a lot of light, resulting in a brighter photograph. A small aperture does just the opposite, making a photo darker. Take a look at the illustration below to see how aperture affects exposure EFFECTS OF APERTURE: DEPTH OF FIELD The other critical effect of aperture is something known as depth of field. Depth of field is the amount of your photograph that appears sharp from front to back. Some images have a “thin” or “shallow” depth of field, where the background is completely out of focus. Other images have a “large” or “deep” depth of field, where both the foreground and background are sharp. WHAT IS AN F-STOP or F-NUMBER? So far, we have only discussed aperture in general terms like large and small. However, every aperture can also be expressed as a number known as an “f-number” or an “f-stop.” Whenever you see an aperture value, the letter “f” will appear before the number, like f/8. Most likely, you have noticed this on your camera before. On your LCD screen or viewfinder, your aperture will look something like this: f/2, f/3.5, f/8, and so on. Some cameras omit the slash and write f-stops like this: f2, f3.5, f8, and so on. For example, the camera on the side is set to an aperture of f/8. |
|
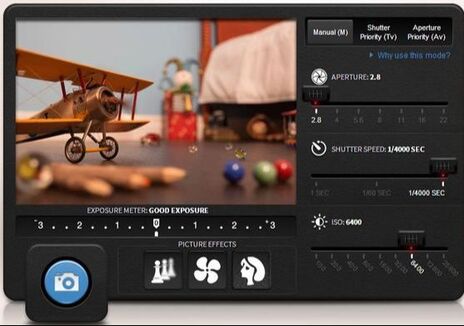
It's time to play and try out what you've learned by using a camera simulator.
Use web camera simulators to help to understand how the changing settings will produce different results for your photos. Practice with MANUAL, APERTURE, and SHUTTER modes. This is a great way to understand how Aperture works. Click on the image to open the link to the camera simulator. There is a challenge you can attempt. Here are some other links to online camera simulators: CAMERA SIM (turn on FLASH plugin) CANON SIMULATOR EXPOSURE SIMULATOR DOF SIMULATOR |
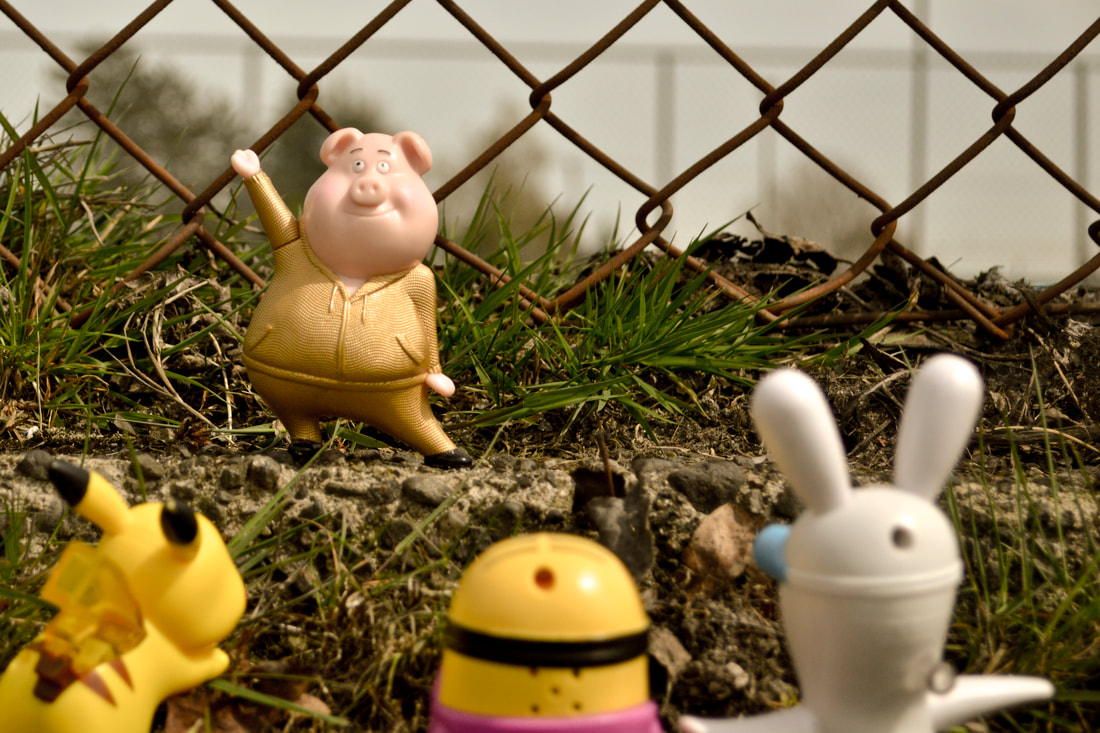
DEPTH OF FIELD EXERCISE
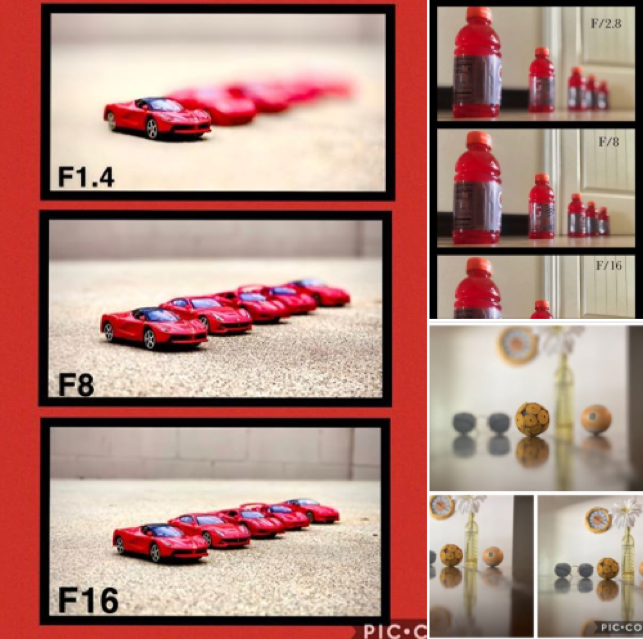
Credit: Amber Fox Photography
|
What to do:
Try to capture: ● 1 Shallow Depth of Field photo (1 object in focus) ● 1 Medium Depth of Field photo (a few objects in focus) ● 1 Deep Depth of Field Photo (all five objects in focus) ● Organize your photos in Bridge
Put all three photos in a collage (you can use Canva), label with what f-stops you used. Hand in this collage as DOF_yourname.jpg |
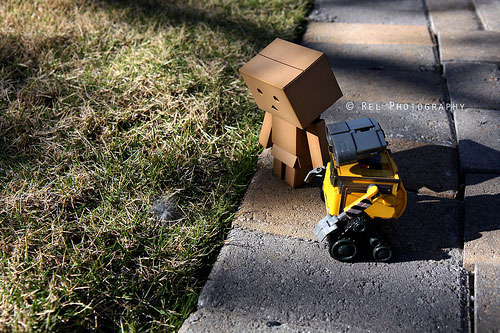
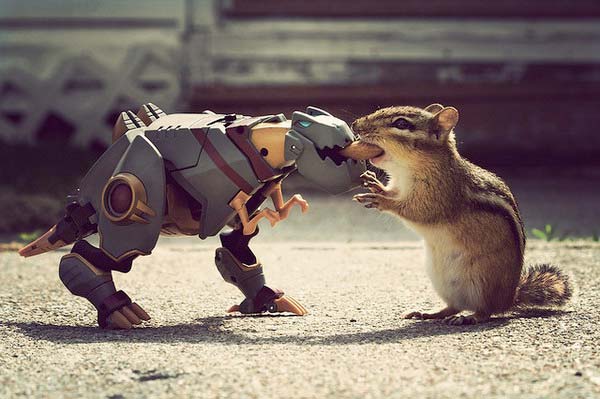
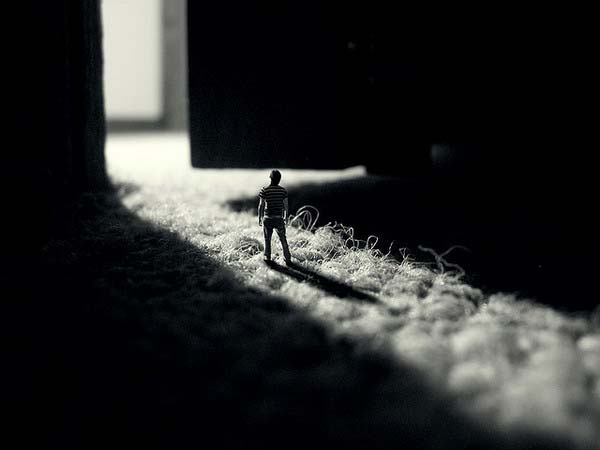
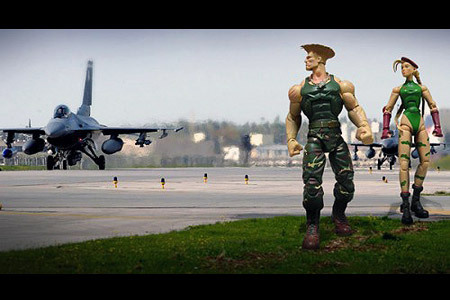
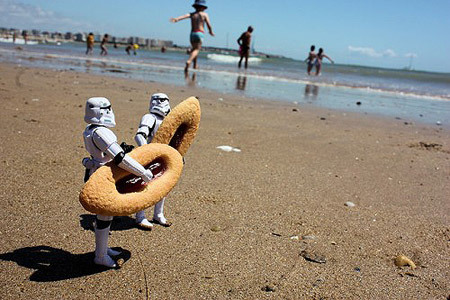
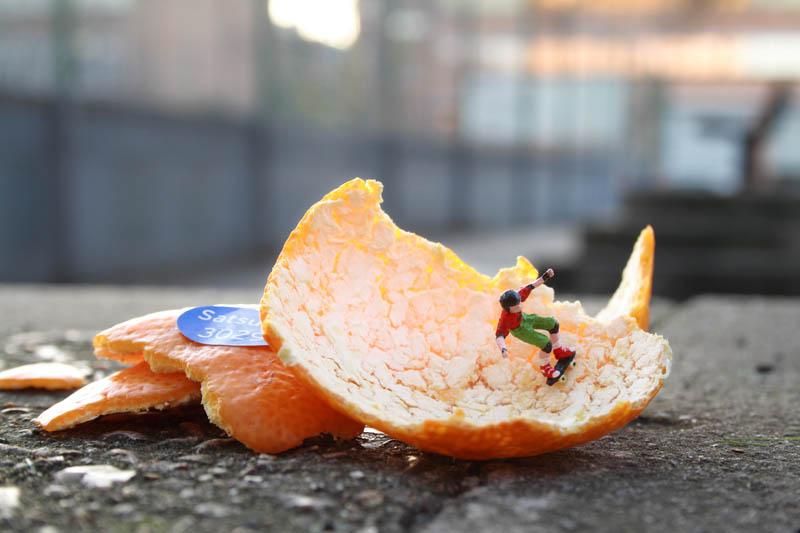
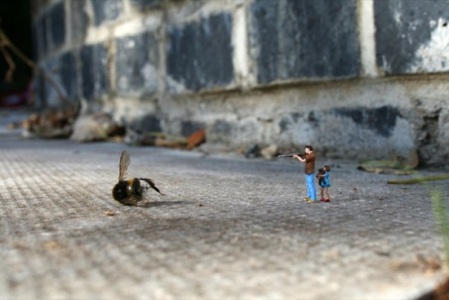
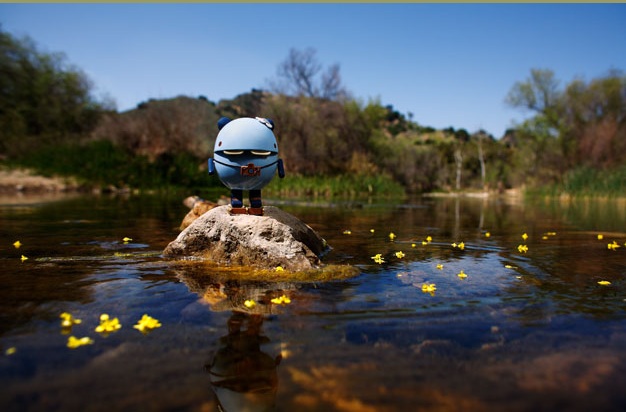
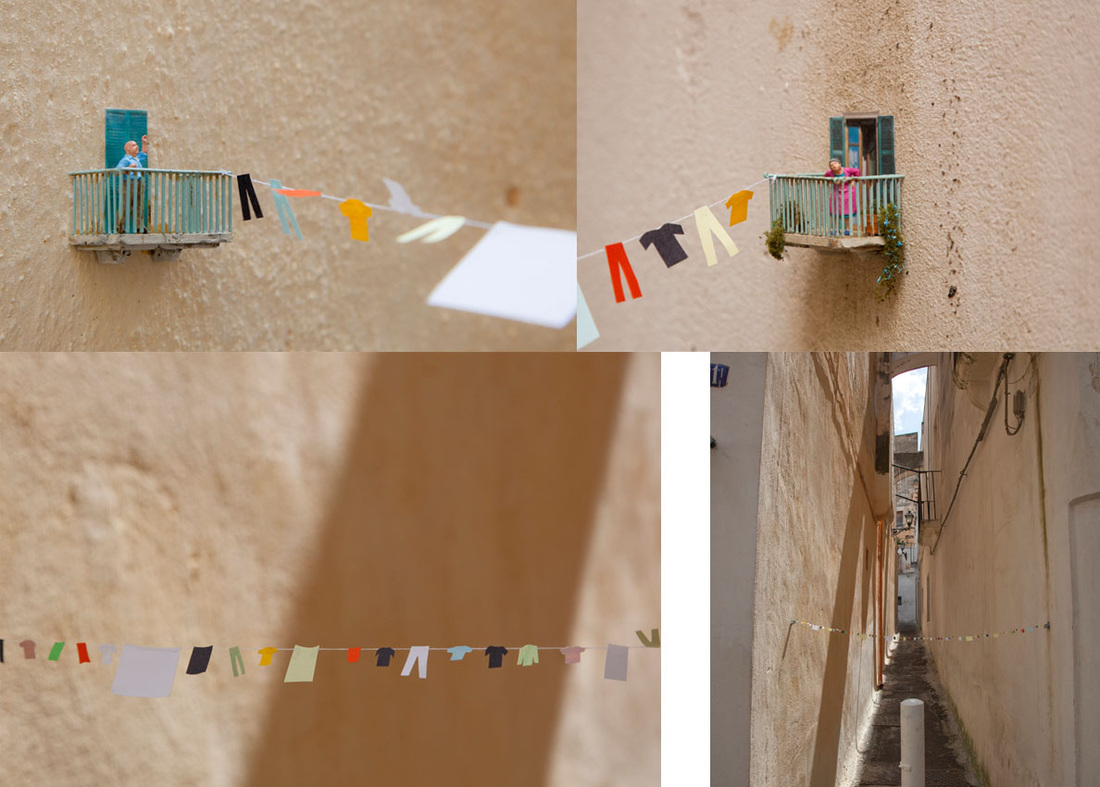
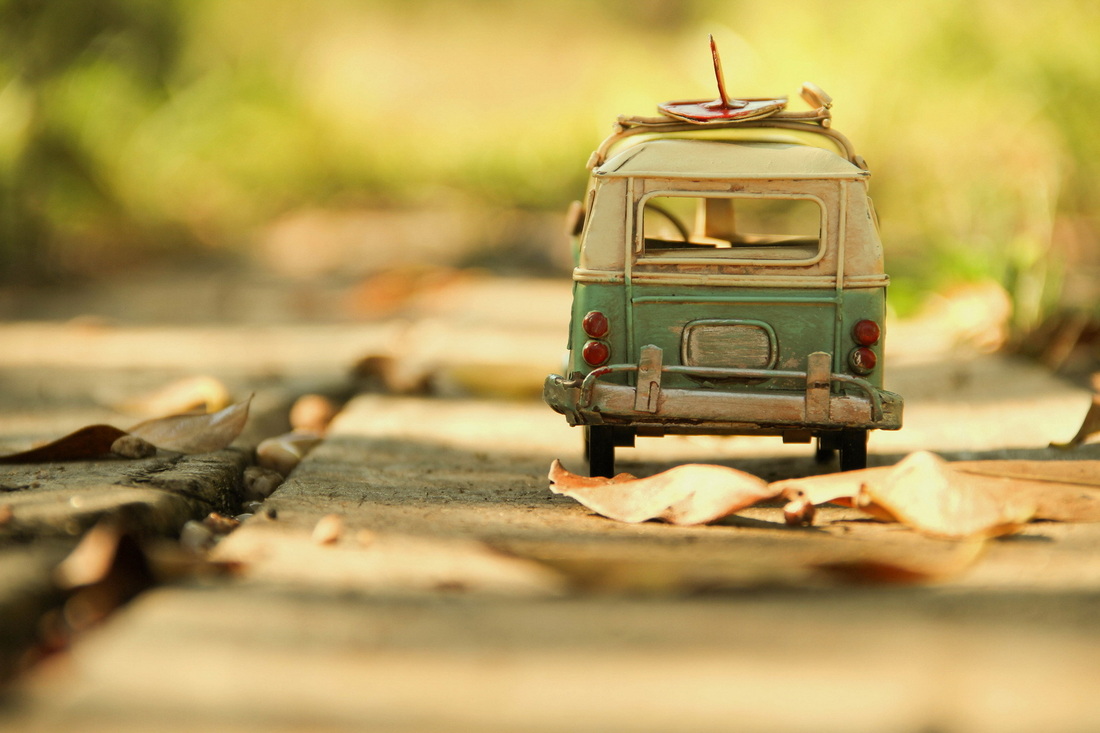
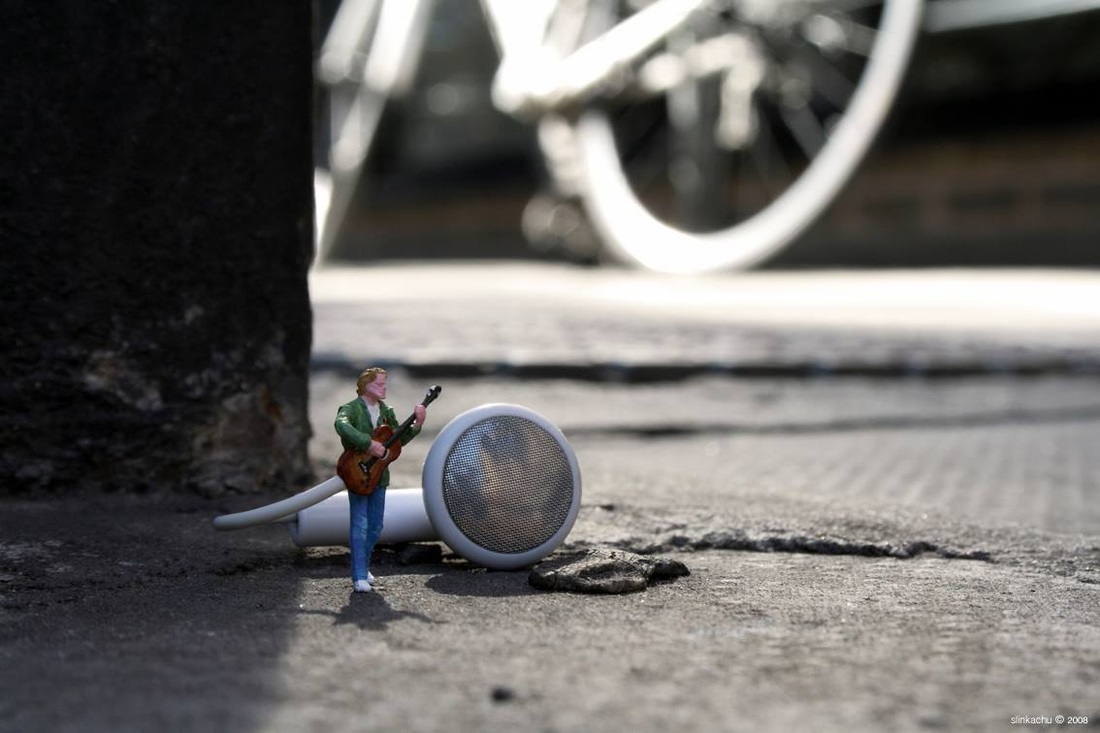
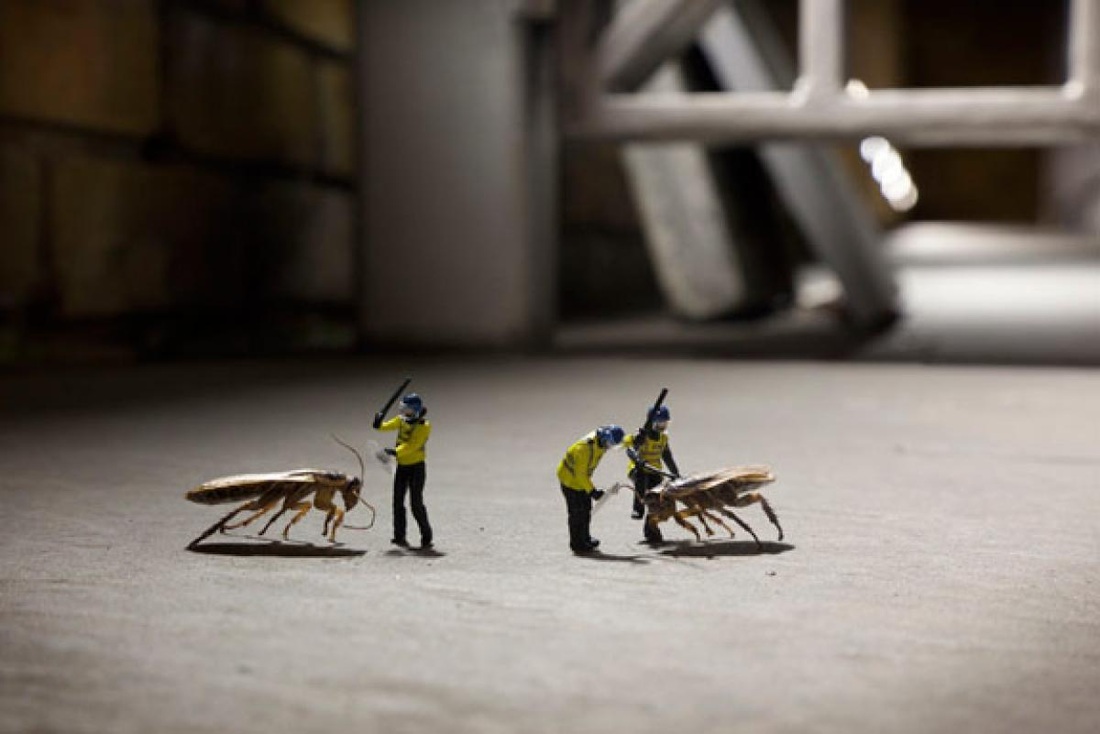
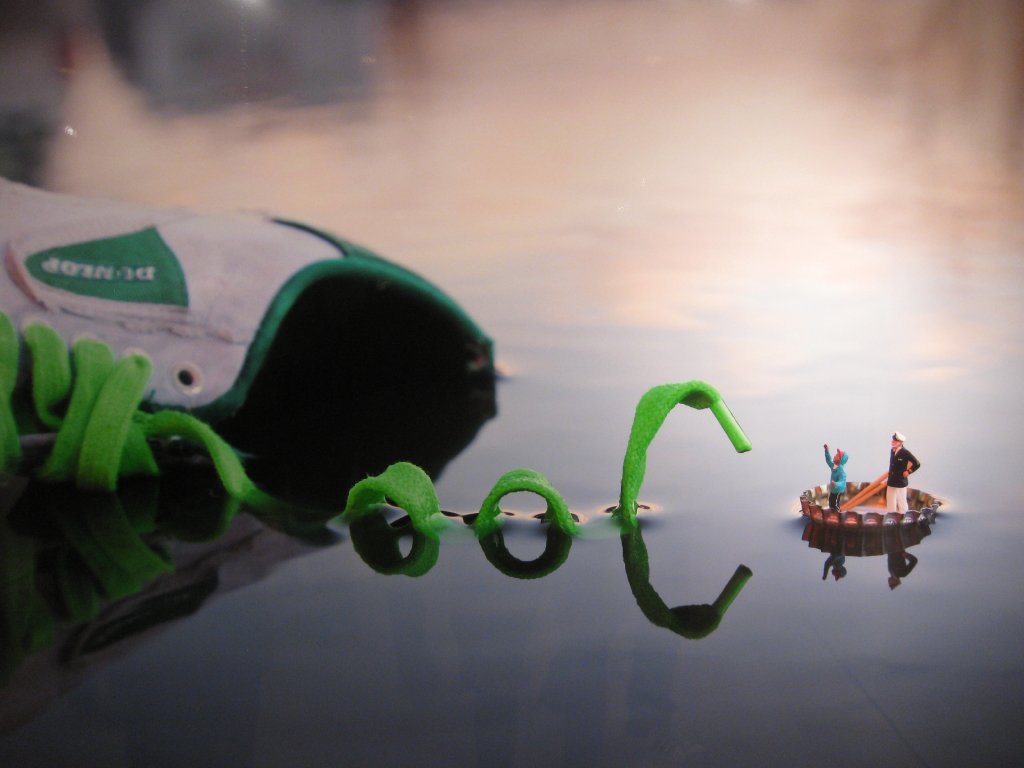
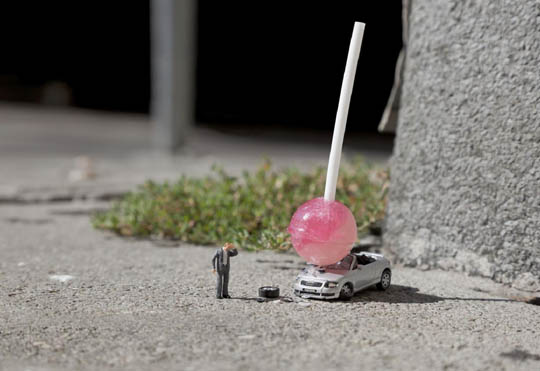
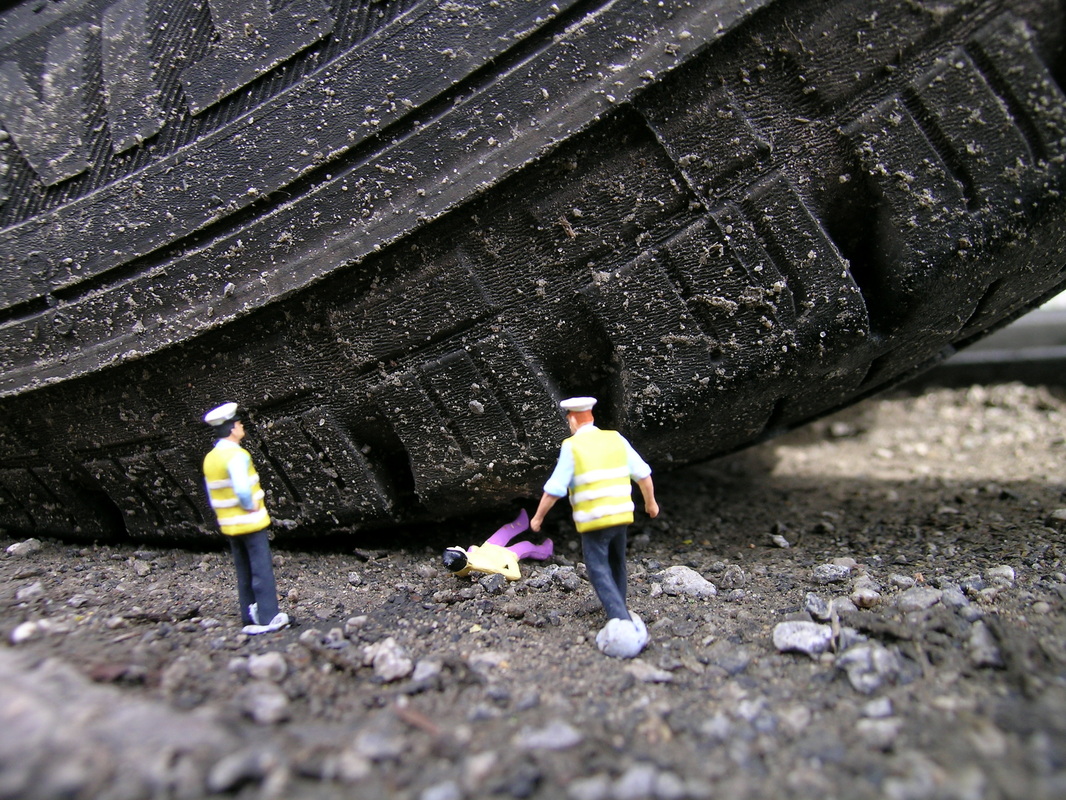
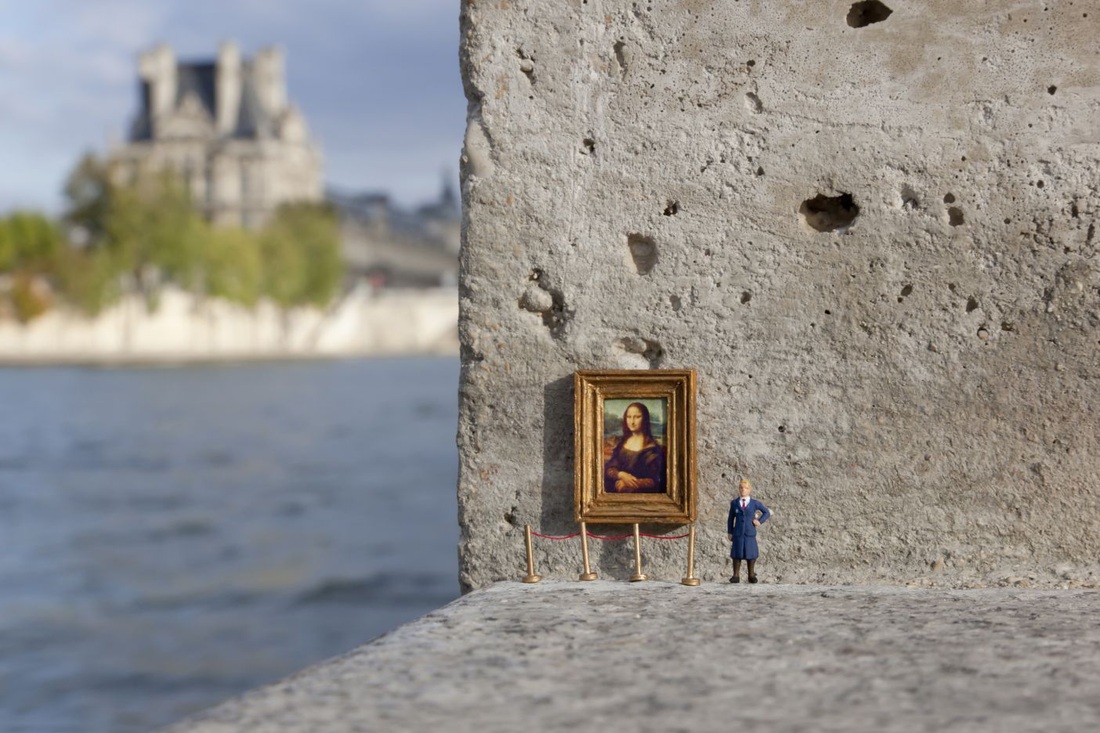
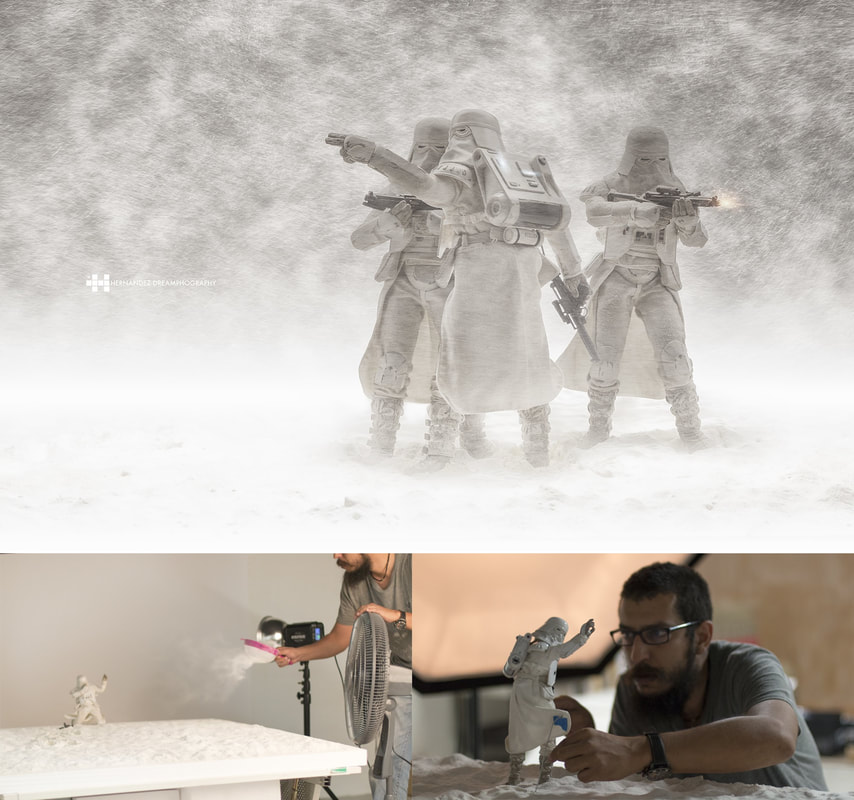
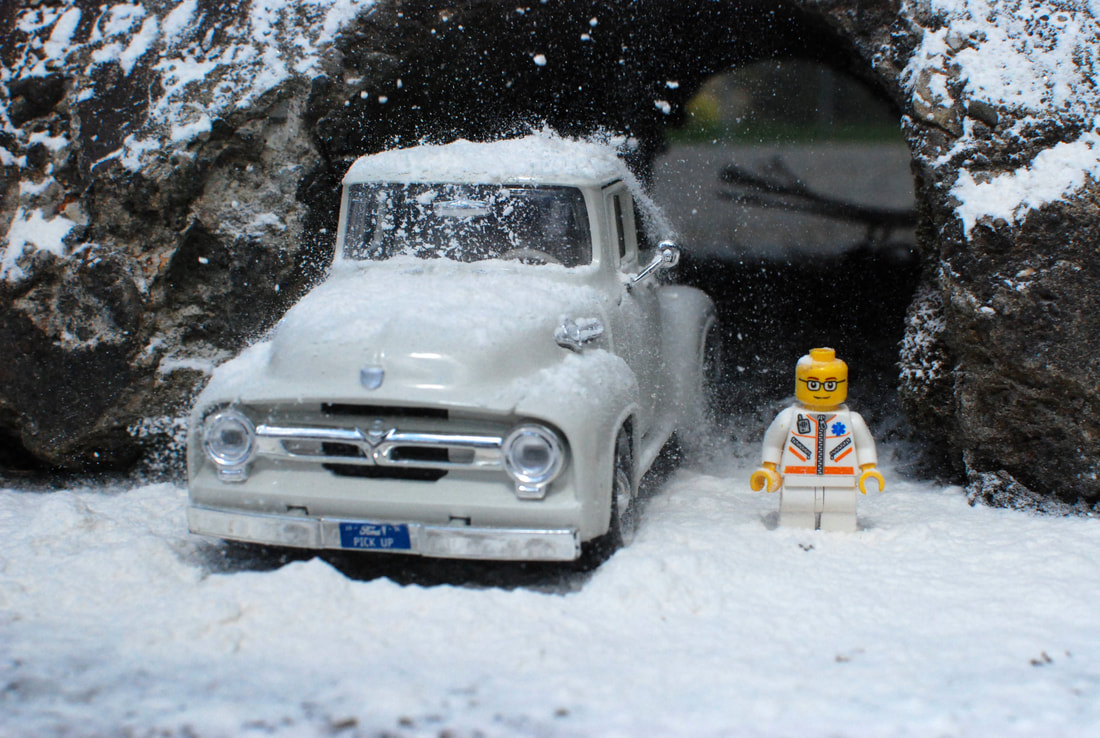
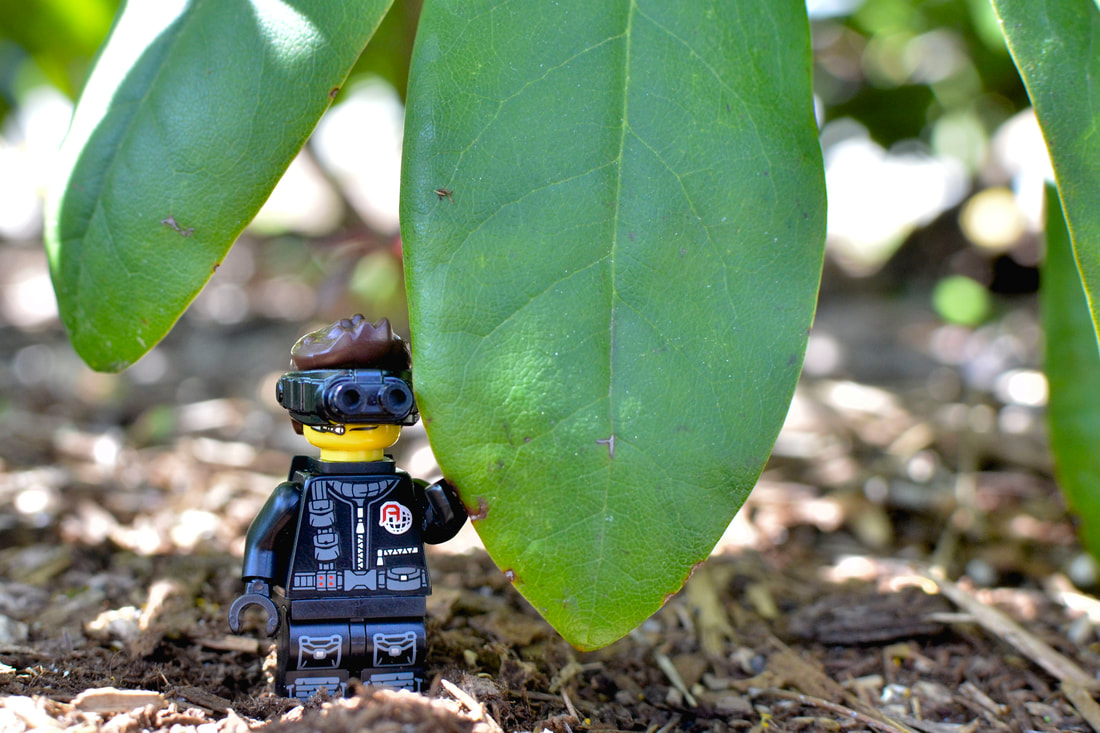
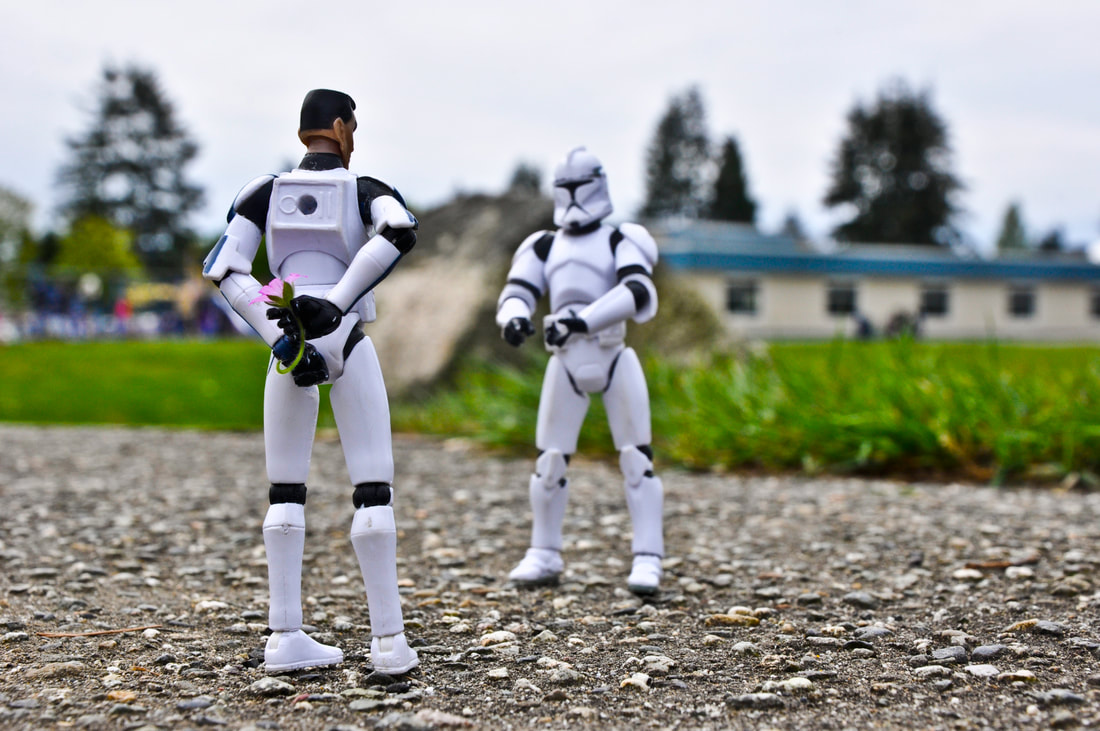
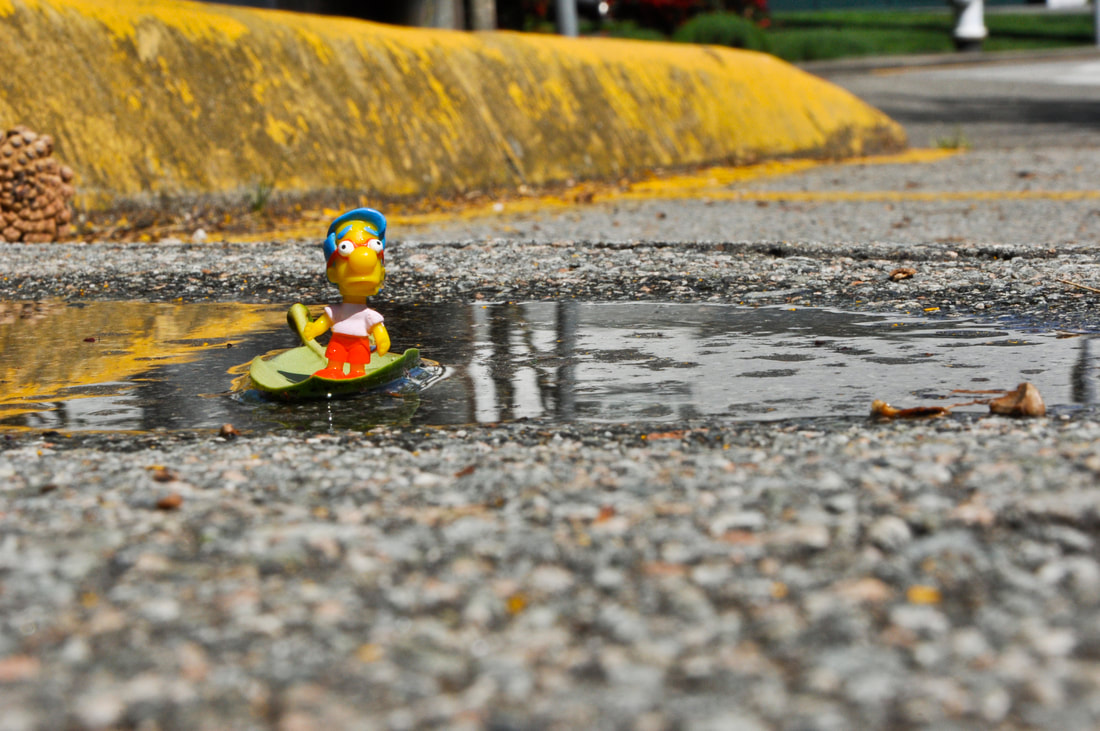
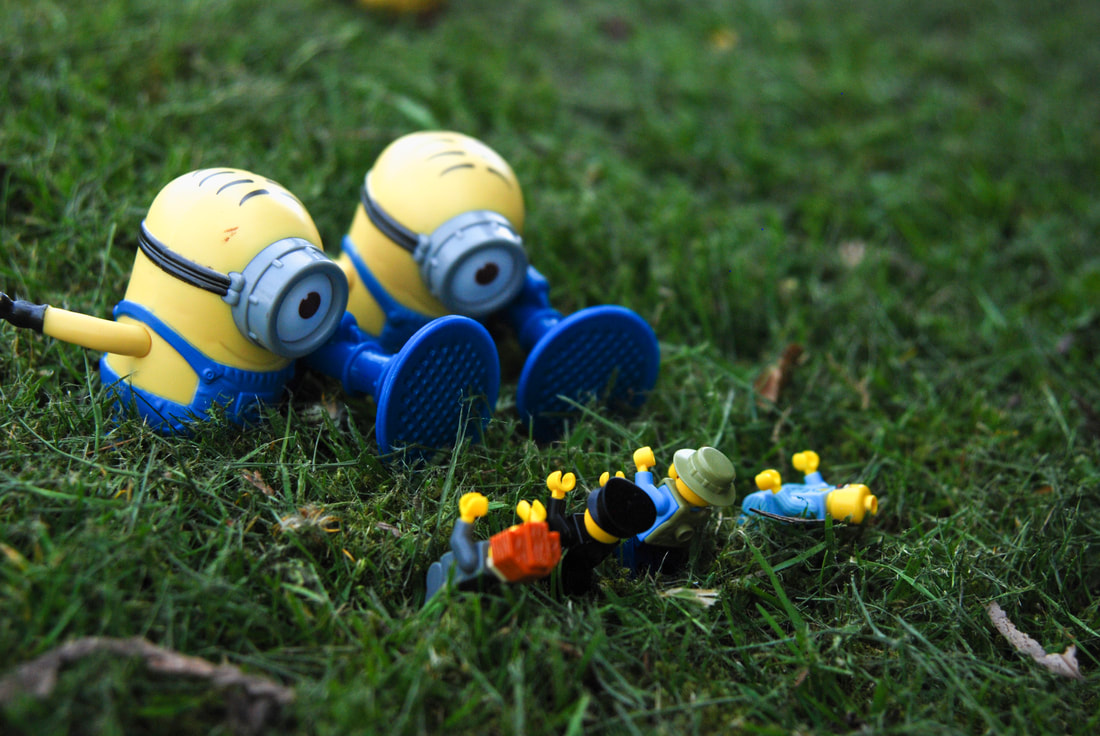
THE PROJECT (EXTRA)
|
STEP 1:
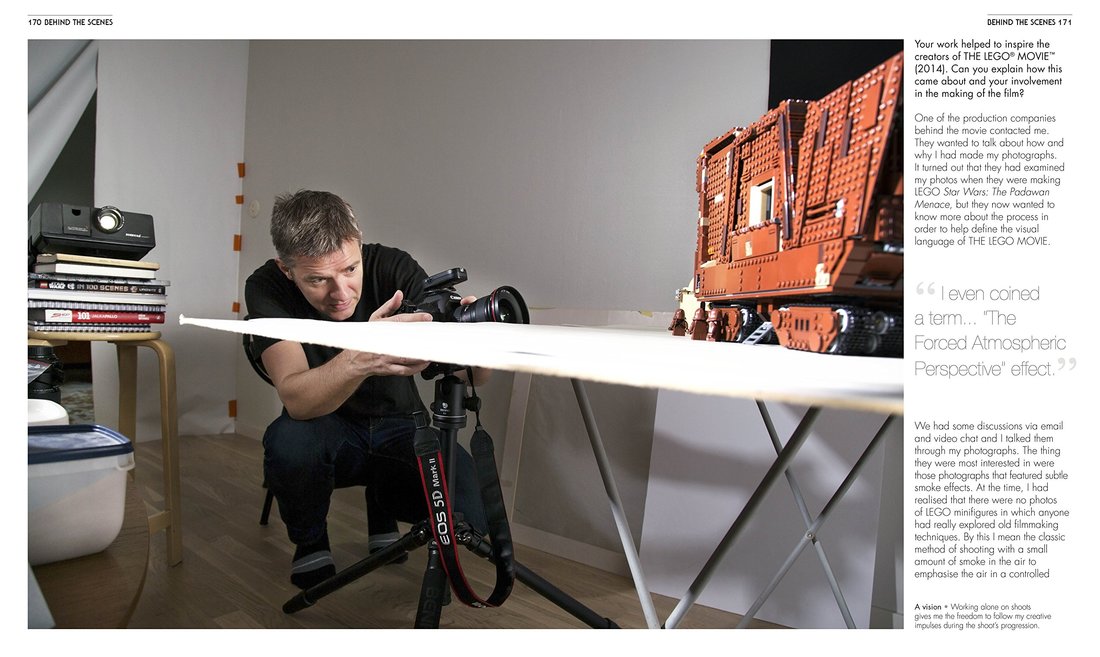
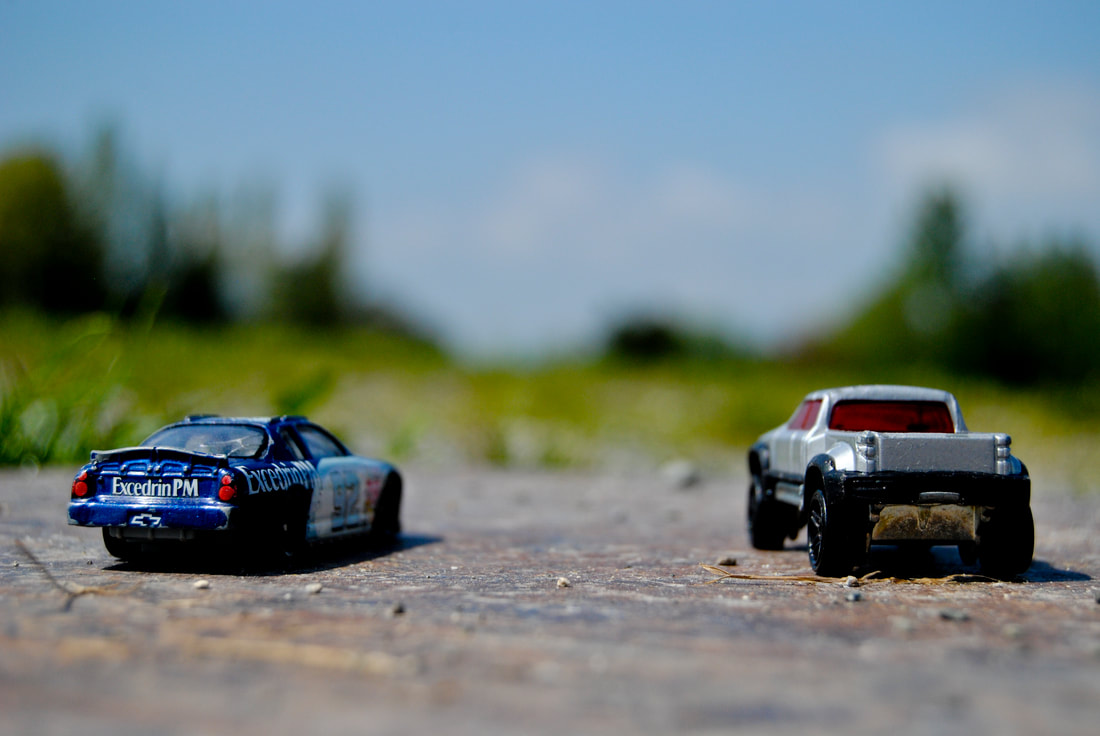
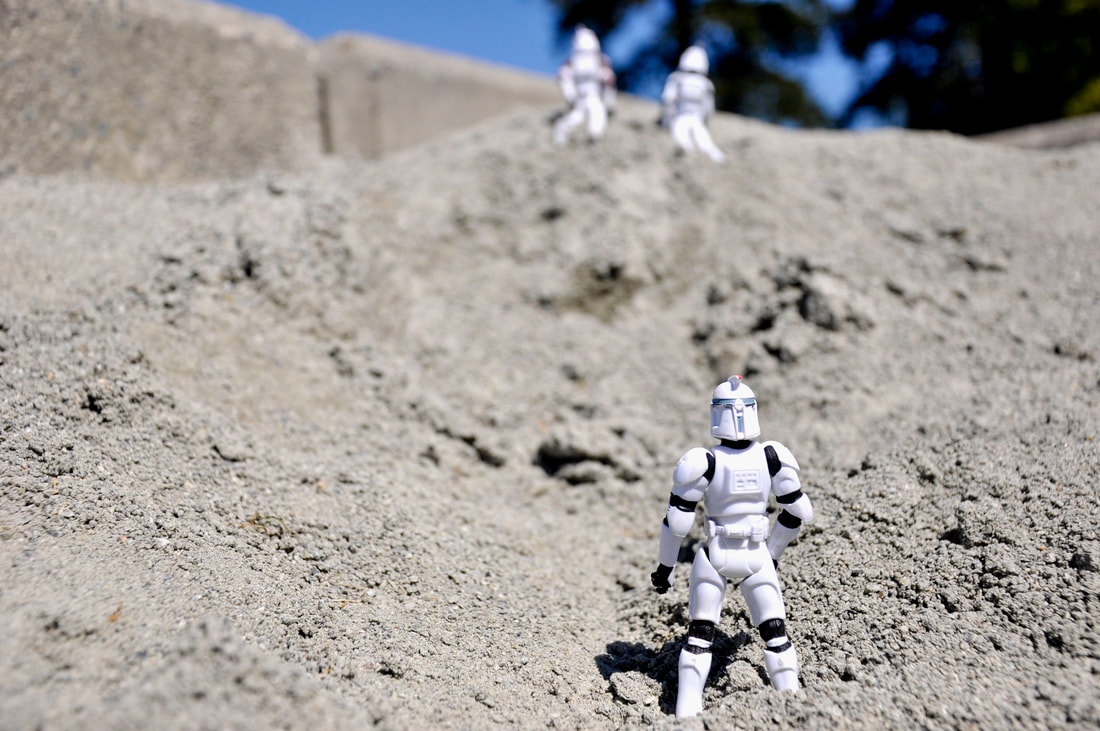
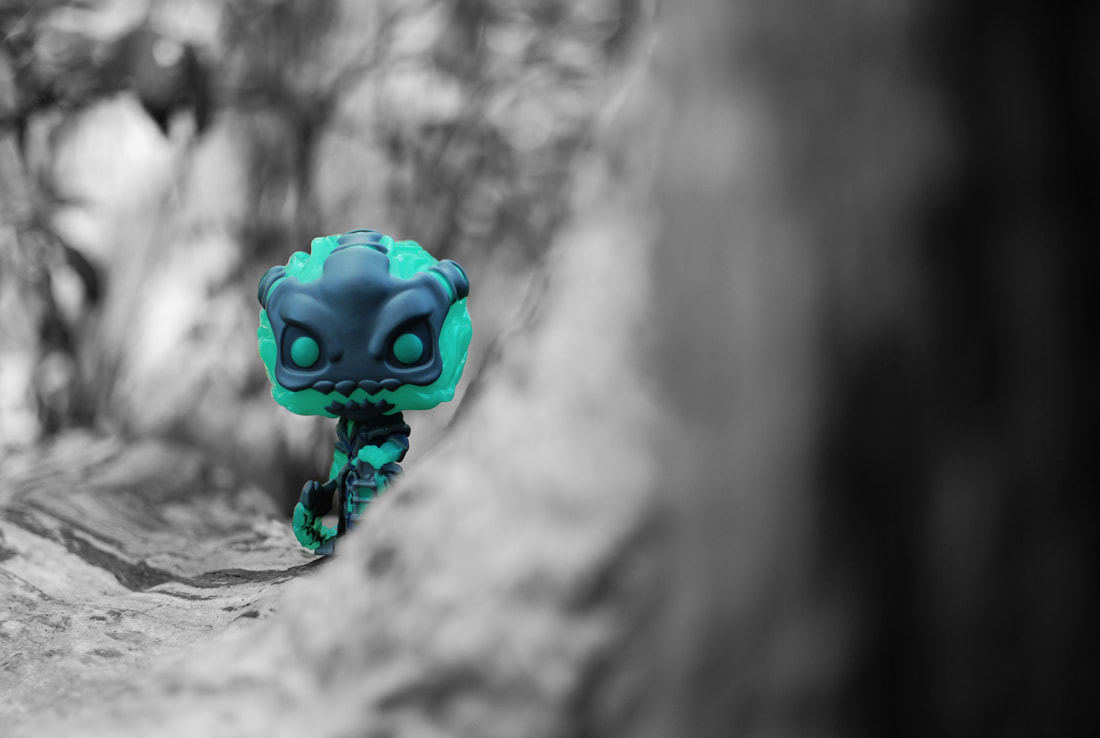
Watch tutorials and how-to's from the TOY PHOTOGRAPHY Playlist or find your own tutorial videos. As you are "actively" watching the videos, start taking notes on techniques, possible camera settings (see section below, can you fill in the blanks?), scene ideas, ways to pose the toys, and photography composition. STEP 2: Start collecting toys that you can use for this project. Make a plan, think of ideas for creating a story through a still photo image. What props do you need to bring into class. Come up with a list of photo ideas before hand. This is the preparation stage of your project. STEP 3: This is the fun part. Time to go out and make it happen. Using your notes and ideas, start shooting and bringing those ideas to life. SOME TIPS: Photographing toys can be lots of fun. You will learn a lot of things while practicing it. As you are in control of everything, you will not only learn about composition and lighting, you will also acquire some skills of staging and story telling. You don’t need sophisticated equipment to achieve great results. You can do wonders with natural light and a point and shoot camera with a macro option. It all really lays on your imagination and of course your “models”. All you need to do is grab a toy, a camera and to just have fun. Make Them Look Big Since you are photographing tiny objects, it will be more interesting to give those toys a human dimension and to make them seem bigger than their actual size. In order to achieve such an effect, you can use the simple technique of getting close to your subject as much as possible to fill the frame with it and to take the photo from a low angle to give it that ant’s eye view effect. You can also place your toys in an environment that would help in making them look bigger. For example, you can place them inside a miniature scale model of a building, or a doll house. Tell a Story Taking simple direct shots of your toys is not as interesting as playing the role of a film director and creating a whole scene where the toys are your actors. It might be hard at the beginning but once you start letting your imagination loose, you won’t be able to stop. A good way to start is by trying to recreate a scene you encounter in your everyday life. After that you can move to the recreation of a movie scene, or the representation of an idiom. Once you grow comfortable with staging and story telling, you will begin innovating and creating fresh and new ideas. PROJECT OUTLINE: What you are handing in-> Hand in a Contact Sheet showing a minimum of 25 explorations (will show how to create in class) Save as toycontact_yourname.pdf Choose your ___ strongest photos to hand in. Your photos should have a variety of themes, objects, location settings, camera angles, and compositions. Make sure you've taken time to work on your focusing, depth of field (narrow), and composition (rule of thirds). Start thinking about the objects you want to use. Put some thought into it, do not show up to class and wing it by looking around my classroom for something to use last second. Save your work as toy_yourname01.jpg, etc... |
|