DEMO REELS- SEMESTER GOAL
|
It’s All About the Reel
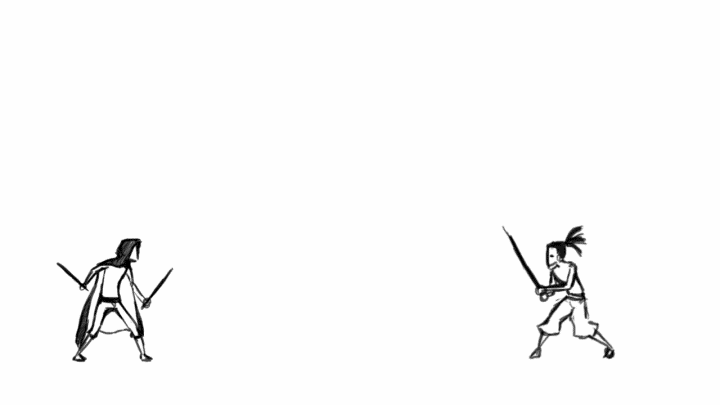
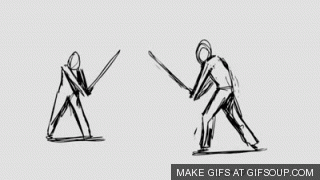
For many professions, having a good resume or cover letter is the most important factor in getting a job. For animators and visual effects people it’s all about the demo reel. Over the years I have made many demo reels for myself, and watched dozens of other people’s reels. In this article I have collected all the information I have about how to create an effective animation demo reel that actually gets you hired. Demo Reel Guidelines. Rules for an effective demo reel: Length The length of your reel should not be over 2 minutes. Ideally it would be under a minute, unless you are a veteran animator, in which case you don’t need this guide anyway. It’s not likely that a beginner would have more than 2 minutes worth of amazing content, and that’s what we’re looking for – amazing content. Content I cannot overemphasize this: The reel should ONLY include awesome work. A 30 seconds reel with amazing animation is much preferable to a 2 minuets reel with mediocre work. Don’t include less than amazing work as a time-filler. If you’re not convinced that a piece is worth putting on your reel, either polish it or don’t use it. Regarding the content of the shots, try being original as much as you can. Don’t do the stuff that everybody does (lifting something heavy, walk cycle, bouncing ball) try putting your personality into the shots. Try standing out. For example, I wanted to add a diving board shot to my reel, but instead of the guy jumping I made him slip and fall down. Order Put your best work first. It takes people a few seconds to decide if they want to keep watching your reel. Make sure you have things that grab their attention. Music / Sound Include the original sound for dialogue pieces. A quite un-intrusive music in the background is ok, but be careful with the choice of music – it should not distract the viewer or annoy them, but only act as a connector between the shots. If in doubt – just turn off the music completely. Presentation Give every piece the time it deserves. Don’t edit to music or get too creative, this isn’t a motion graphics reel. In an animation reel you want to present each shot separately (sometimes with a title card before each shot) to let the viewer understand what they’re watching without confusing them. Number the shots on the reel, and write about each shot in the the description of the video (example: 7 – bouncing ball: animated the left ball) YouTube vs. Vimeo After finishing the reel, you might ask yourself: “where should I upload it too?” You have two main choices – YouTube or Vimeo. Both valid options, but they have advantages and disadvantages. YouTube has much more viewers, which means your reel will have more exposure, however it’s considered a less professional platform for presenting your work. While YouTube has definitely evolved into a much more creative oriented platform, Vimeo was made for creators to publish their creative work. Vimeo has less viewers but it’s got one great feature – you can replace the video under the same url, which means that when you update the reel you can replace the video and the link to your reel will always have the latest version. This is pretty huge. My verdict is Vimeo. It is considered to be the YouTube for artists, filmmakers and professionals, and the fact that you can always update the reel without changing the url is really important. It’s less exposed, but that doesn’t really matter since the people who are going to view your reel would generally be people you send it to, and not strangers who happened to find it. Credit: https://www.bloopanimation.com/animation-demo-reel/ |
Curtis (Delview Grad 2014)- High School Demo Reel
Curtis- Vancouver Film School Demo Reel
|
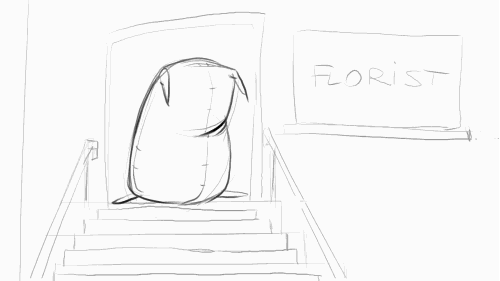
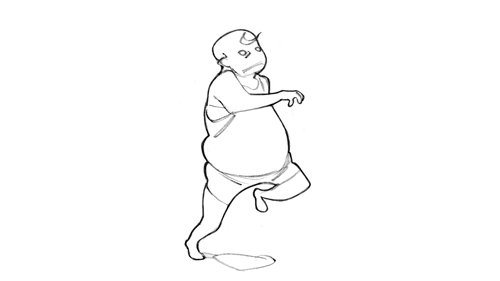
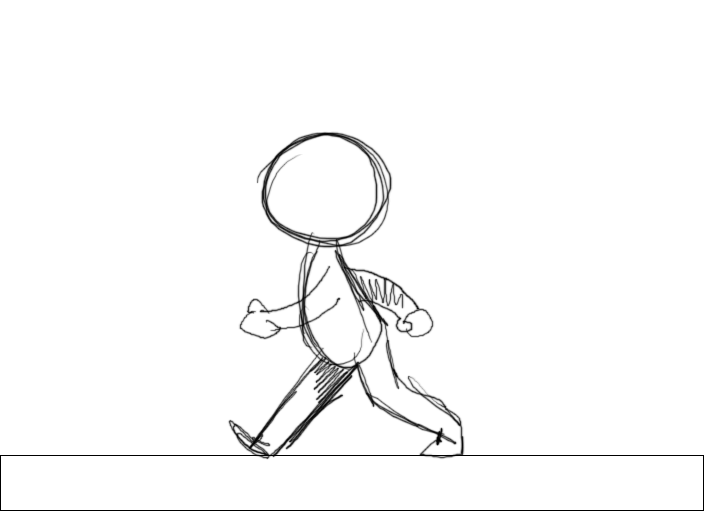
WHAT IF I DON'T HAVE ENOUGH STUFF?
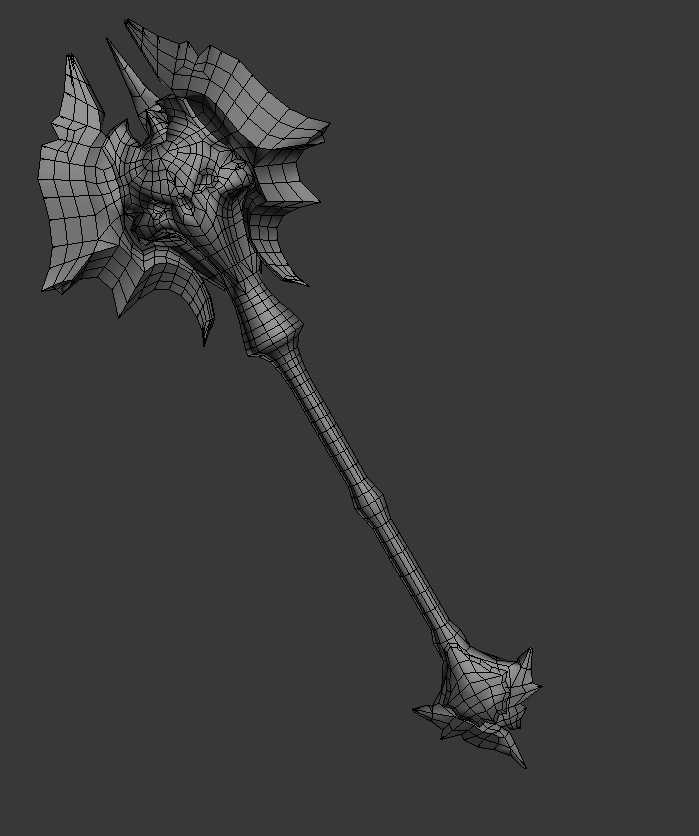
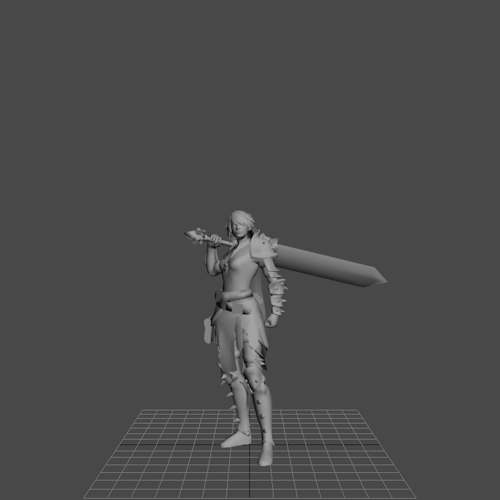
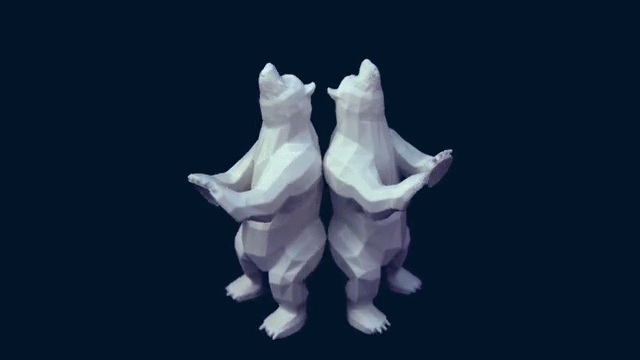
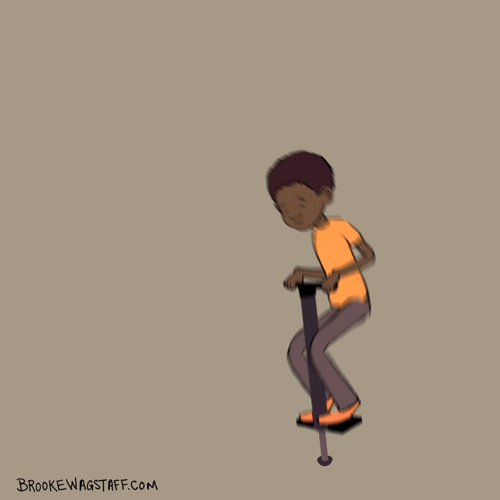
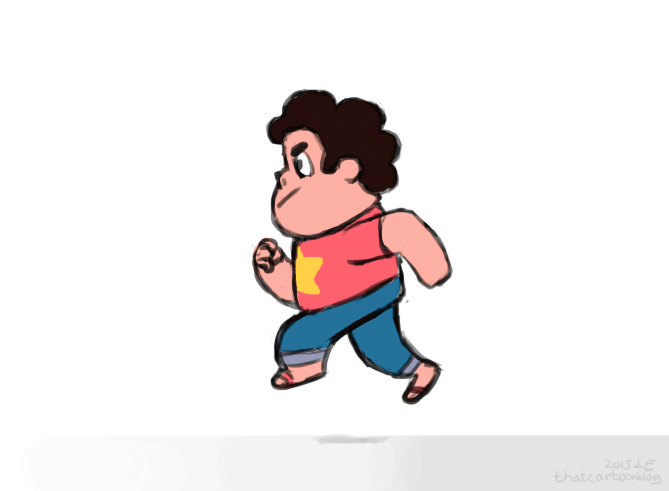
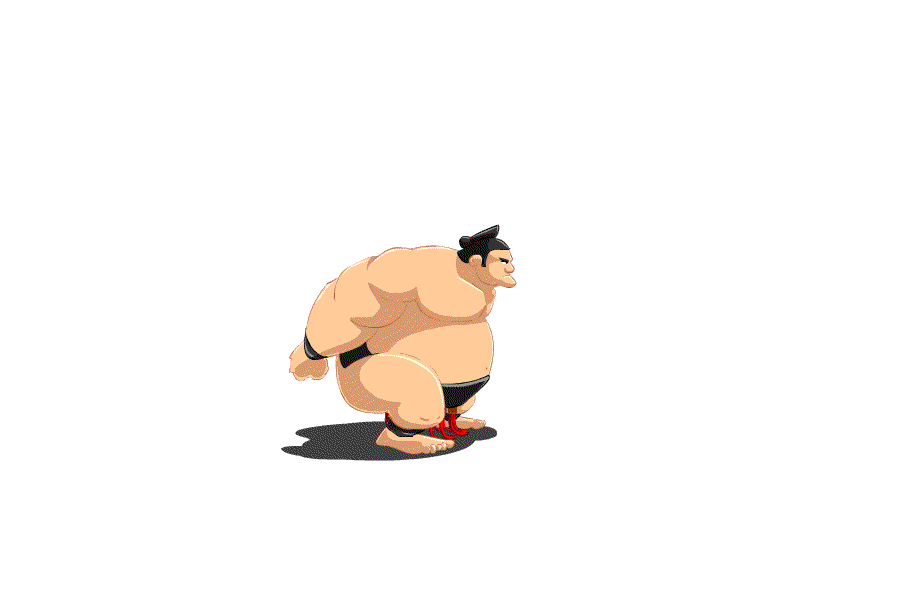
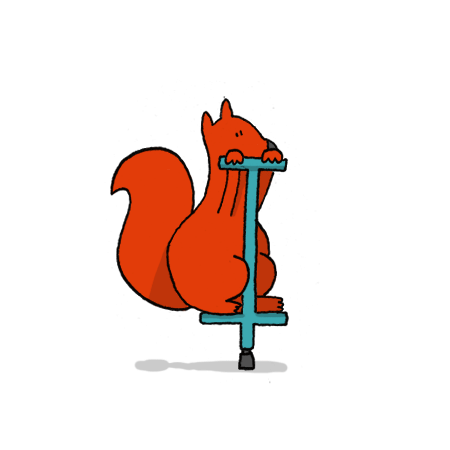
IDEAS FOR EXERCISES
|
|
If you’re in that place where you are looking for ideas to add to your reel, 11 seconds club has some great suggestions for animation exercises. Here are some of my suggestions:
|