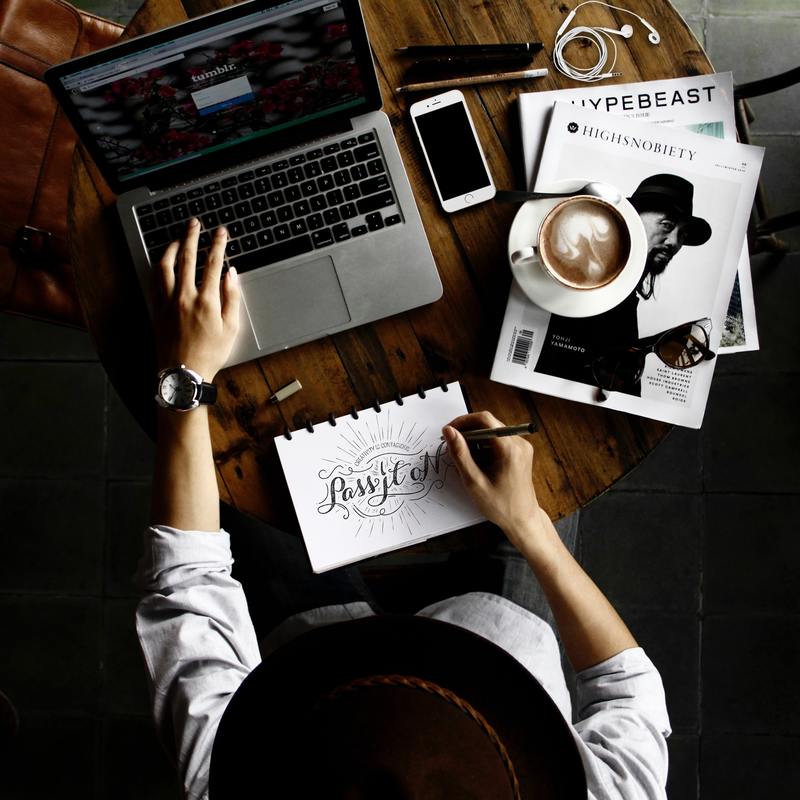
MEDIA ARTS 9 & 10
WHAT YOU NEED FOR THIS COURSE
|
|
|
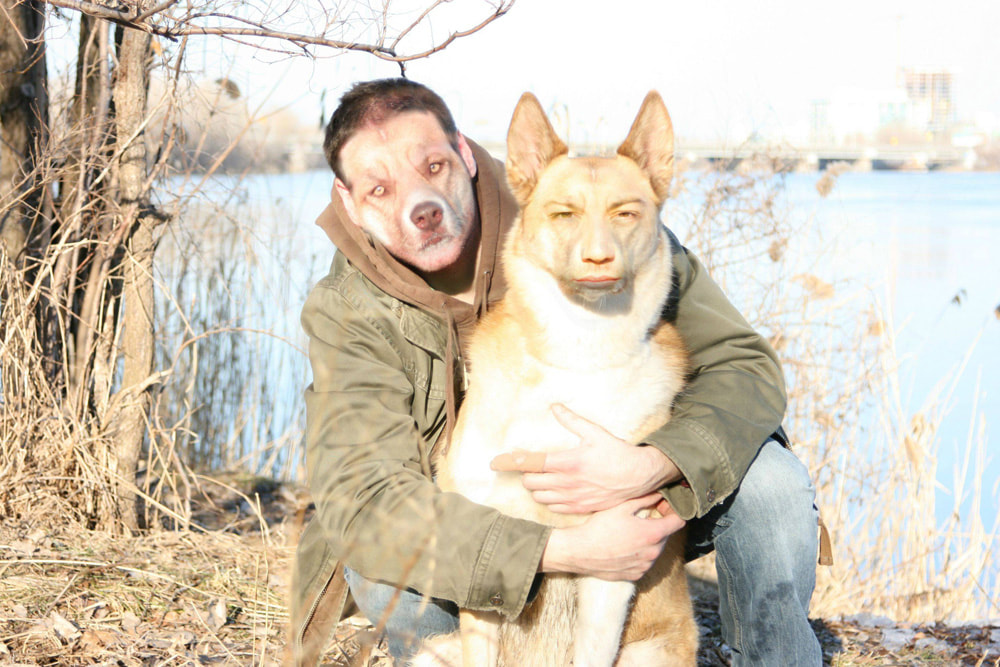
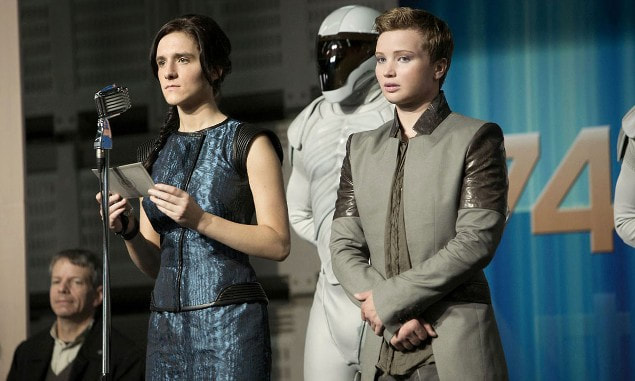
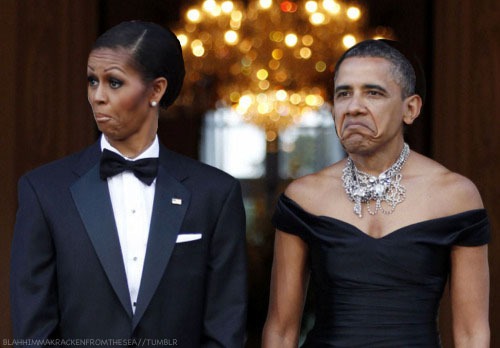
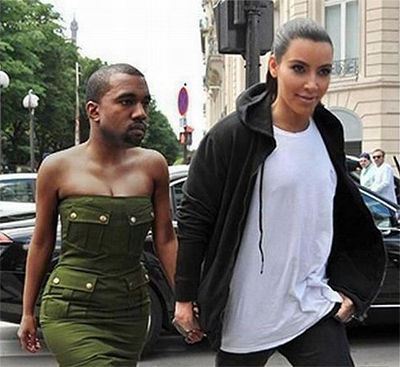
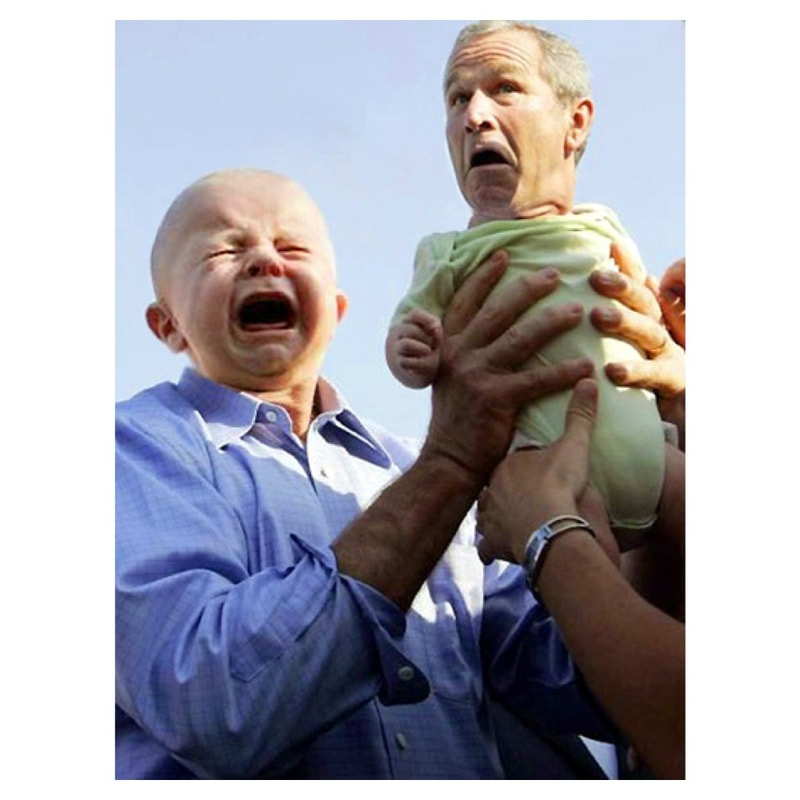
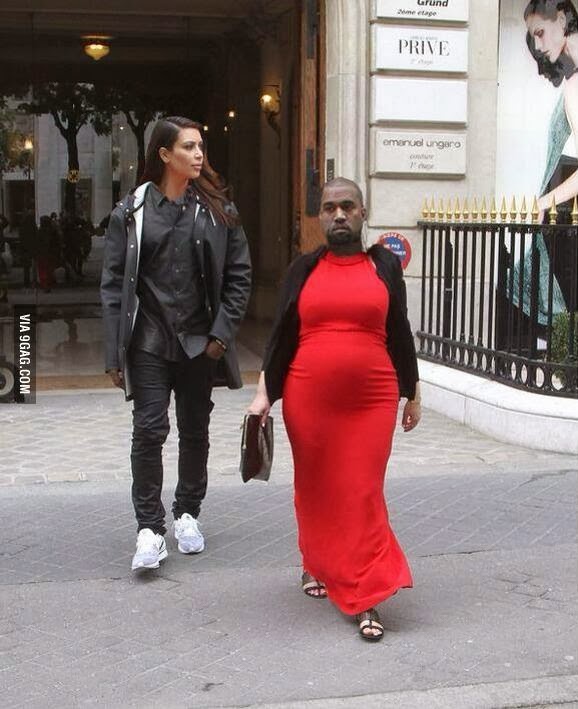
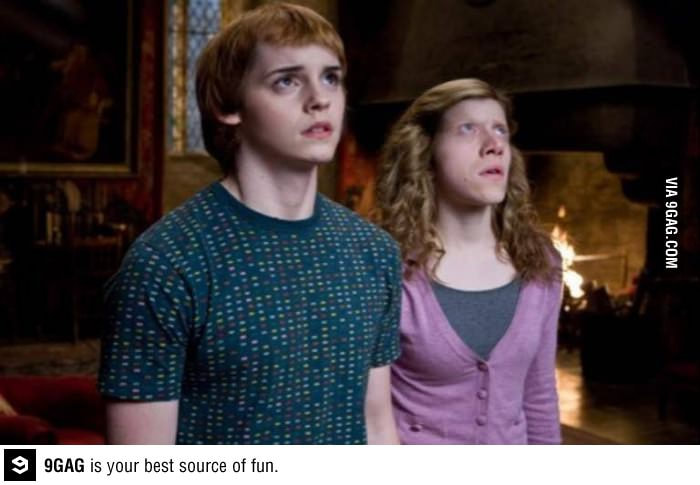
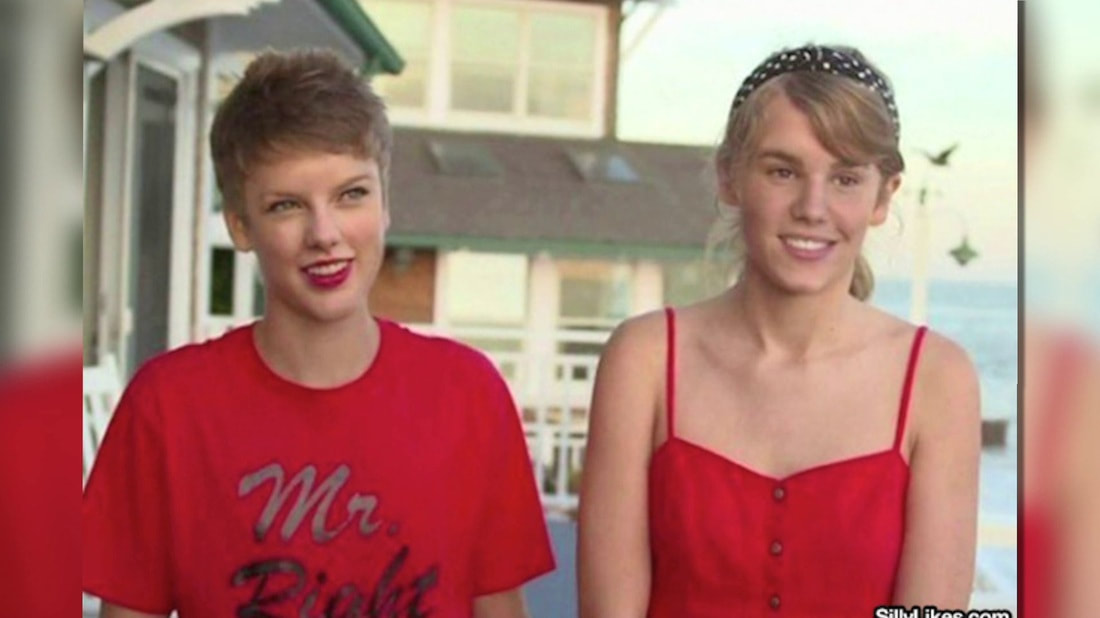
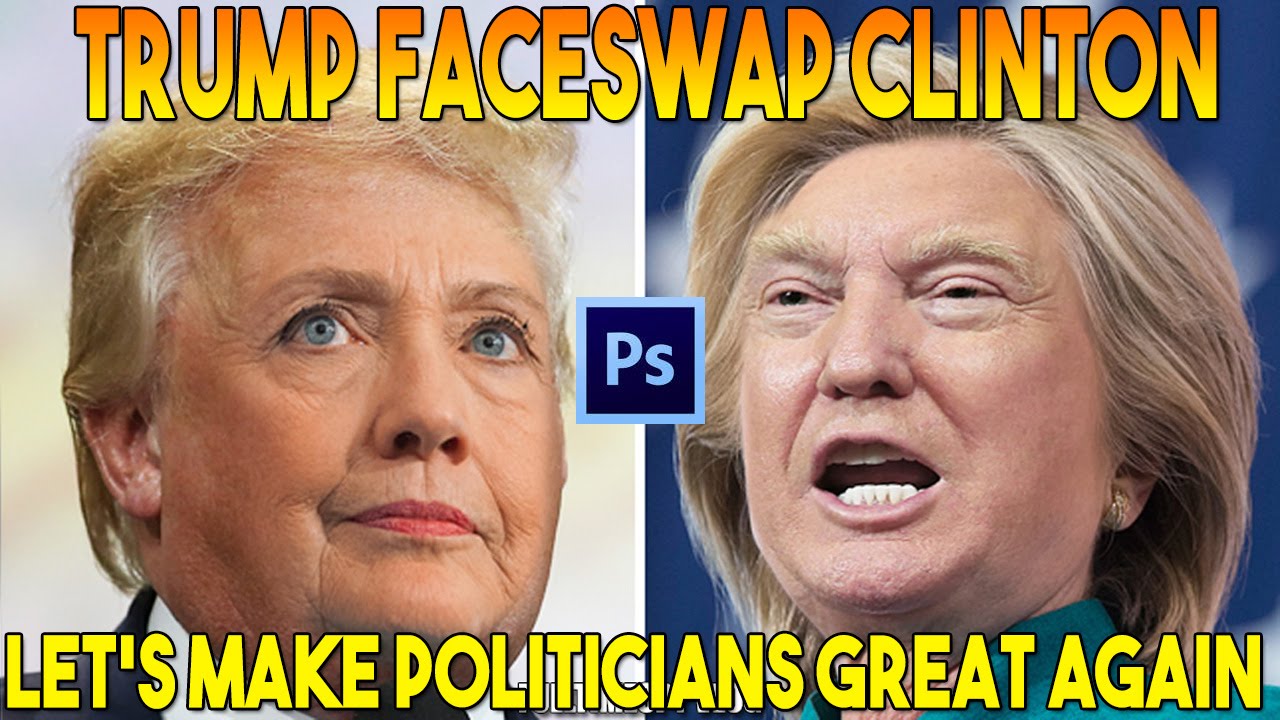
1. PHOTOSHOP: FACE SWAP
|
We are going to have some fun Faceswapping in Photoshop. This will teach you how to use LAYER MASKS, BLEND LAYERS, and do COLOR ADJUSTMENTS to match layers.
Choose a high resolution photograph (Google Images search for large) to use. You can use a celebrity photo, or a photograph of your own. I will leave that decision up to you. FACTORS TO KEEP IN MIND:
|
|


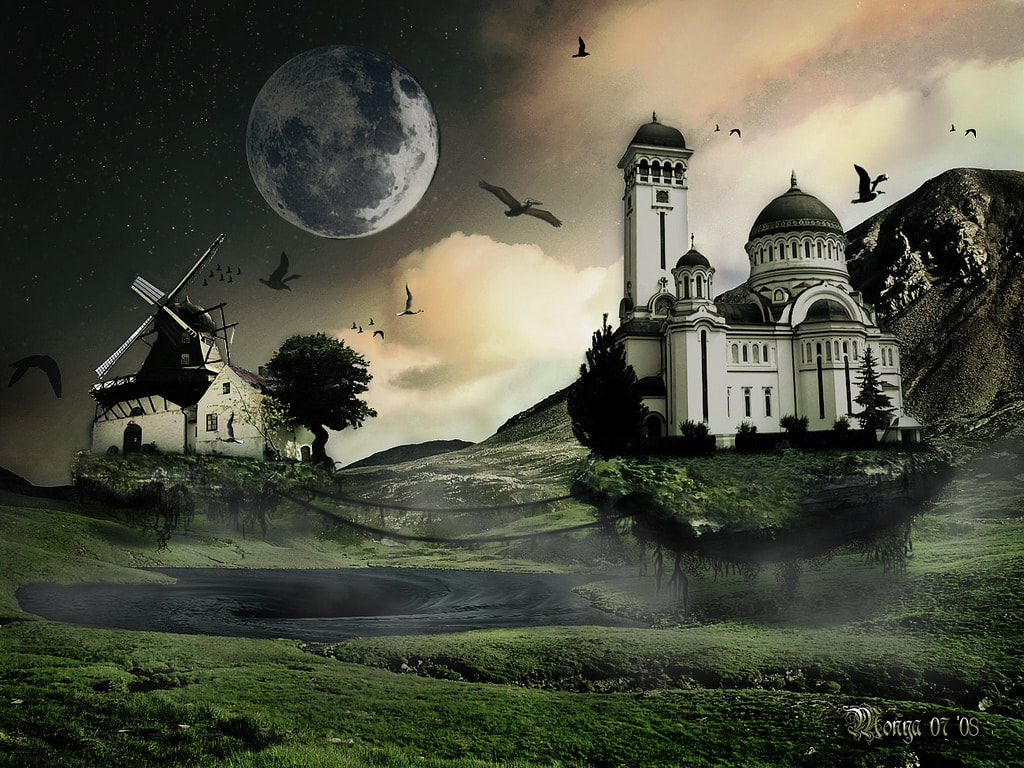
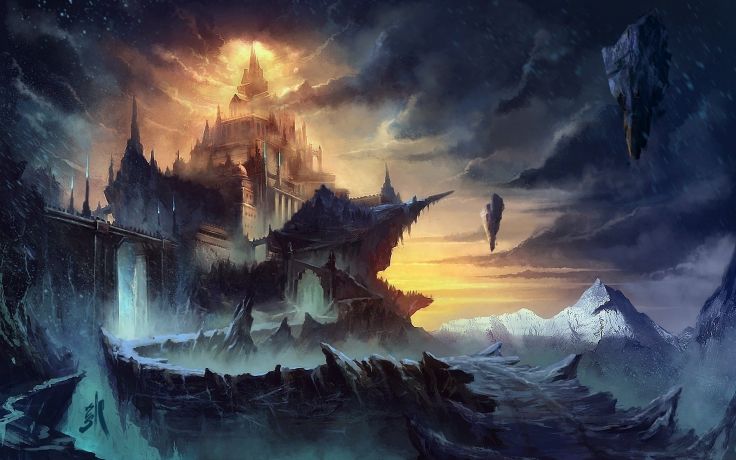
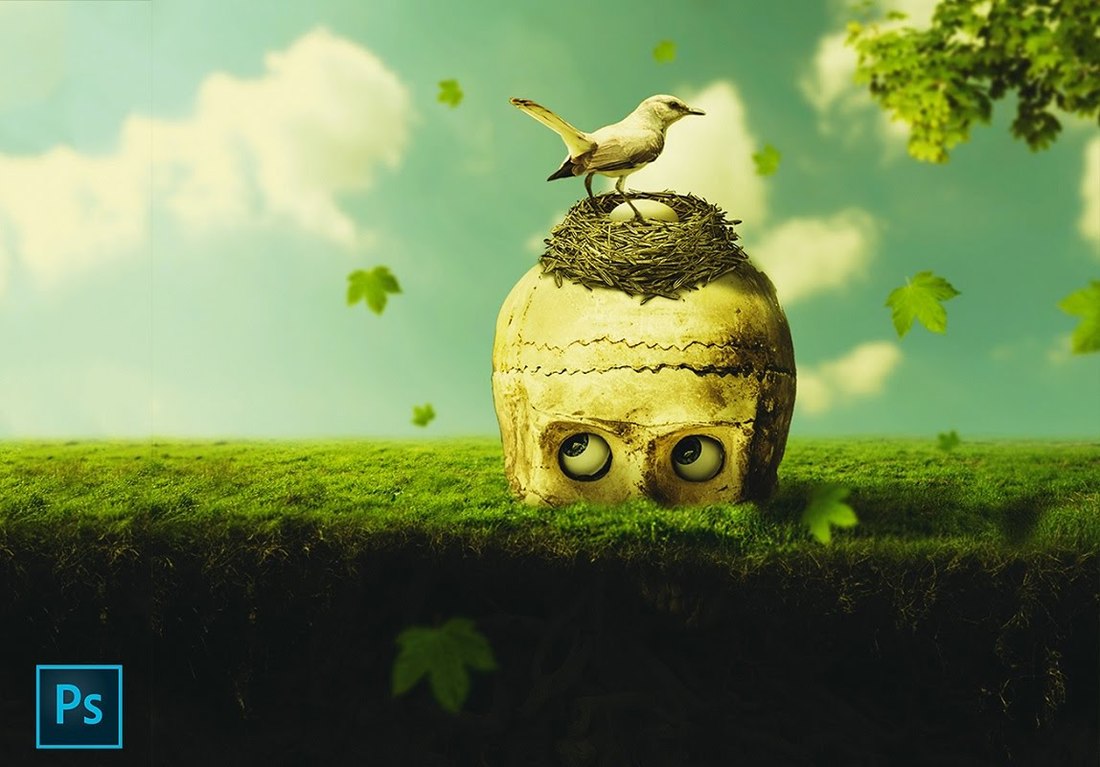
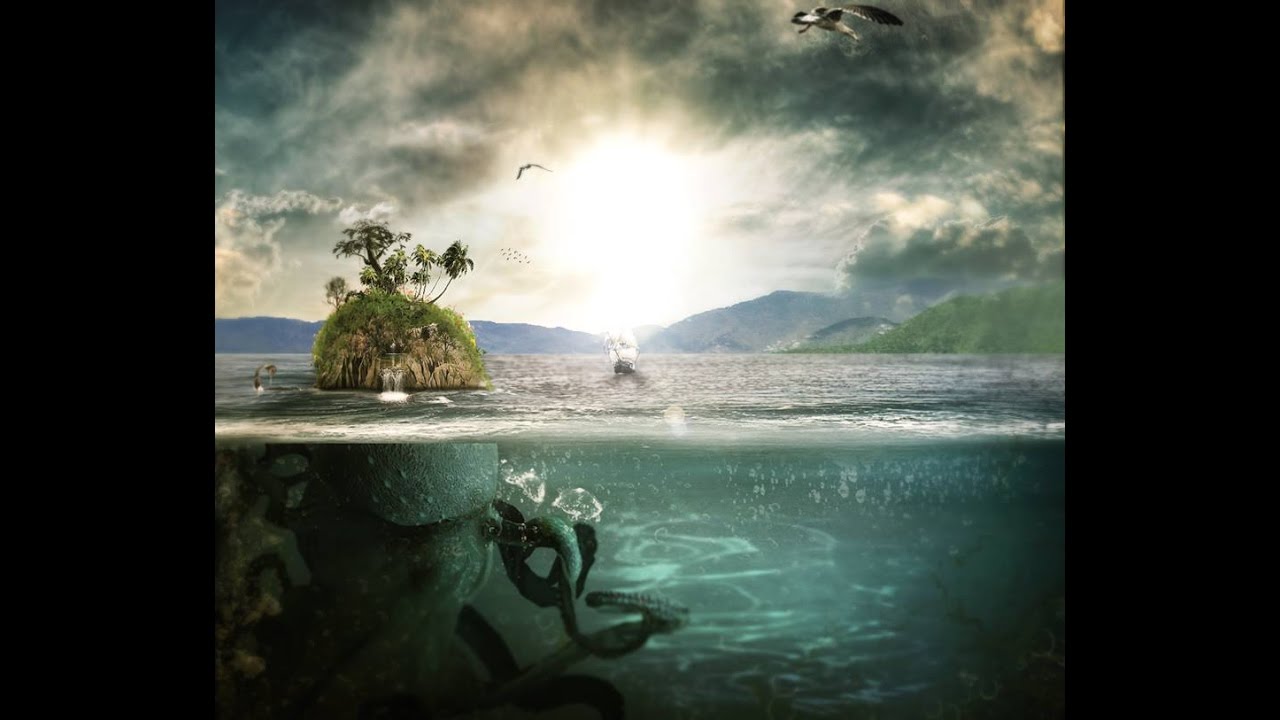
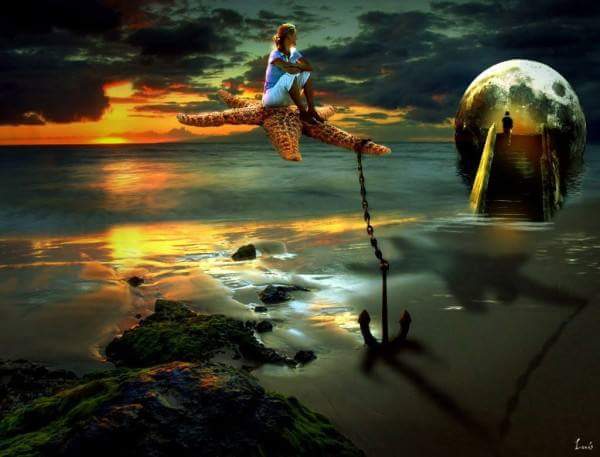
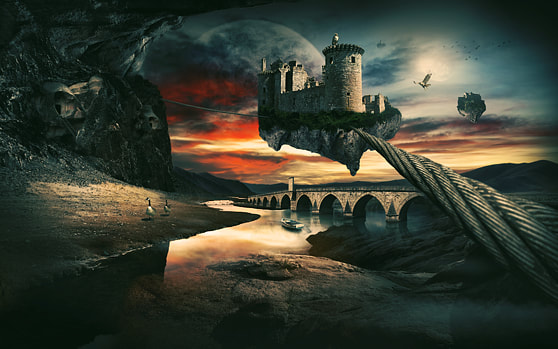
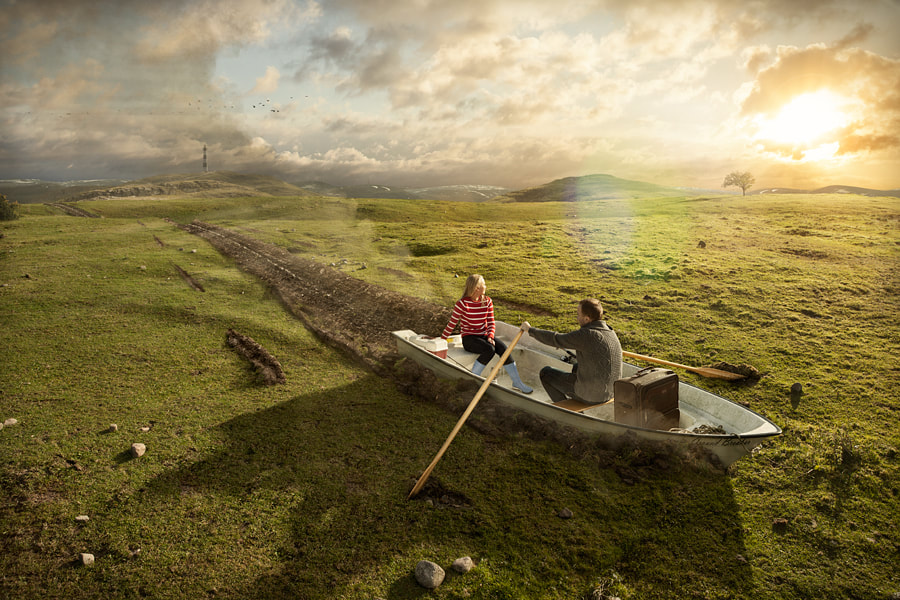
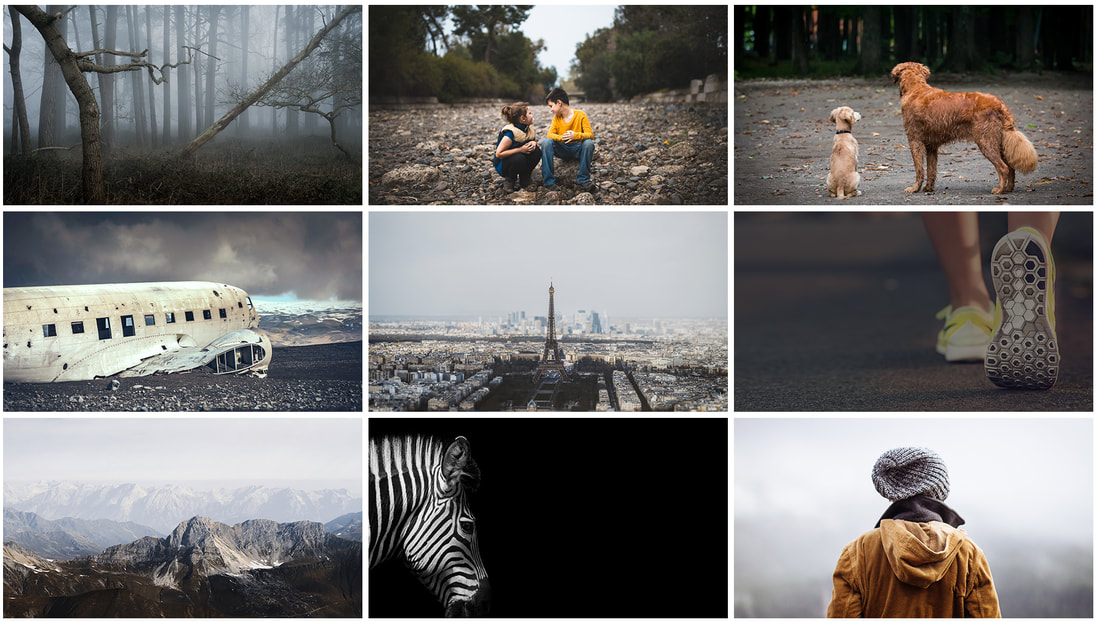
PHOTOSHOP: SURREAL LANDSCAPES
|
|


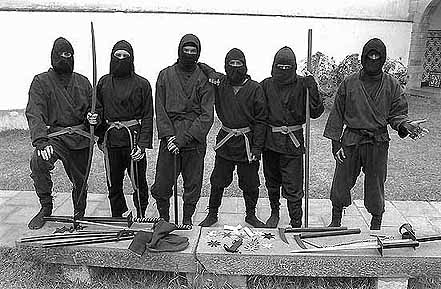
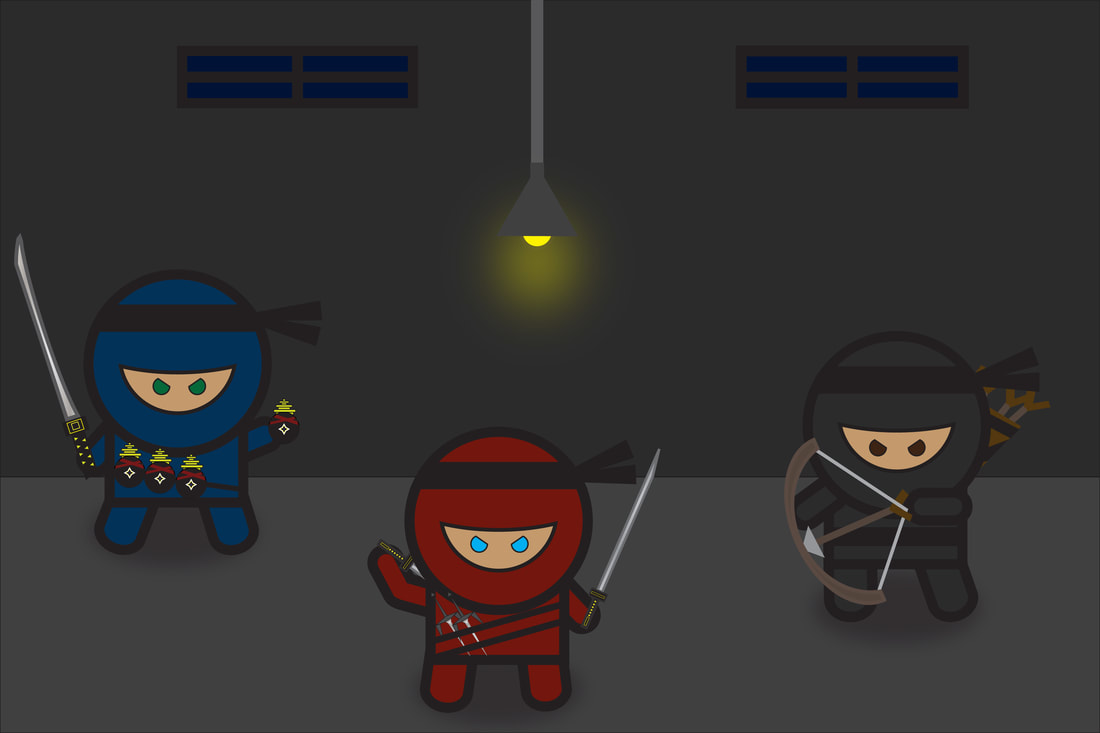
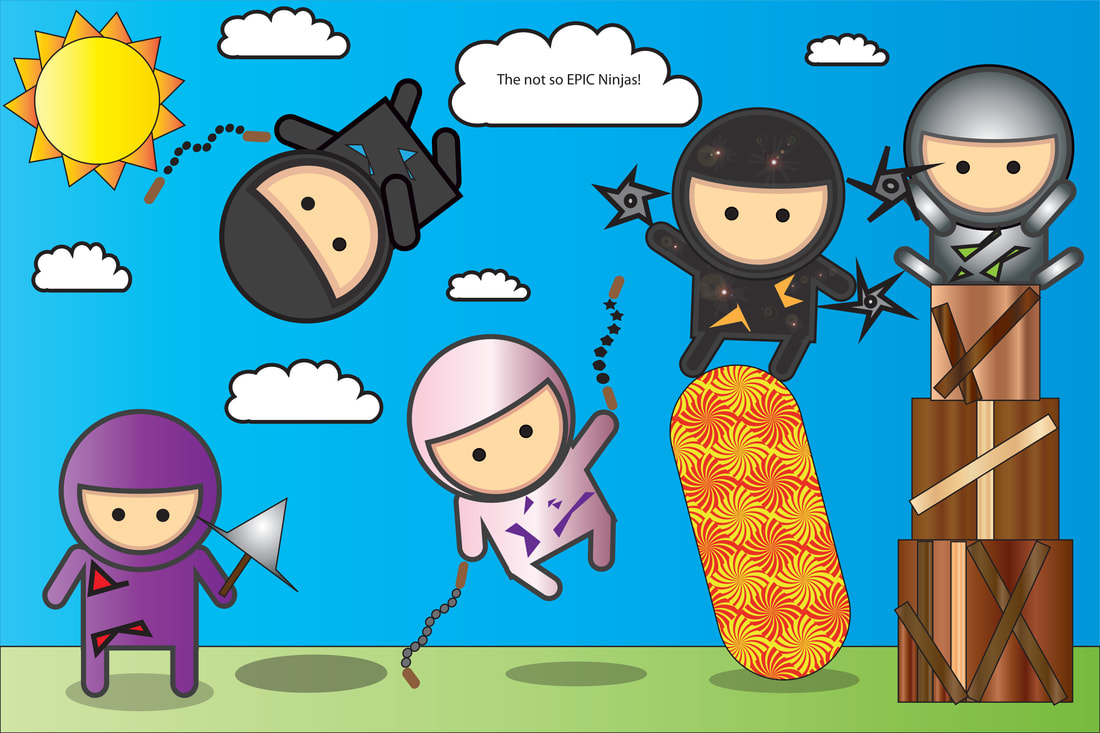
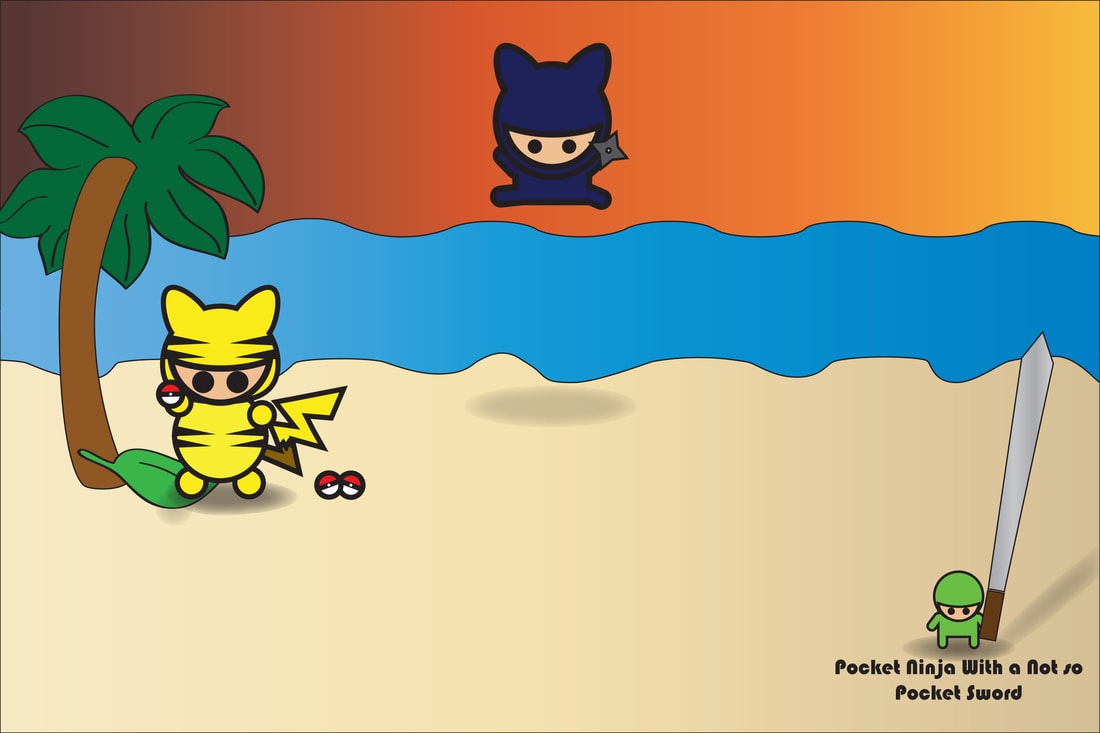
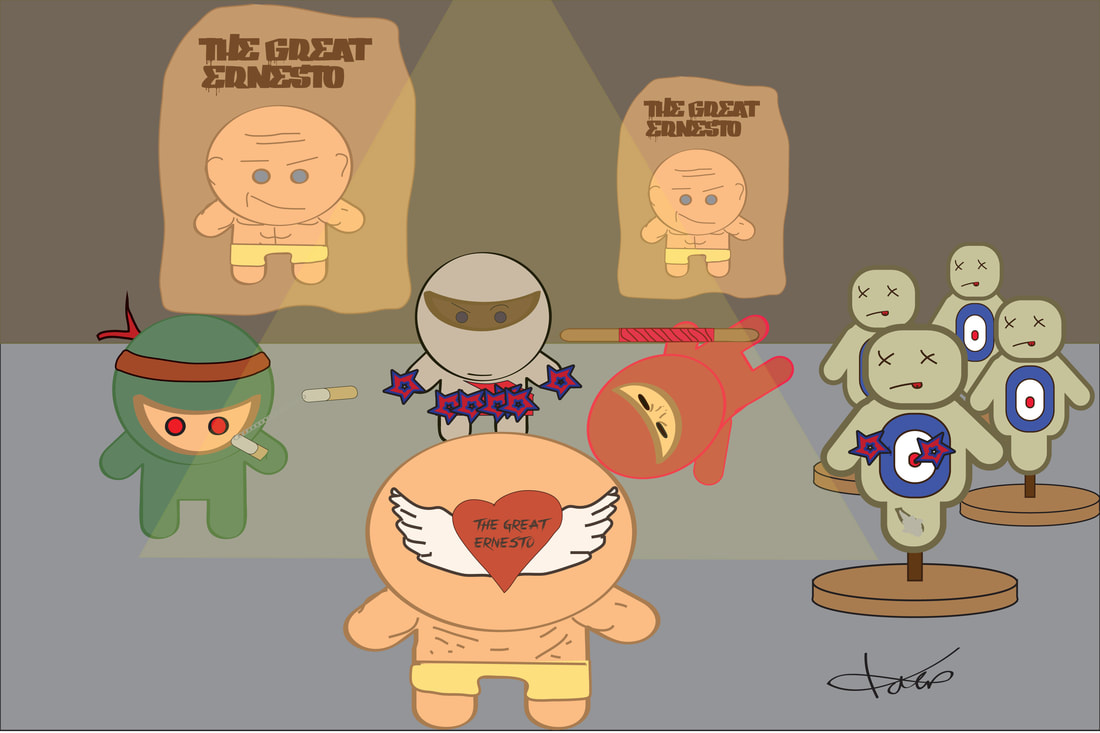
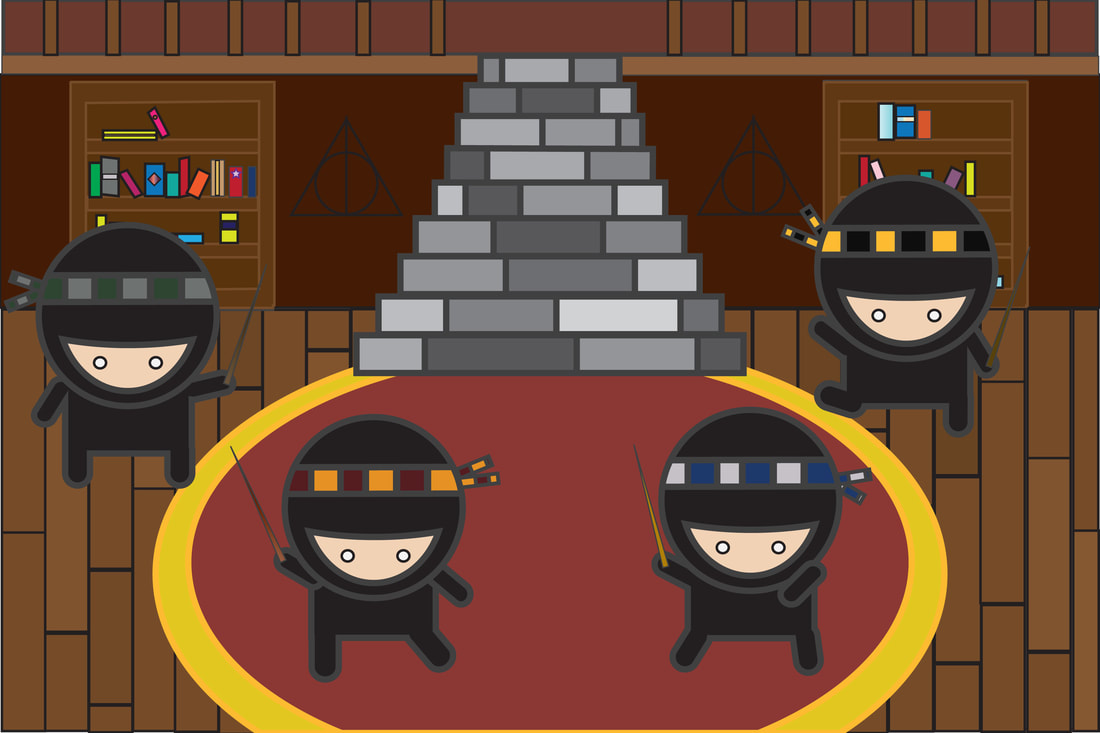
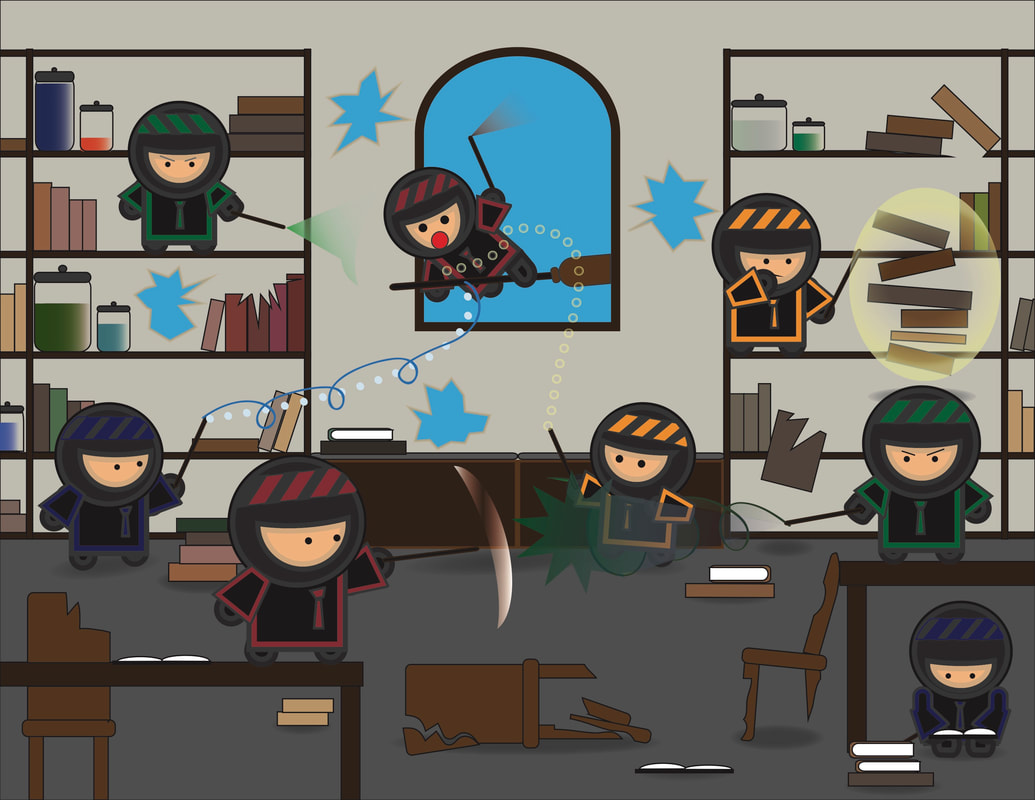
ILLUSTRATOR: CANADIAN NINJA WARRIOR
|
A ninja (忍者, Japanese pronunciation: [ɲiꜜɲdʑa]) or shinobi (忍び, [ɕinobi]) was a covert agent or mercenary in feudal Japan. The functions of a ninja included espionage, deception, and surprise attacks. Their covert methods of waging irregular warfare were deemed dishonorable and beneath the honor of the samurai.
It can be quite tricky getting the hang of Adobe Illustrator, but if you take a step back and concentrate on the basics there's a range of options for creating great looking images. In this tutorial, we'll take a look at constructing a group of vector ninja characters using just the basic shapes and a variety of simple tools, making it a good start for Illustrator beginners. These are the tools highlighted in the tutorial, you will have learned the following by the end:
|
| ||||||


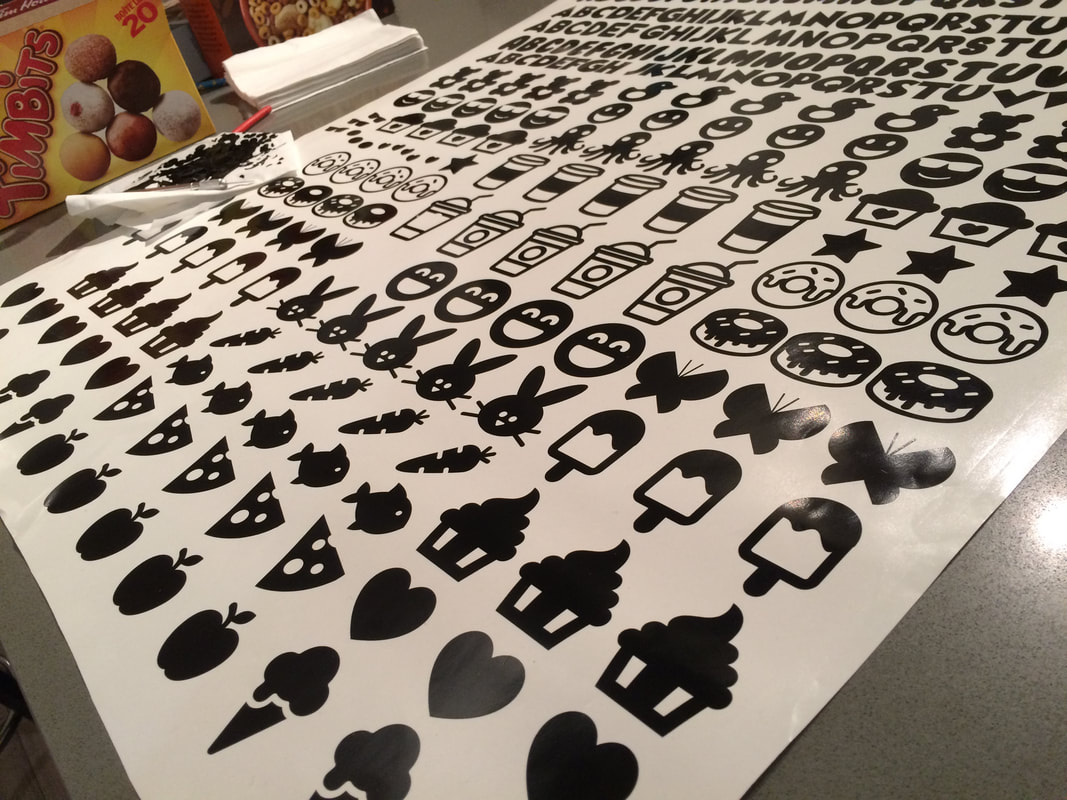
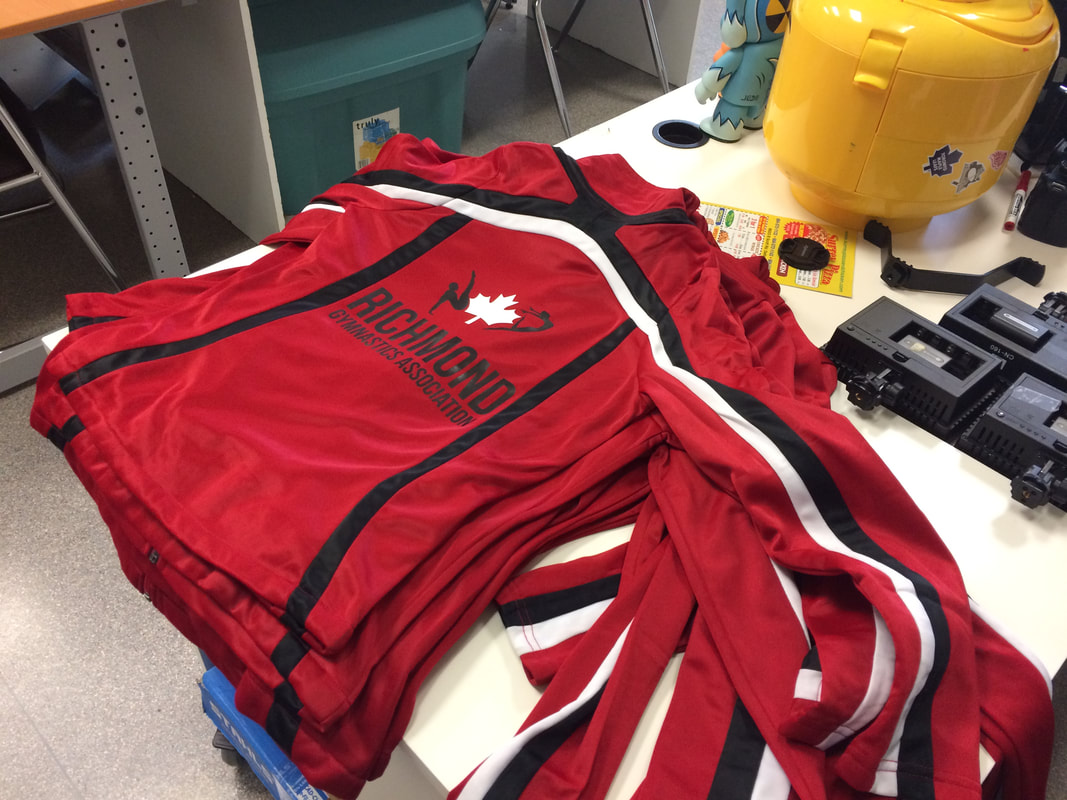
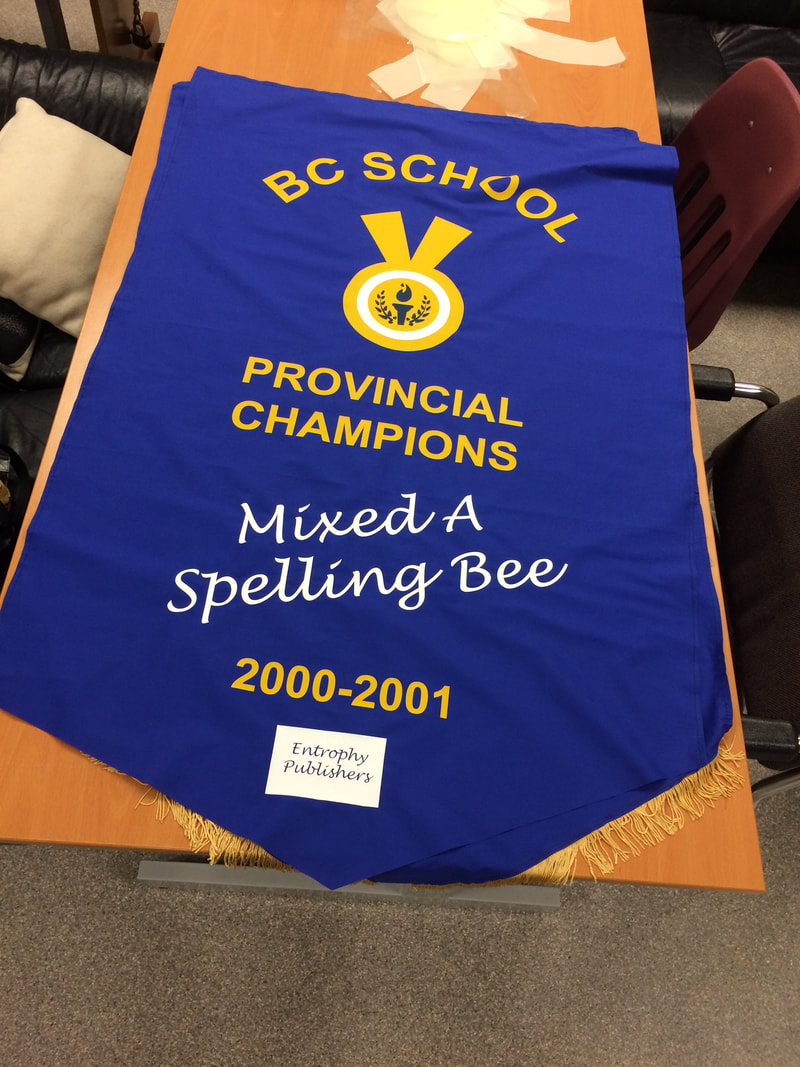
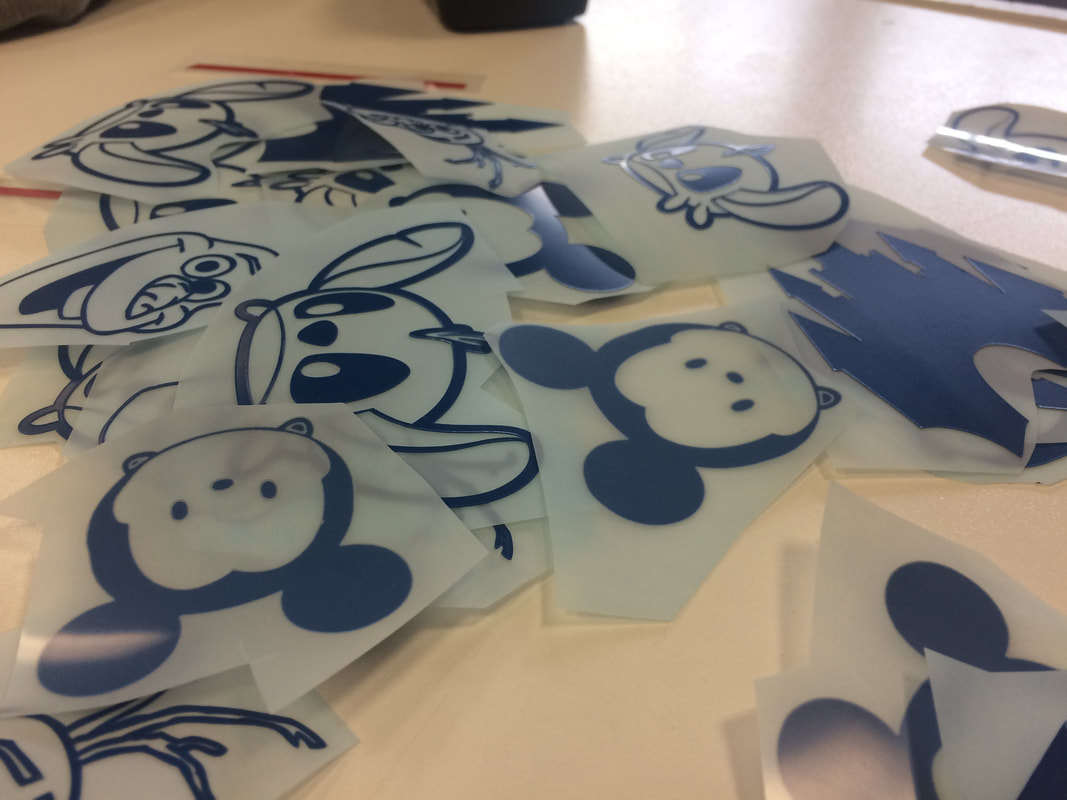
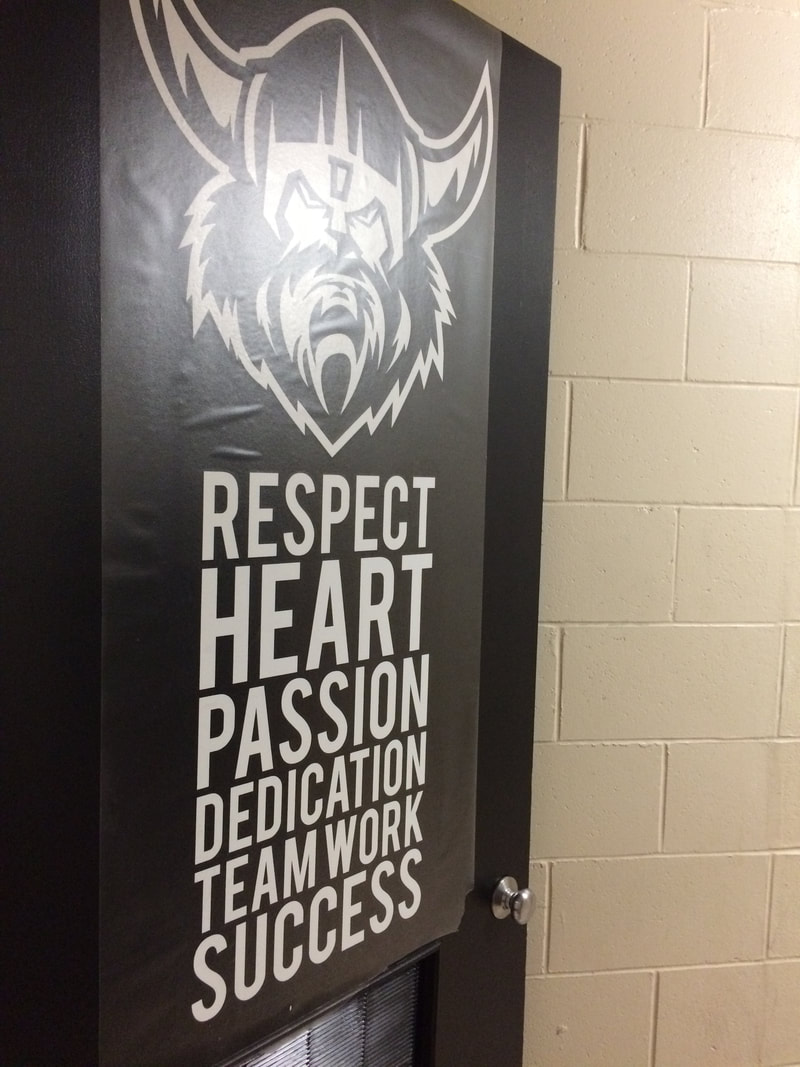
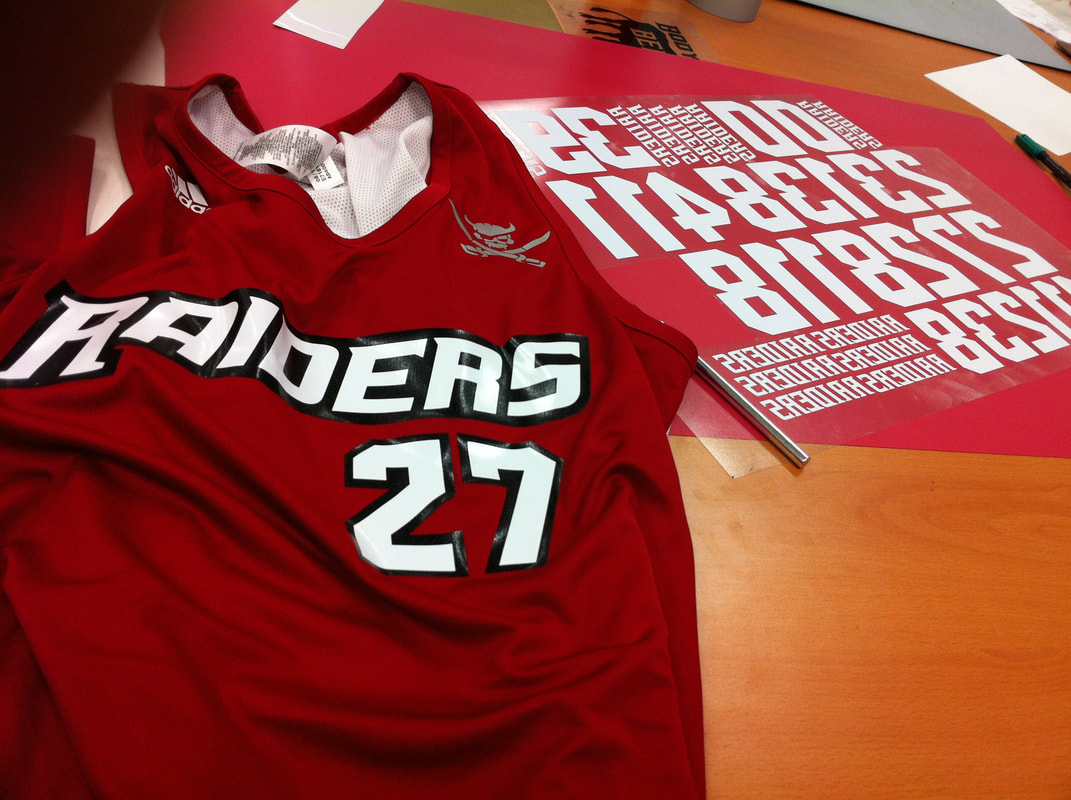
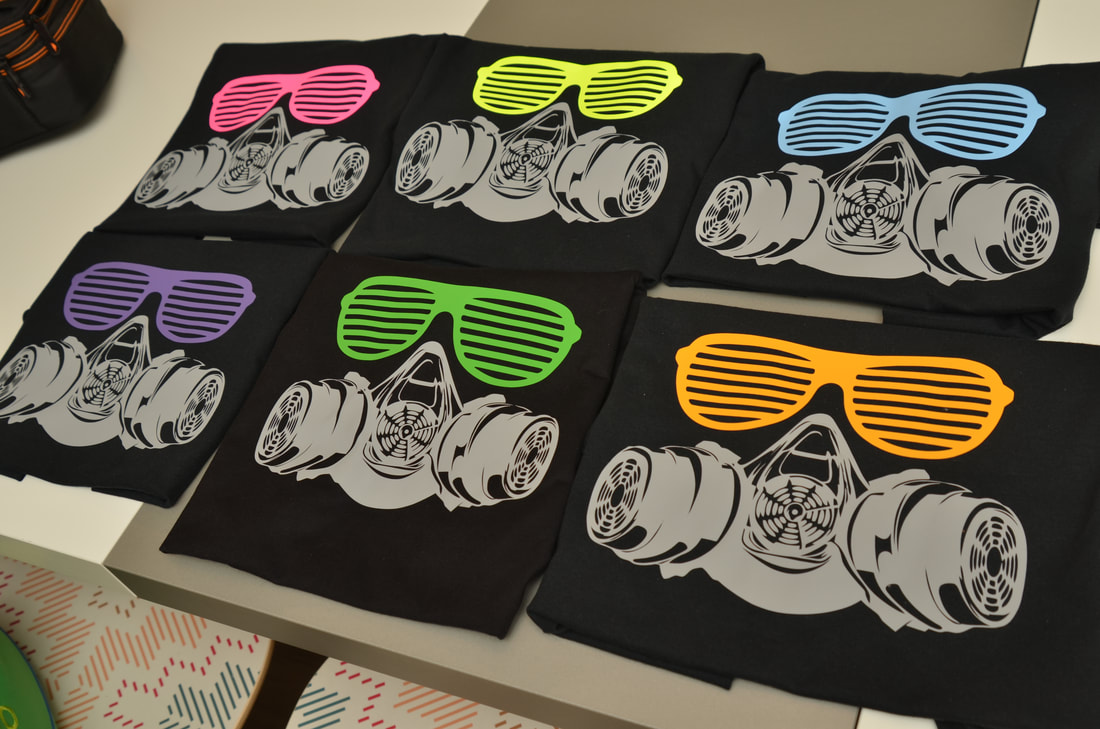
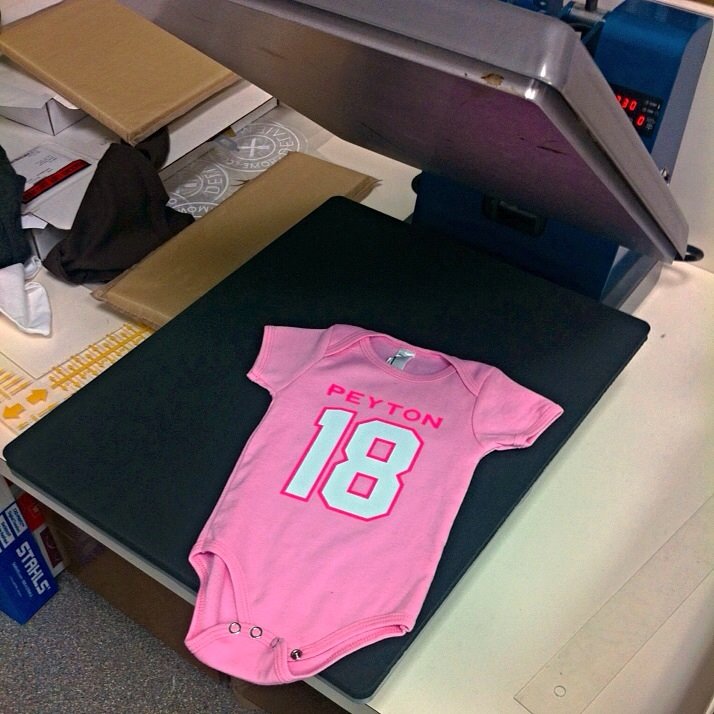
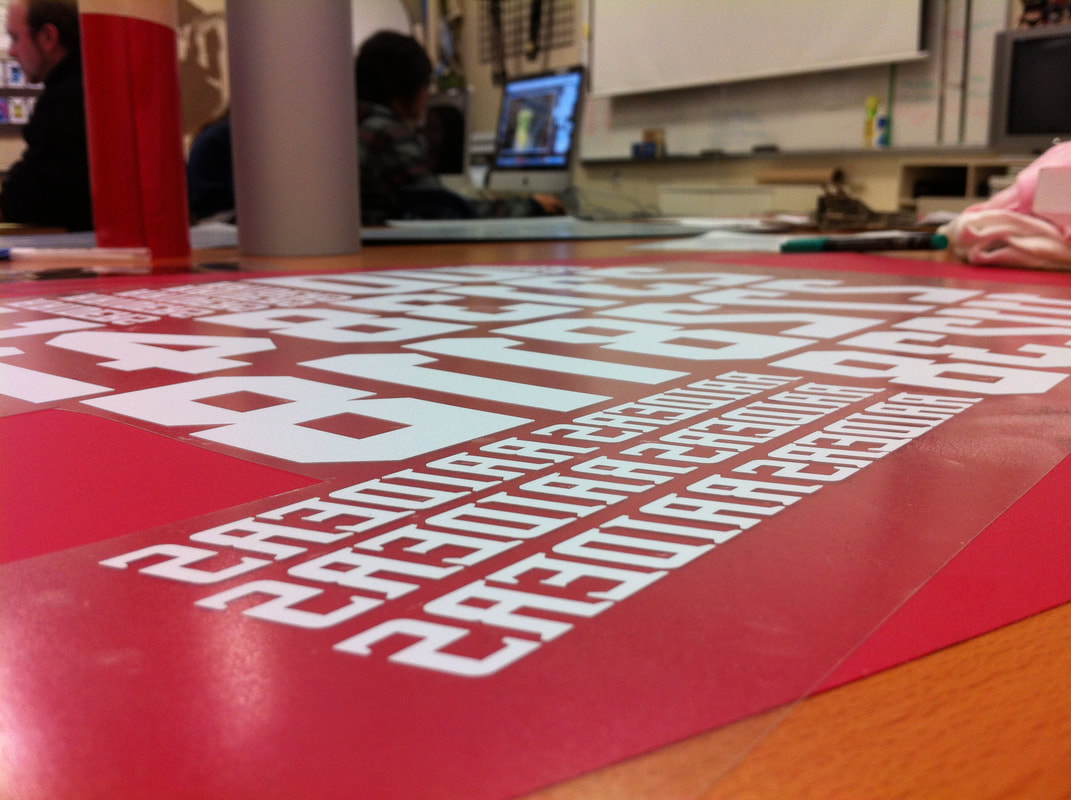
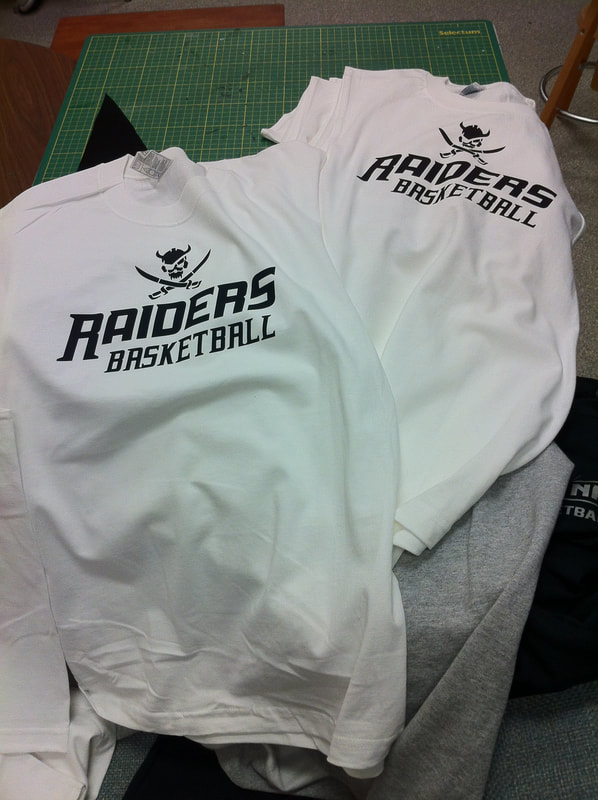
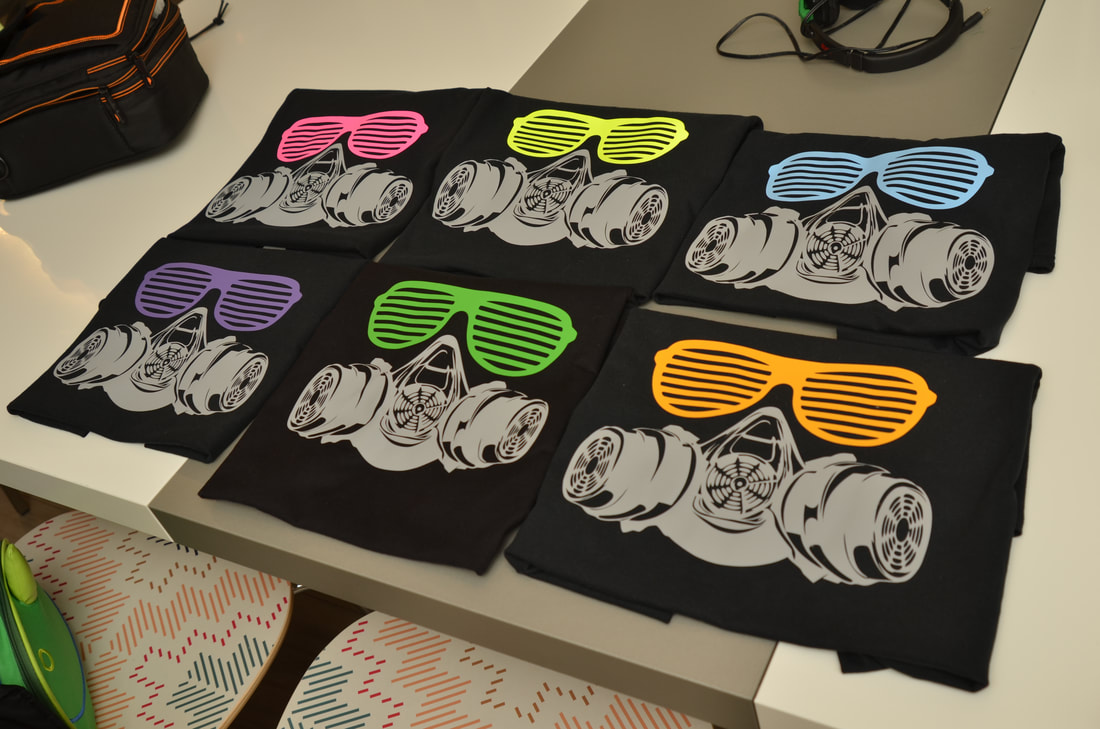
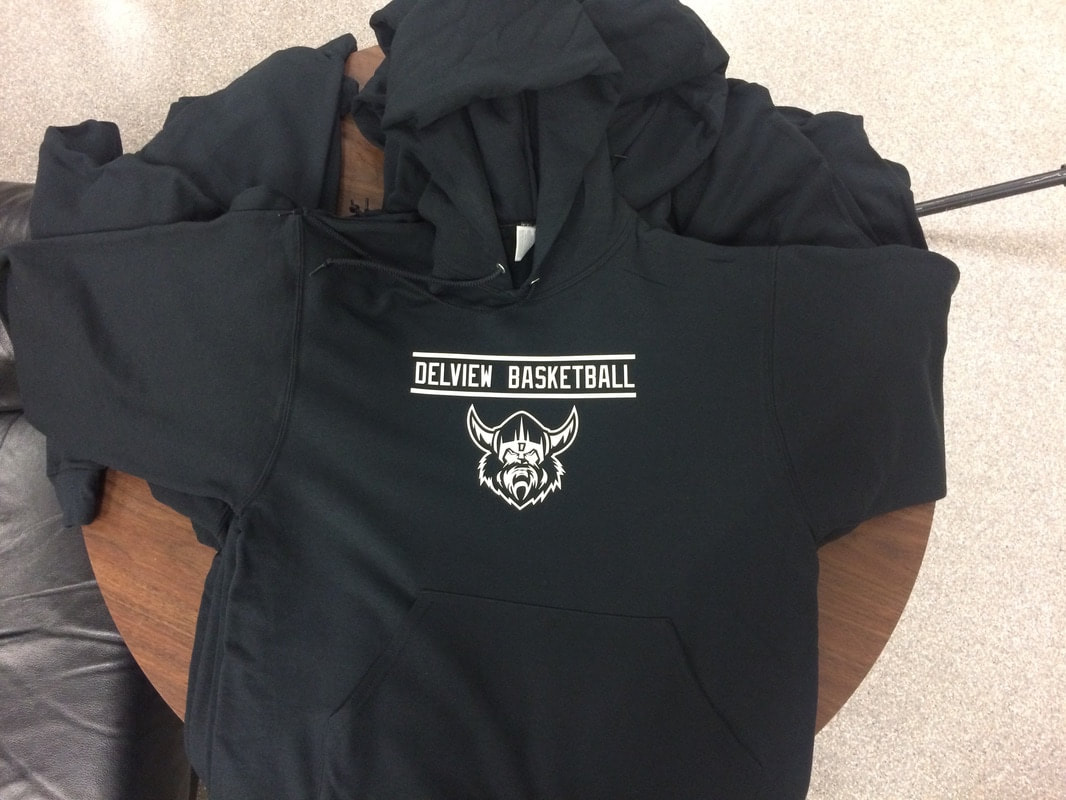
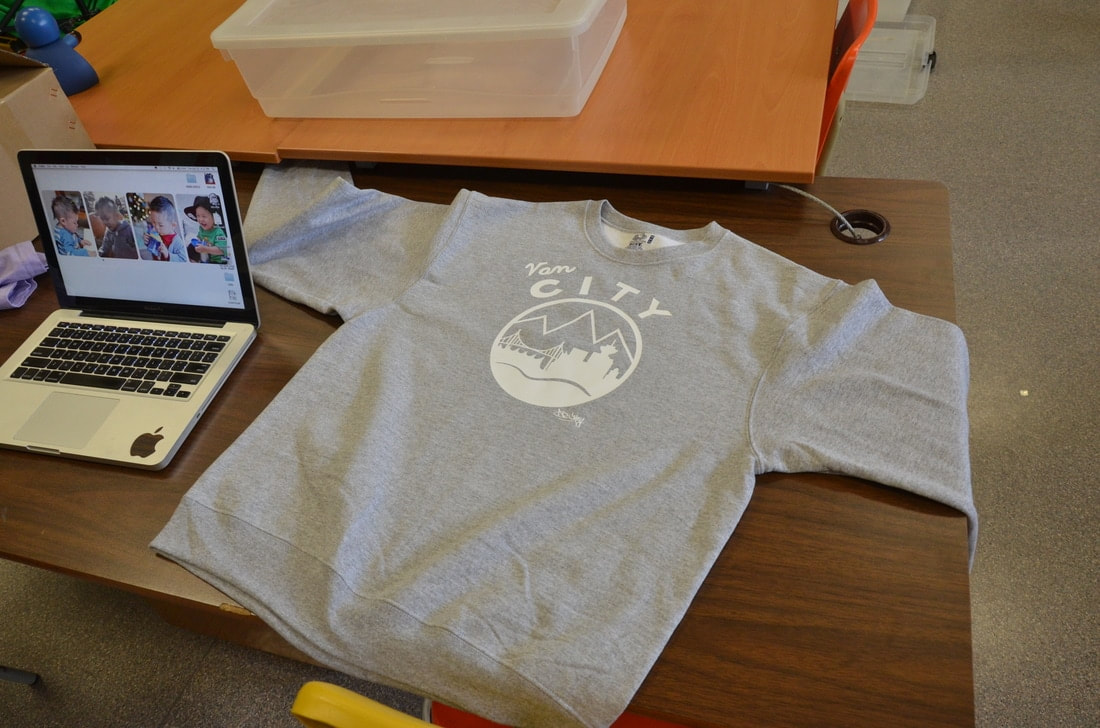
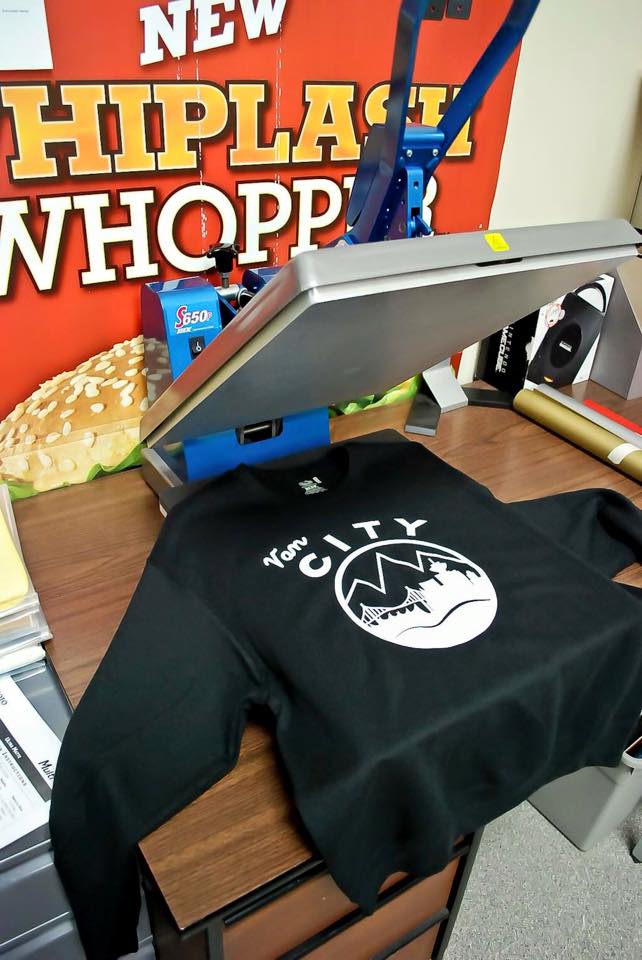
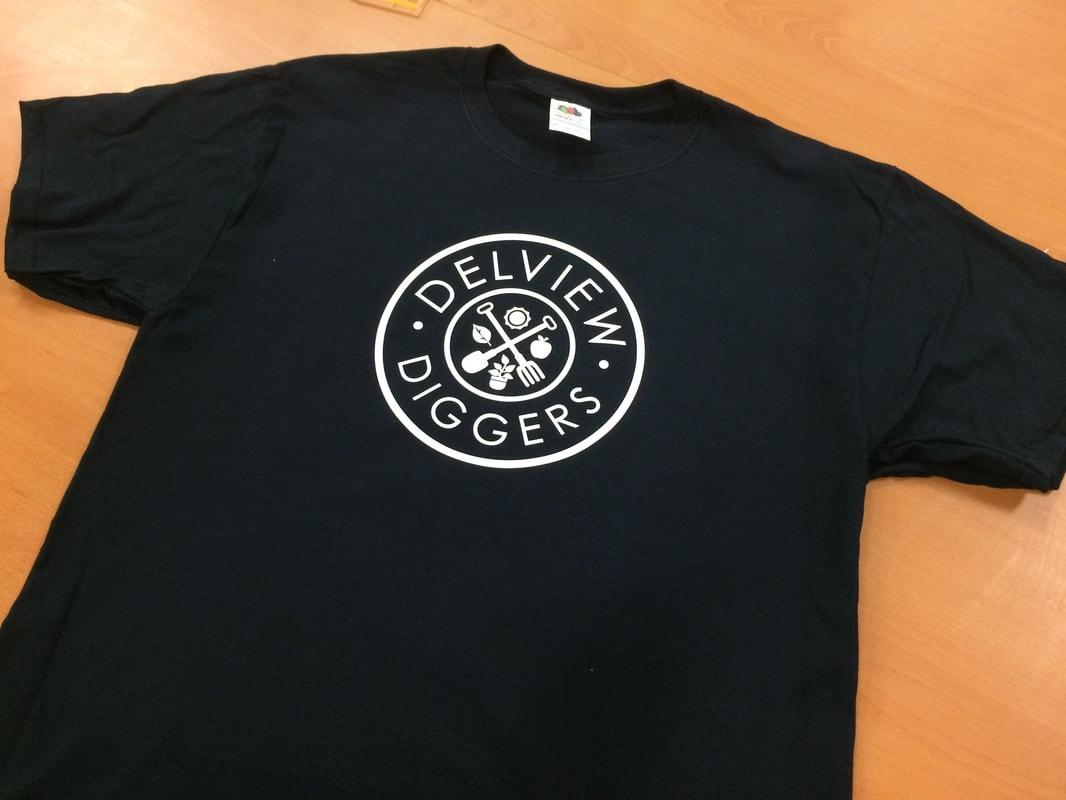
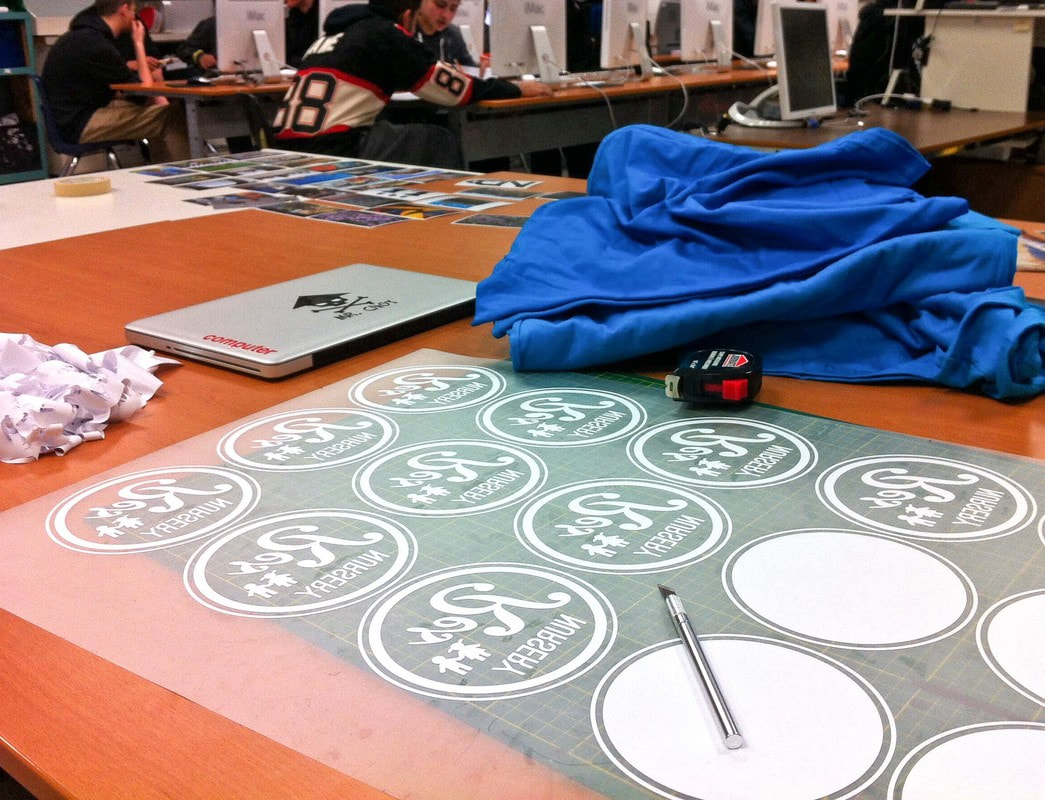
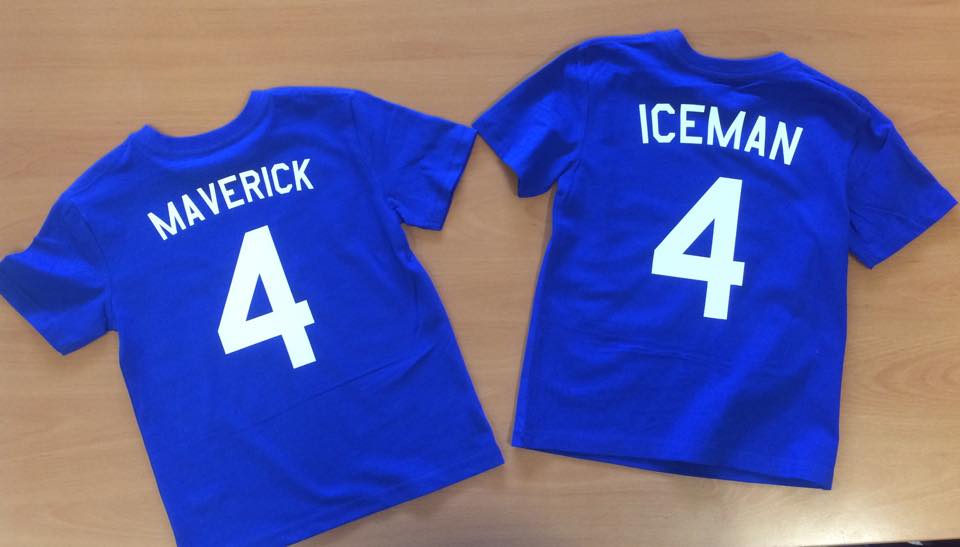
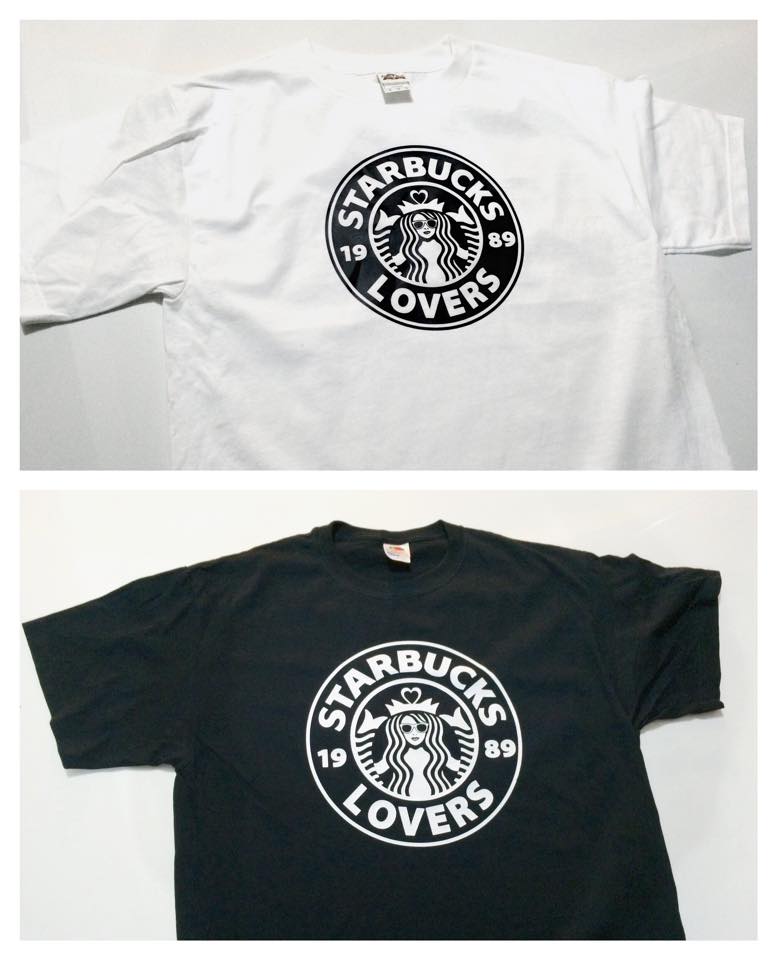
VECTORS: T-SHIRTS & STICKERS
|
|
For this project you will be learning how to create vectors that can be cut on the vinyl cutter. Tools to use:
Try out all 3 different methods of creating a VECTOR. Create an example of each one. Submit it for printing. Stickers are free. T-Shirt vinyl is a costlier material. $4 for vinyl $4 for a T-Shirt (you can bring your own too) Submit your files with clearly labeled titles:
|


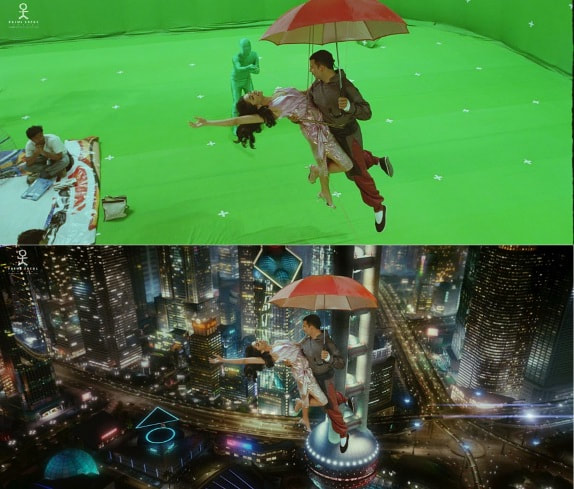
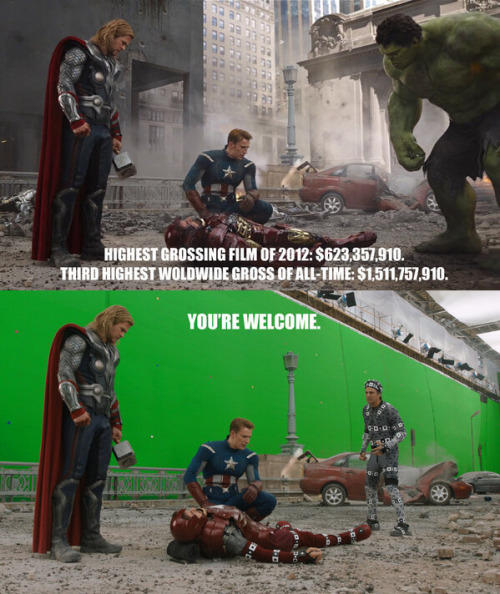
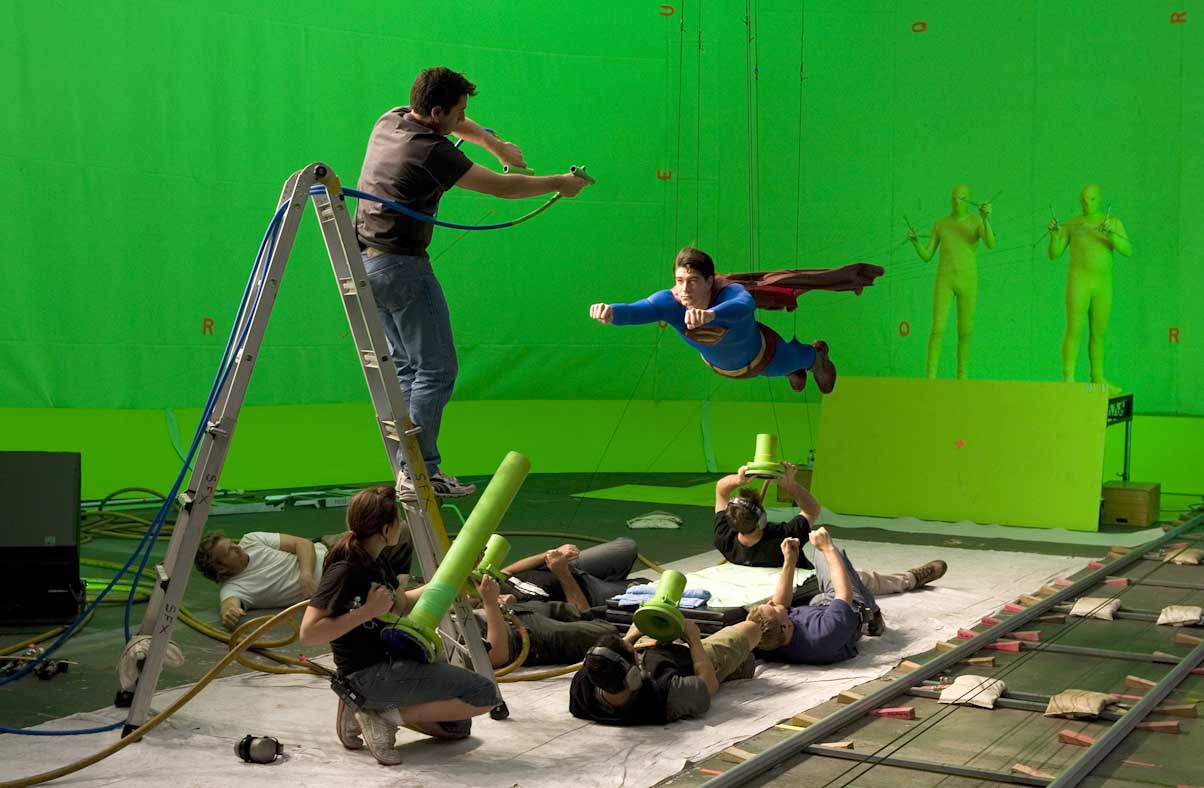
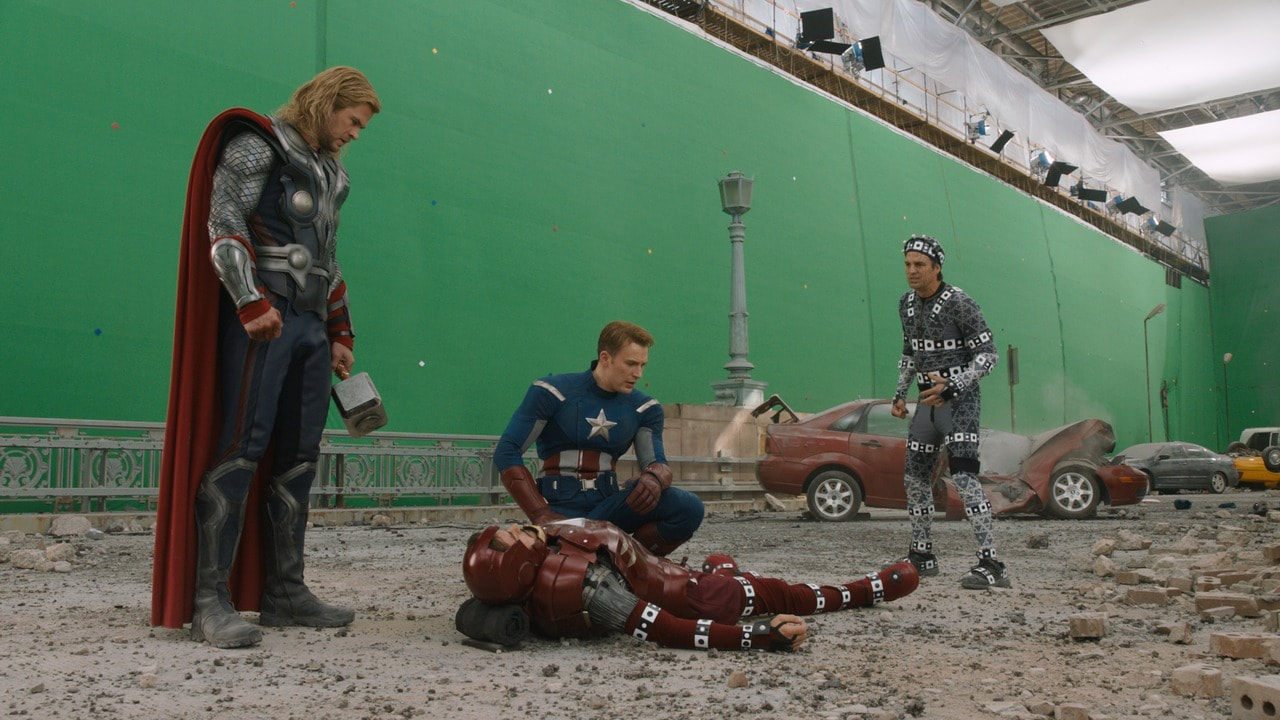
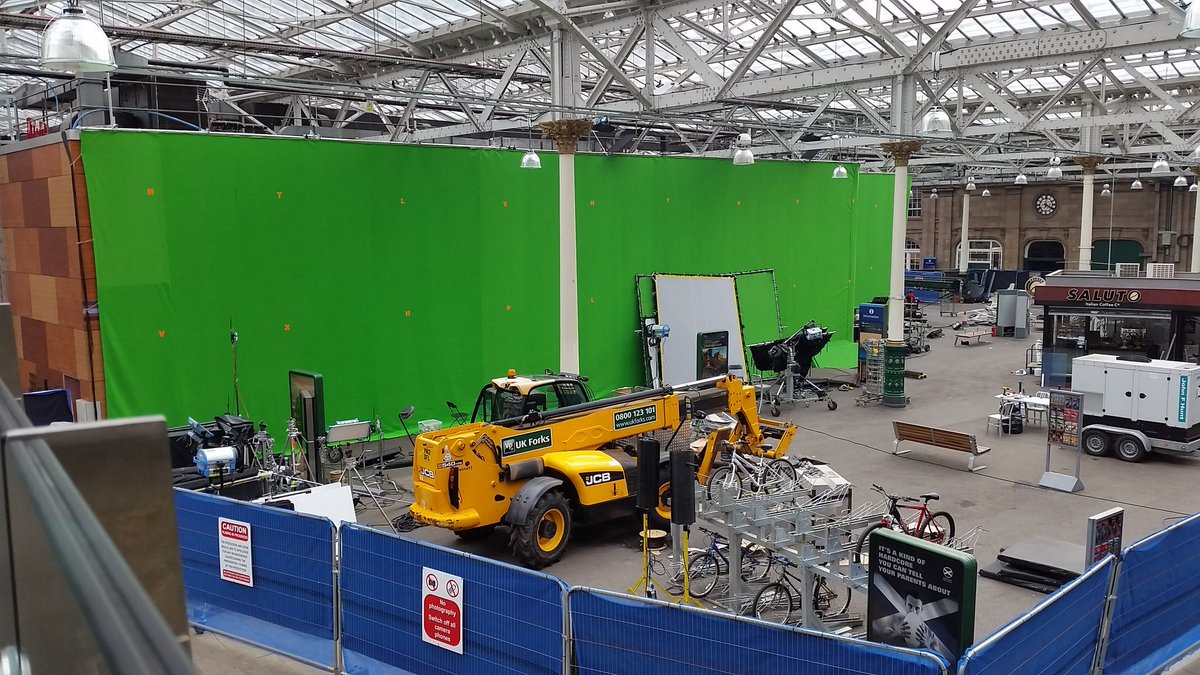
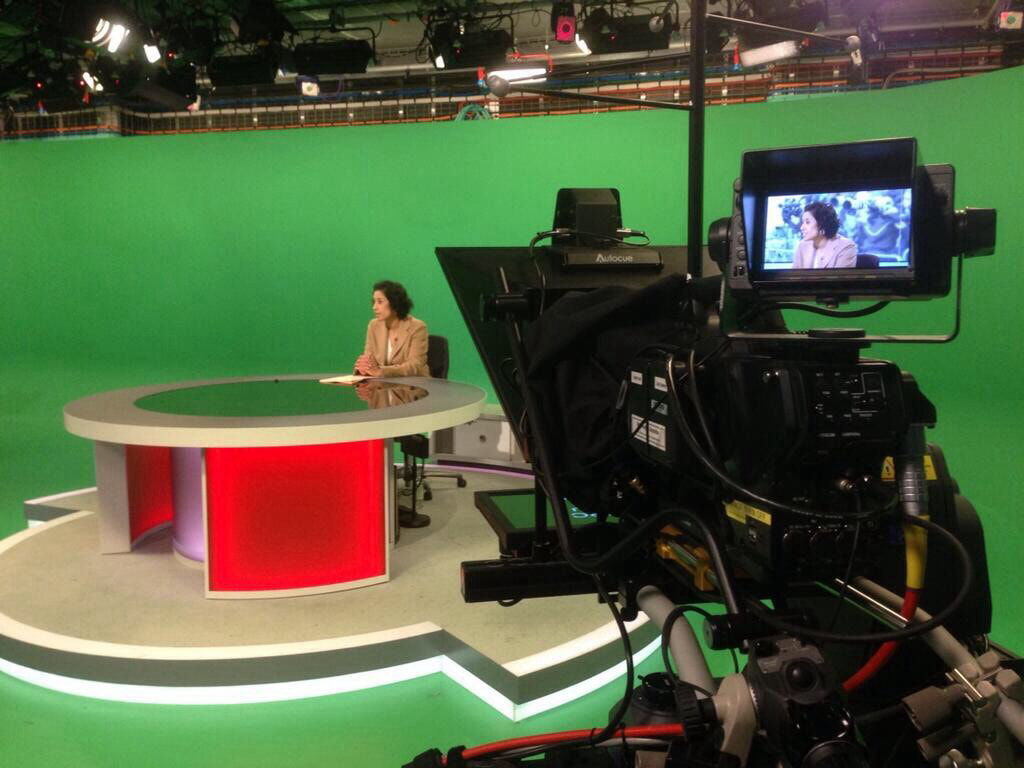
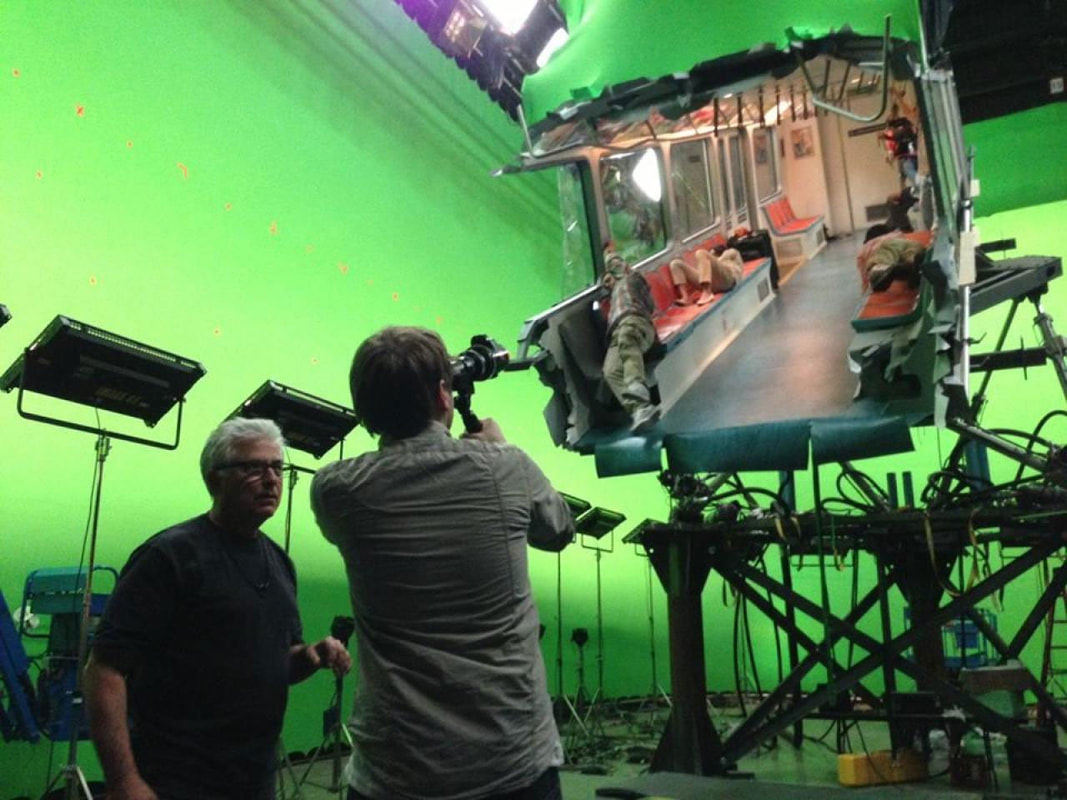
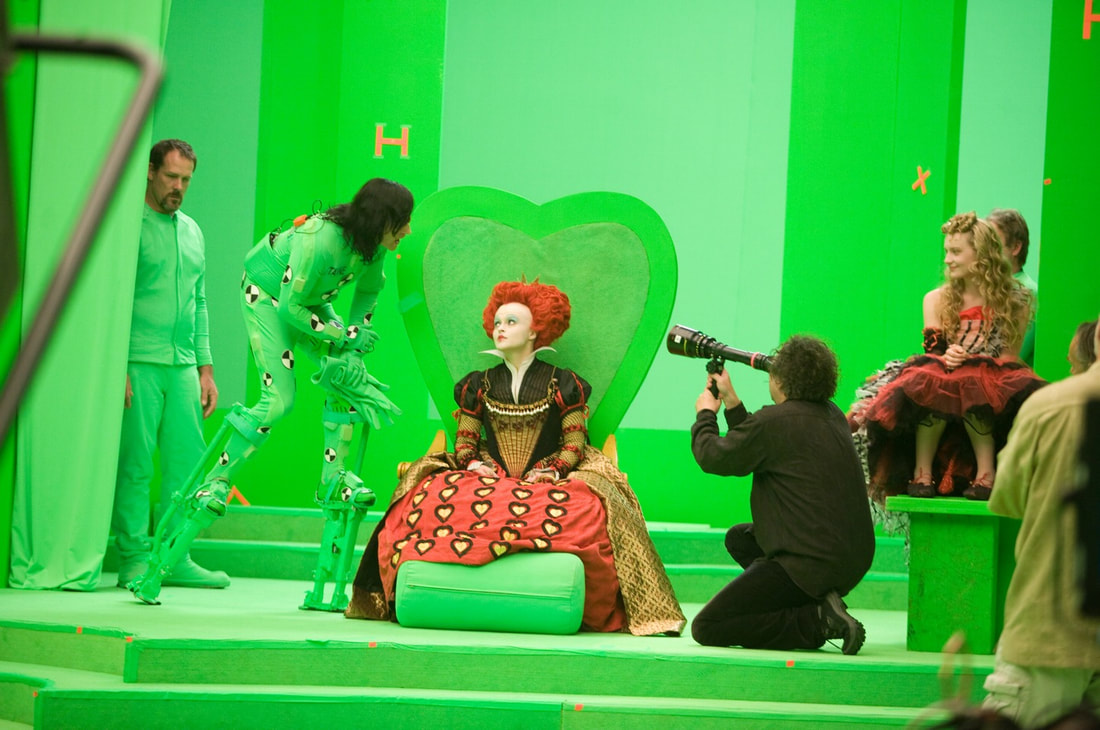
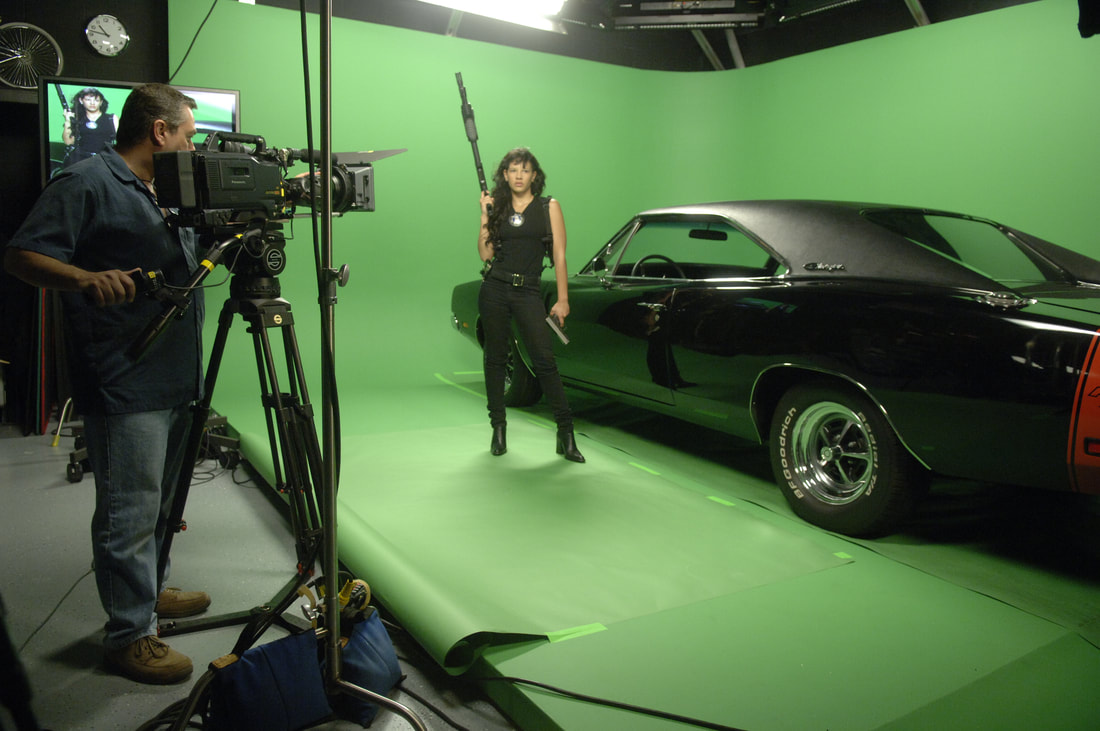
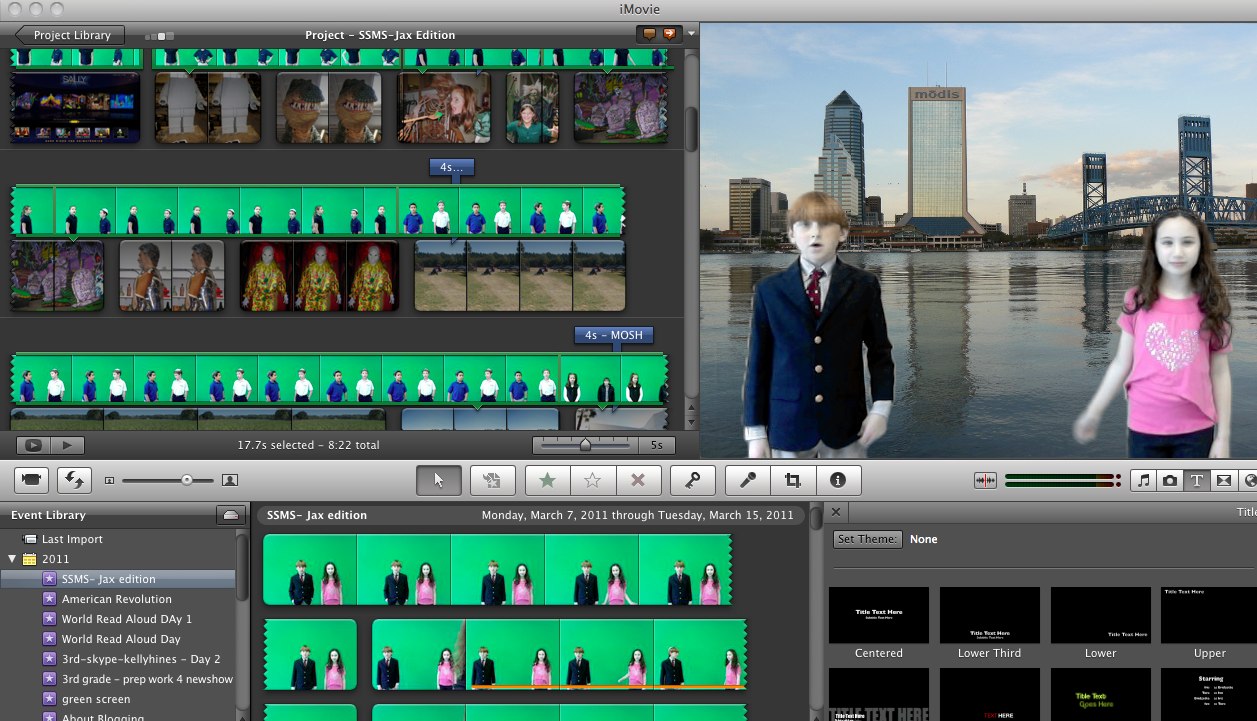
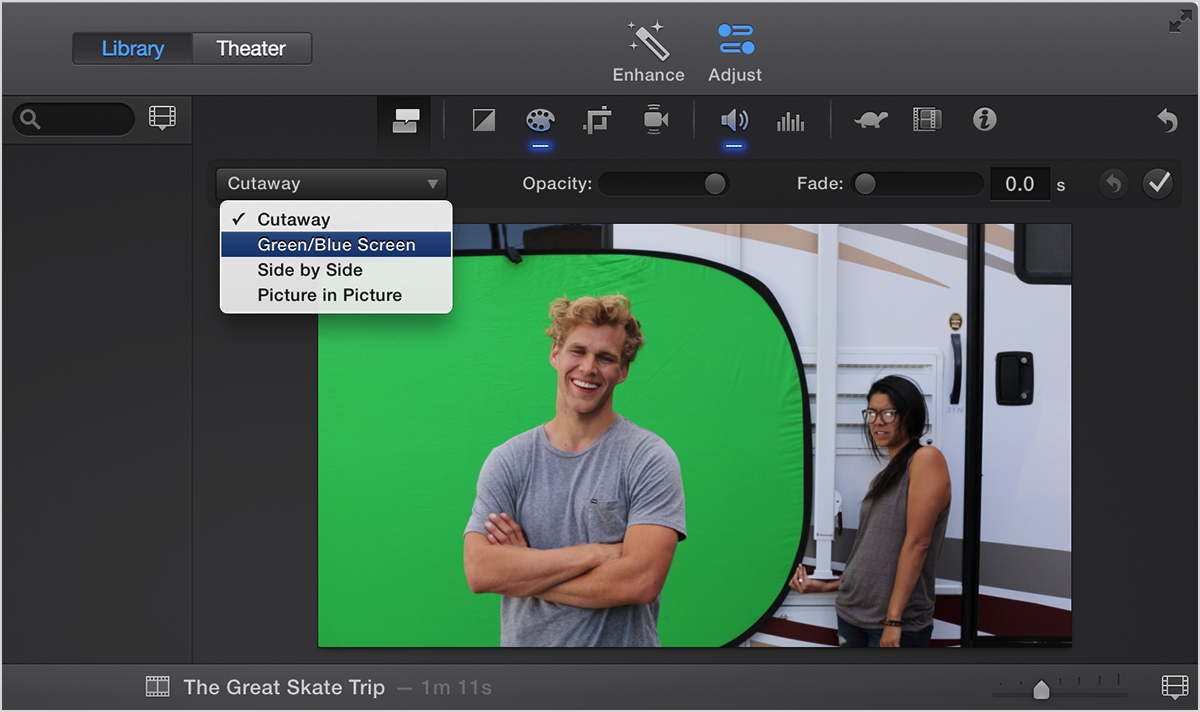
MOVIE MAGIC: GREEN SCREEN
|
|
What is iMovie Green Screen or Chroma Key effect? If you shoot a video with a single colored background (often green or blue), iMovie allows you to make that color transparent. You can replace the background with any other video clip, graphic or still image as you like. That is the green screen effect in iMovie. What is Keying? Keying is the process of isolating a single color or brightness value in an electronic image and using software to make that value transparent, allowing another image to show through the affected areas. So why is that odd and ugly shade of green the hue of choice for television and video? The biggest factor is contrast. In order to isolate one area from the rest, the background color must be distinctly different. Bright green beats blue partially because it is not a color commonly worn by talent. Any clothing that matches the background too closely will also key out, punching a hole in your subject’s body, or making him invisible altogether. With iMovie green screen effect, it's easy to superimpose anything into any shot. For example, you can transport yourself to anywhere you like, or appear in your favorite movies. That's interesting, right? How to use green screen effect in iMovie? Many people may be bothered by it. Now follow the steps to apply green screen effect in iMovie and you will find adding iMovie green screen effect is just a piece of cake. PROJECT OBJECTIVE: Create a 1-2 min video using the green screen. Be creative in how to make your short film. Your group can come up with your own format and content. THE THEME IS "VIDEO GAMES"
|

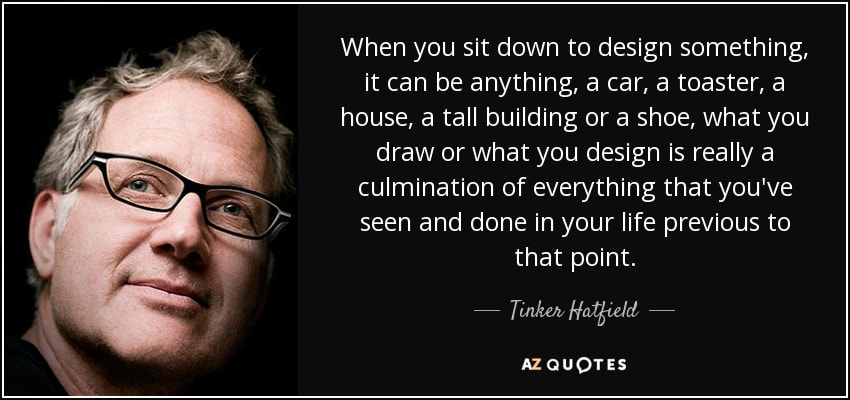
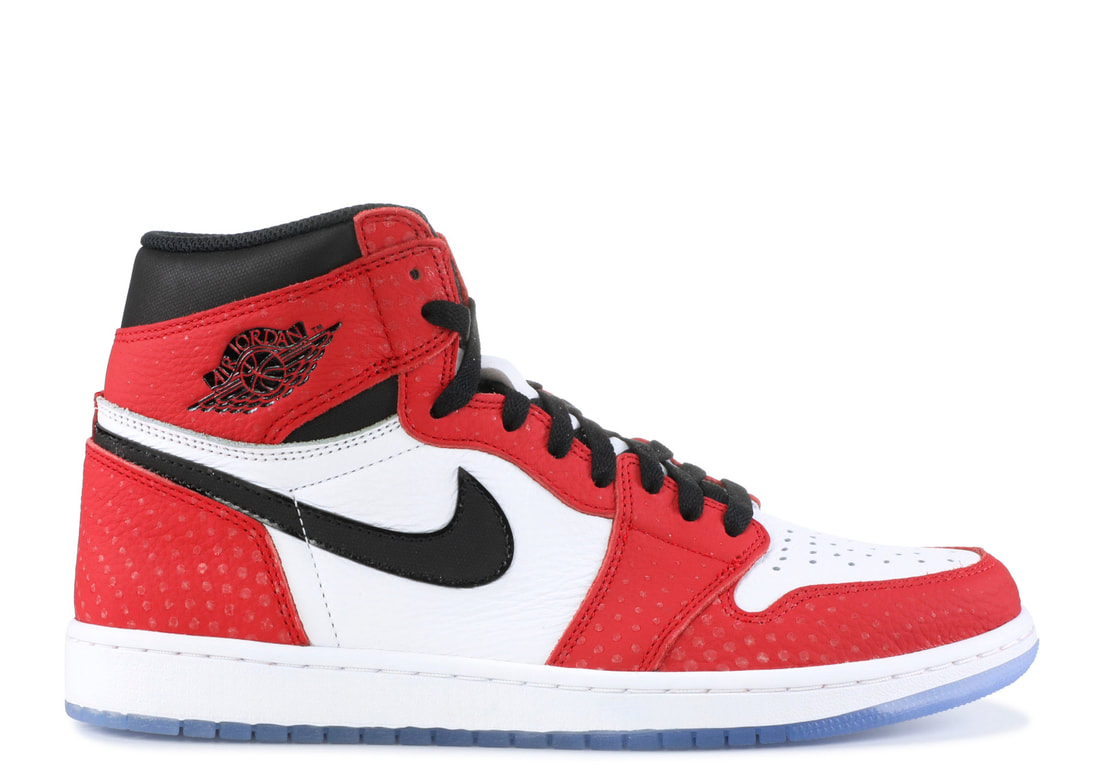
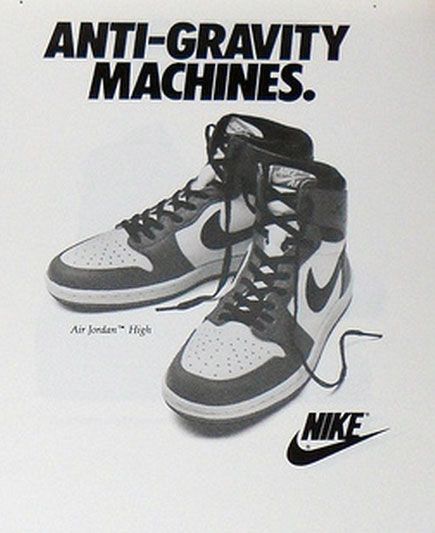
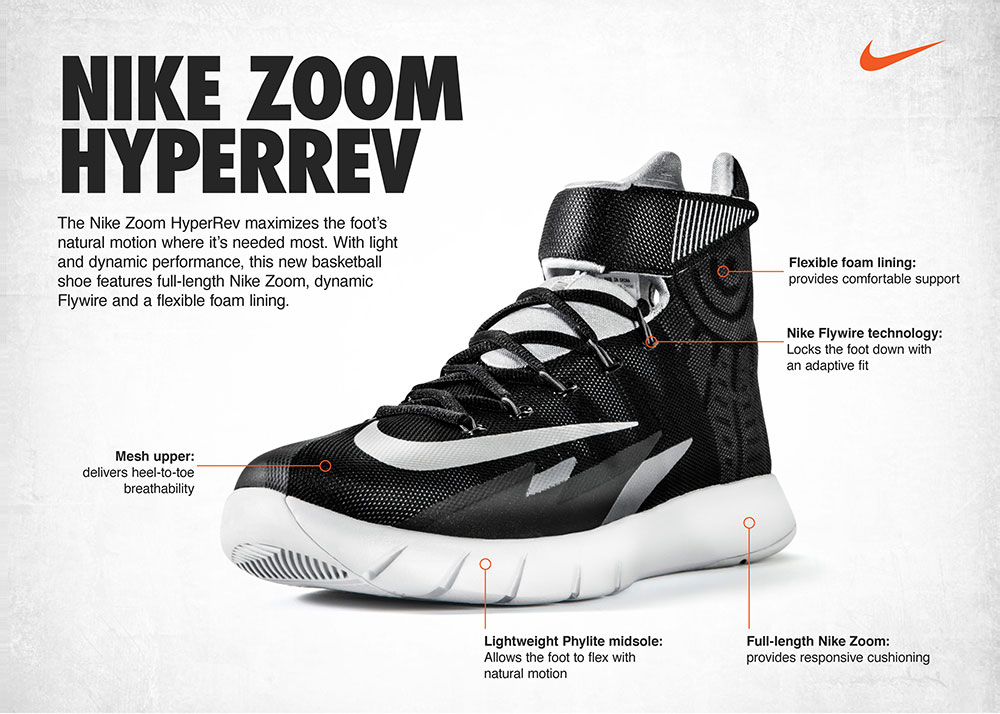
TINKER HATFIELD- SHOE DESIGNER
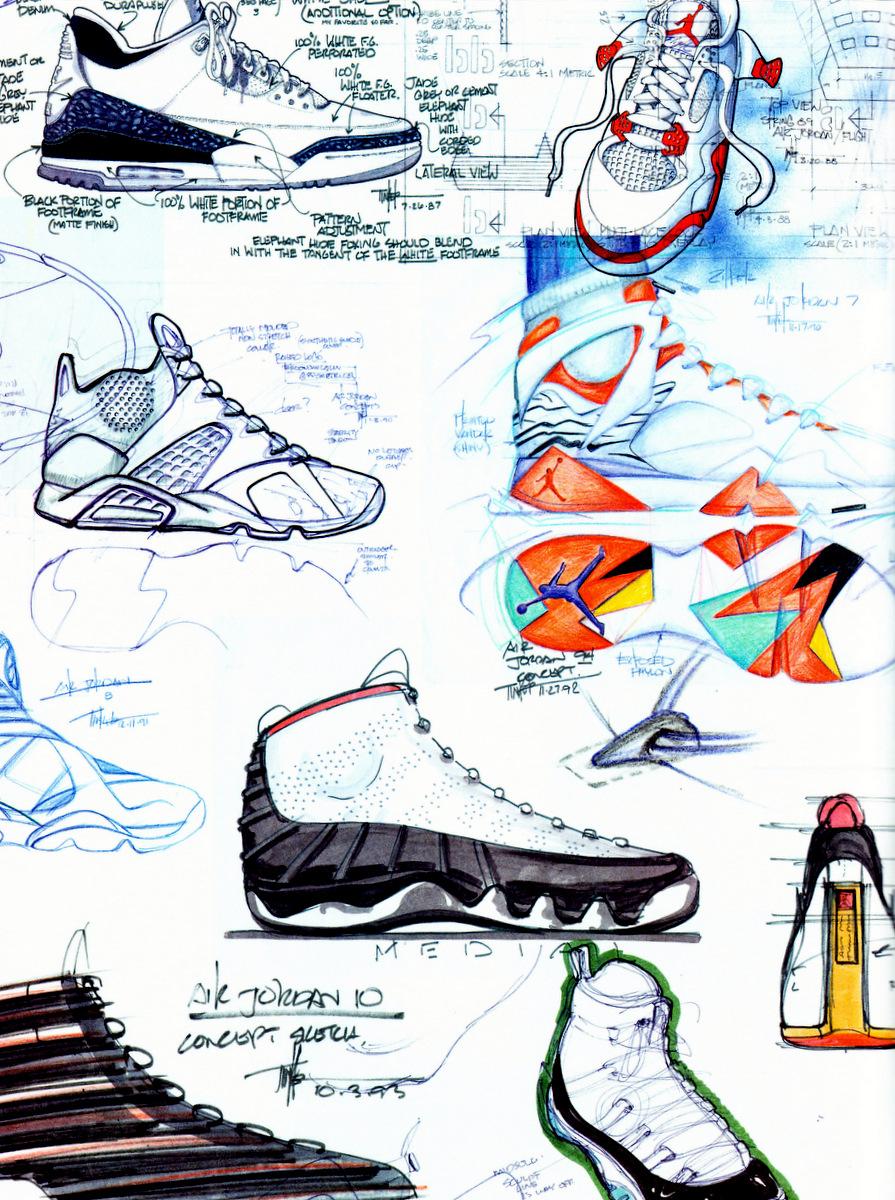
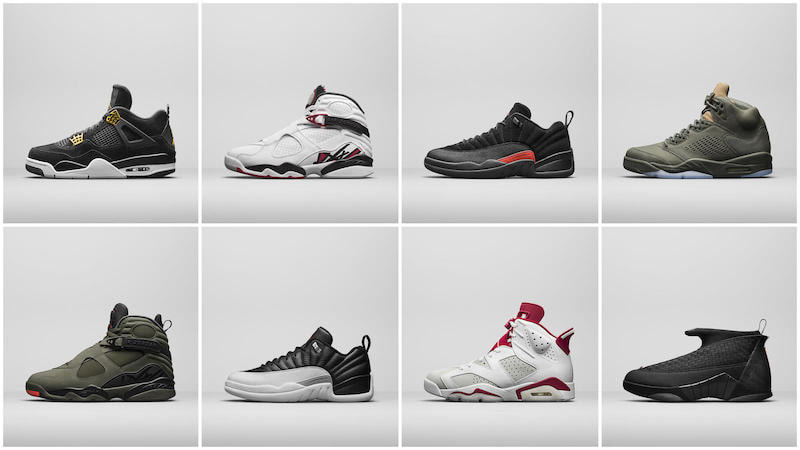
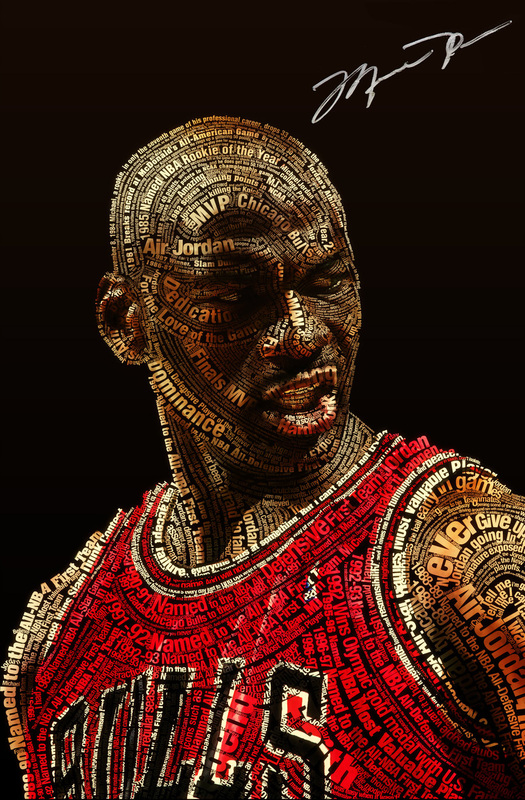
Many of us think of shoes as just protection for feet. In the past few years, we have seen the rise of the sneakerhead movement. "Sneakerheads” will line up outside of a Champs or specialty shoe store for days or even weeks just for the chance to buy a limited edition pair of sneakers. There is a lot interest in “retro” basketball shoes – shoe connoisseurs place a high value on old school Nikes. The Michael Jordan "AIR JORDAN" signature line is probably one of the more sought after shoes. These shoes were praised for their revolutionary aesthetics and cutting edge technology.
Tinker Hatfield is a legendary shoe designer, he works for Nike and was responsible for the Air Jordan signature line. He went to school at the University of Oregon (birth place of Nike) and studied architecture. Tinker was a star track and field athlete but suffered an career ending injury which led him to work with his coach Bill Bowerman (co-founder of Nike) to design store fronts, office spaces, and buildings for Nike. By 1985 he moved into designing athletic shoes for Nike. Tinker saw a parallel with architecture and sneaker design. His approach to sneaker design required working with the athlete to maximize usability. Tinker found inspiration everywhere he traveled – from the badlands of Utah, to buildings in Paris, to cars and even fighter planes. In 1987, Tinker unleashed his first designs for public consumption. The Air Max 1, a shoe created specifically for runners, was the first to incorporate a visible air unit. Tinker collaborated with his Michael Jordan to develop one of the most iconic shoes ever, the Air Jordan III. Carrying over from the Air Max 1, the shoe uses a visible air unit, the first of its kind on a basketball shoe. Michael wanted an animal print, and so Tinker used a grey print which mimicked the look of elephant skin. There's also an element of luxury by using high quality leathers for the uppers of the sneaker to add durability. The Air Jordan III was also the first shoe to use the trademark Jumpman logo (which contrary to popular thought, is actually inspired by the silhouette of a ballerina). This shoe solidified Tinker’s position as the lead designer for Jordan’s signature line of sneakers. |

|
DESIGN RATIONALE: DESIGN A SHOE
OVERVIEW:
A design rationale is the explicit listing of decisions made during a design process, and the reasons why those decisions were made. Its primary goal is to support designers by providing a means to record and communicate the discussion and reasoning behind the design process.
As a designer it's important to be able to communicate with your client on a deeper level when you present ideas. It's not just show and tell. Design is more than visual beauty and aesthetics. It should have a coherent thought behind it, too.
The easiest way to deliver this type of narrative is to write a simple design rationale for each design direction you've created. A design rationale will help a client see the full potential of where a design direction may lead and how the design will help position and market themselves more effectively.
Design Rationales also reveal more subtle forms of conceptual meaning within a design and help people understand the design from a whole new perspective.
WHAT TO WRITE:
- At the top of the page, state the name of the client and the name of the project.
- Keep your writing to the point – one page is usually long enough.
- Start by explaining the overall concept of your design – what is it, who is it for (audience) and in what context will it be used?
- Then go into details, giving reasons for the design decisions that you’ve made: Colour, shapes, lines, typography/fonts, symbolism/meaning, style, relationship/connection, materials used.
- Remember – it’s a rationale (requiring the reasons or logic behind your decisions), not a description.
- Don’t just say what you’ve done – explain why you’ve done it.
- Don’t admit to arbitrary and random decision making, avoid saying "just because I like it".
- Design a shoe design with one of these websites.
- Be intentional in the decisions and choices you make for your design.
- Write a design rationale for your 'shoe creation'. Save it as rationale_yourname
- Save a SCREENSHOT of your shoe
- Submit the screenshot & design rationale to Google Classroom.
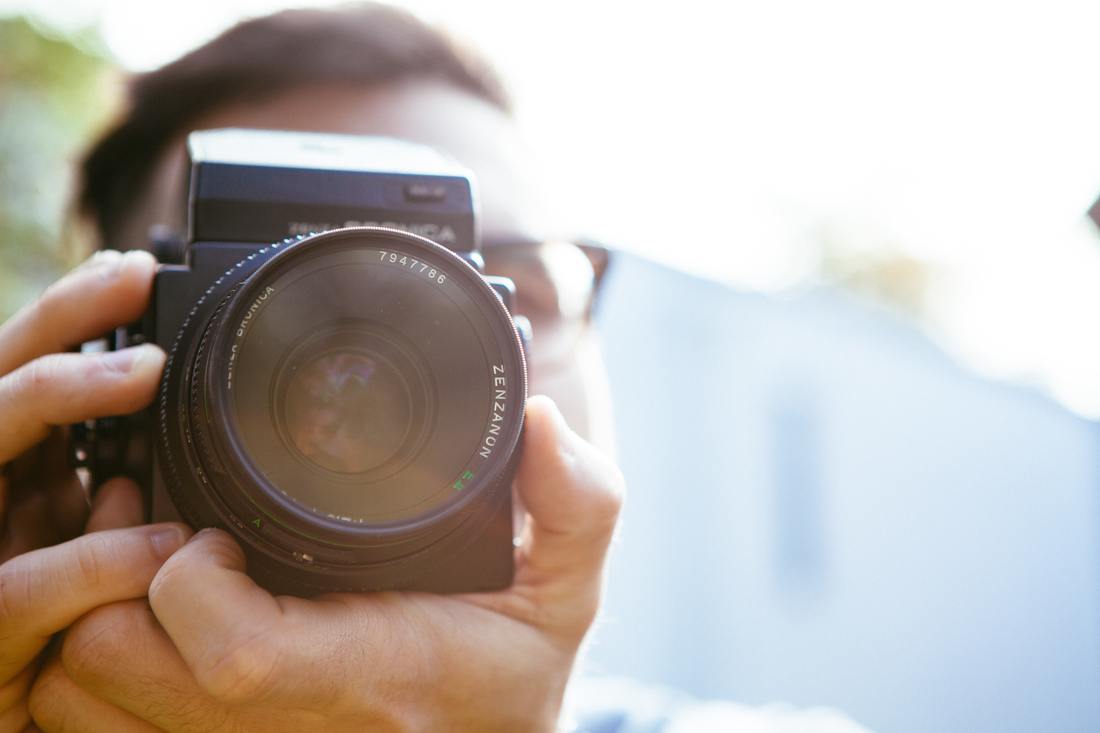
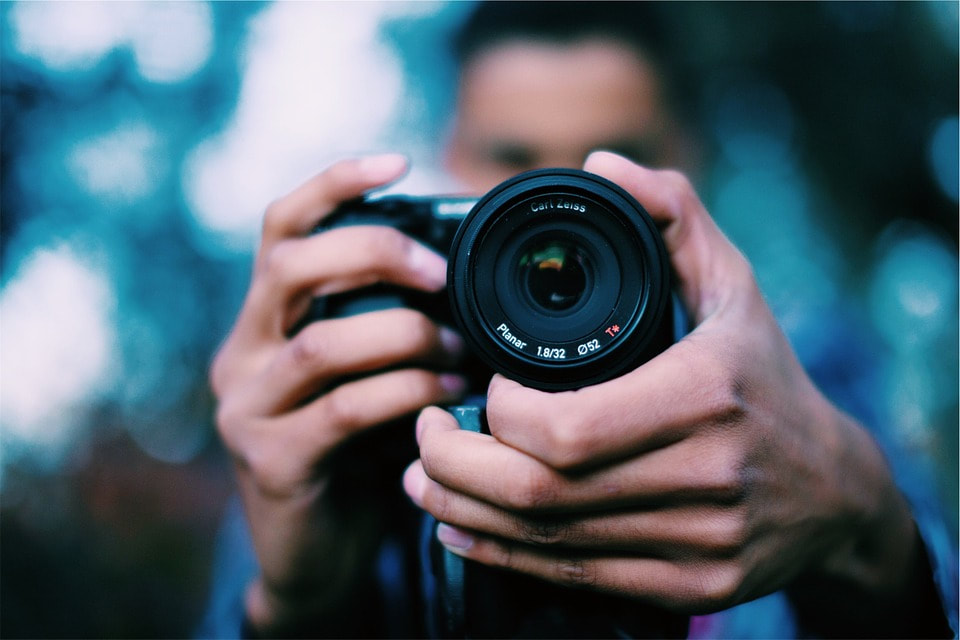
PHOTOGRAPHY: INTRODUCTION MODULES
|
The word photography comes from two ancient Greek words: photo, for "light," and graph, for "drawing." "Drawing with light" is a way of describing photography. Today, photography has become a powerful means of communication and a mode of visual expression that touches human life in many ways.
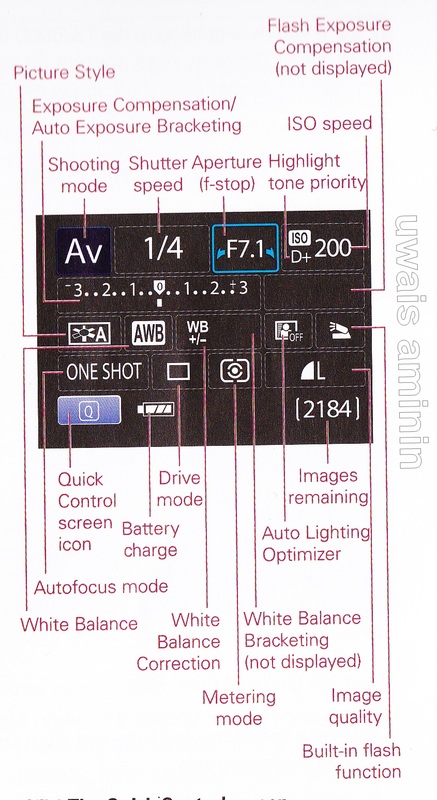
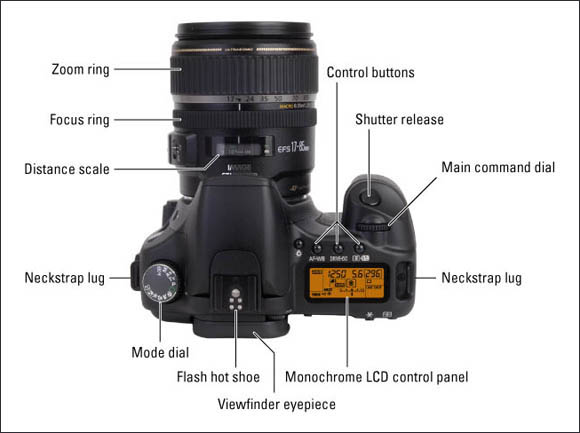
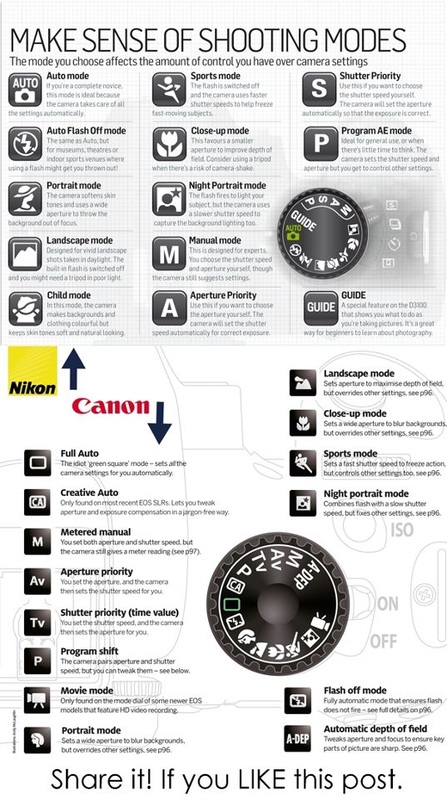
A camera, no matter how many automatic features it may have, is a lifeless piece of equipment until a person uses it. It then becomes a uniquely responsive tool--an extension of the photographer's eye and mind. A photographer creates a picture by a process of selection. Photographers looking through the camera's viewfinder must decide what to include and what to exclude from the scene. They select the distance from which to take the picture and the precise angle that best suits their purpose. They select the instant in which to click the shutter. This decision may require hours of patient waiting until the light is exactly right or it may be a split-second decision, but the photographer's sense of timing is always crucial. Download the PDFs below. You will need it to fill out your worksheet. There is a test on __________ regarding the material covered in class and in the module worksheets. All your worksheets must be completed before you can take the test. MODULE 1: COMPOSITION (Rule of Thirds), FRAMING, FINDING SUBJECTS MODULE 2: SETTINGS, EXPOSURE, CAMERA MODES, HOLDING A CAMERA
| ||||||


PHOTOGRAPHY: COMPOSITION
Poor photo composition can make a fantastic subject dull, but a well-set scene can create a wonderful image from the most ordinary of situations.
It doesn't have to be complicatedPhoto composition doesn't have to be complicated.
It doesn't have to be complicated. Photo composition doesn't have to be complicated.
In the real world, you'll be working with a wide range of subjects and scenes, and this requires a more open-minded approach. What works for one photo won't necessarily work for another.
|
|
|
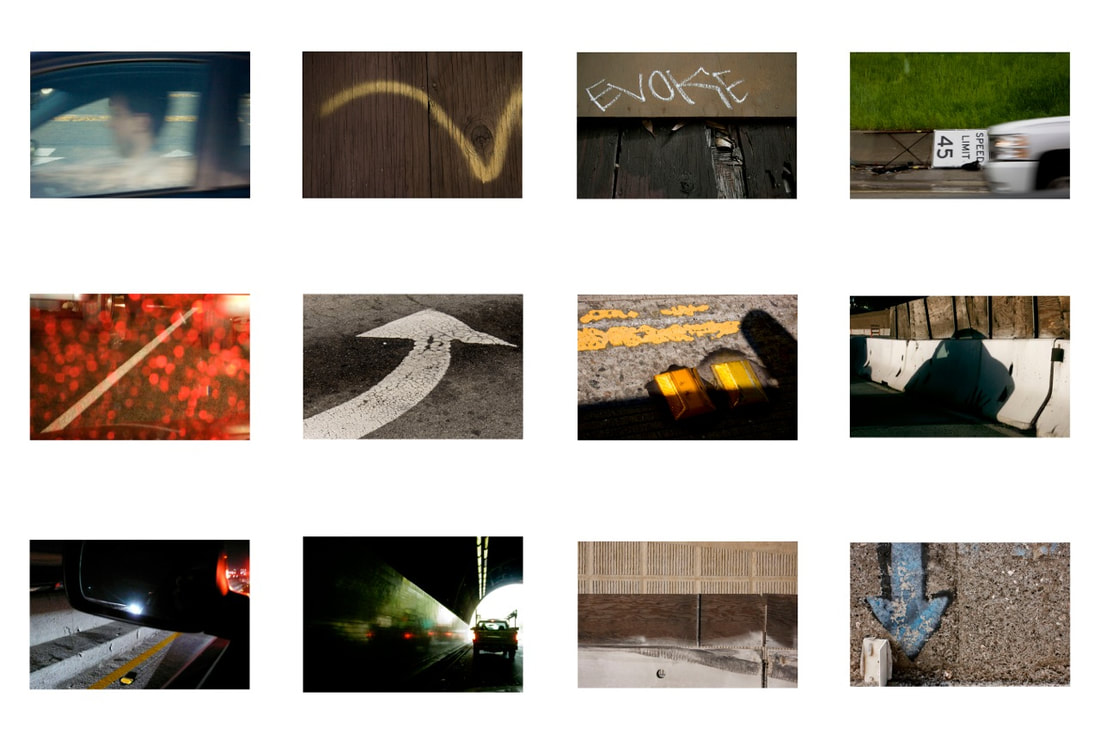
PHOTOGRAPHY: PACK 12
|
| ||

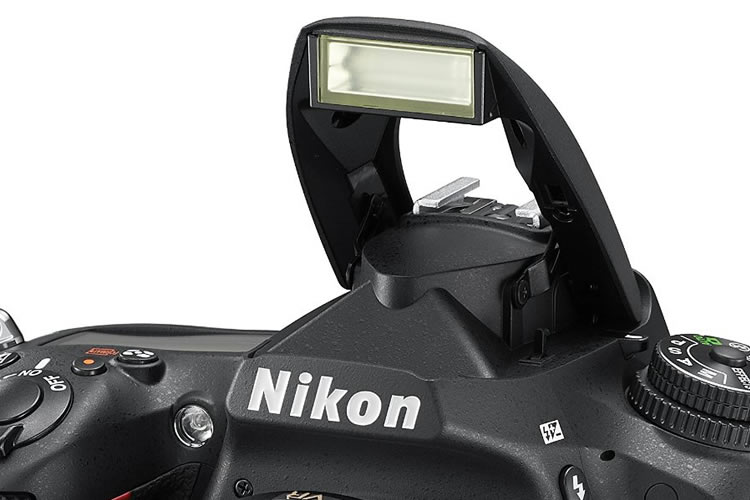
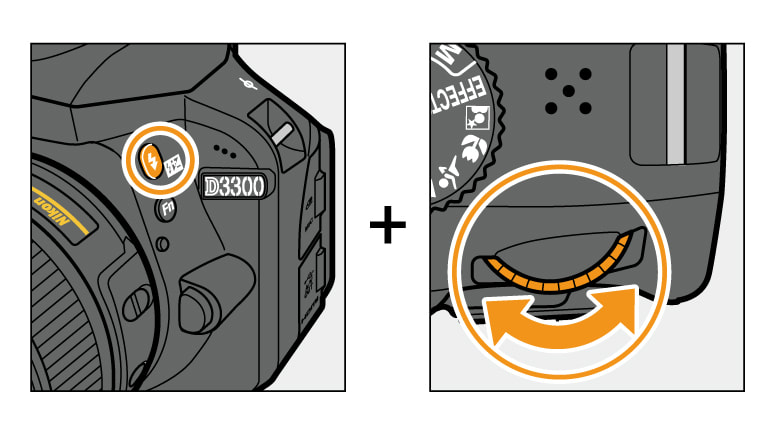
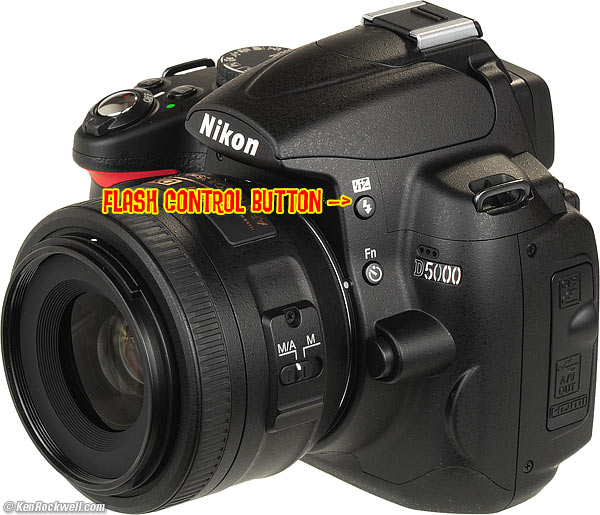
NO FLASH: How to turn off the flash
CAMERA RAW: Photo Editing
|
Download all the photos to follow along with the tutorial.
WORKFLOW STEPS:
| ||
PHOTO ASSESSMENT + CHECKLIST
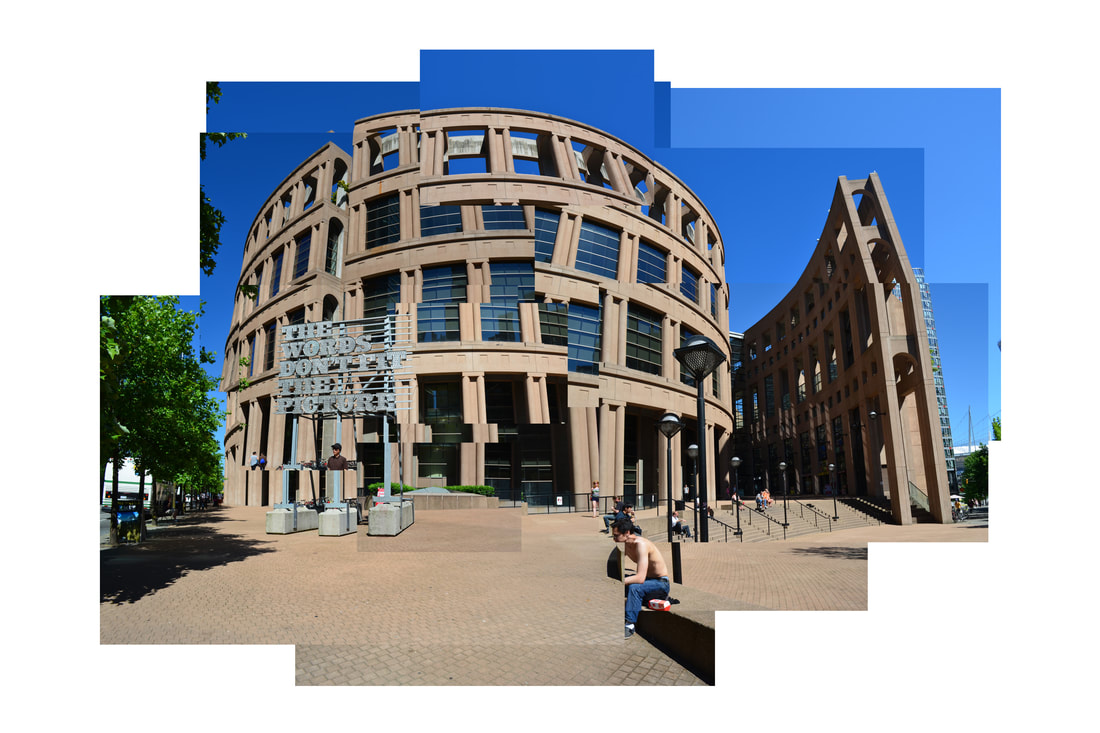
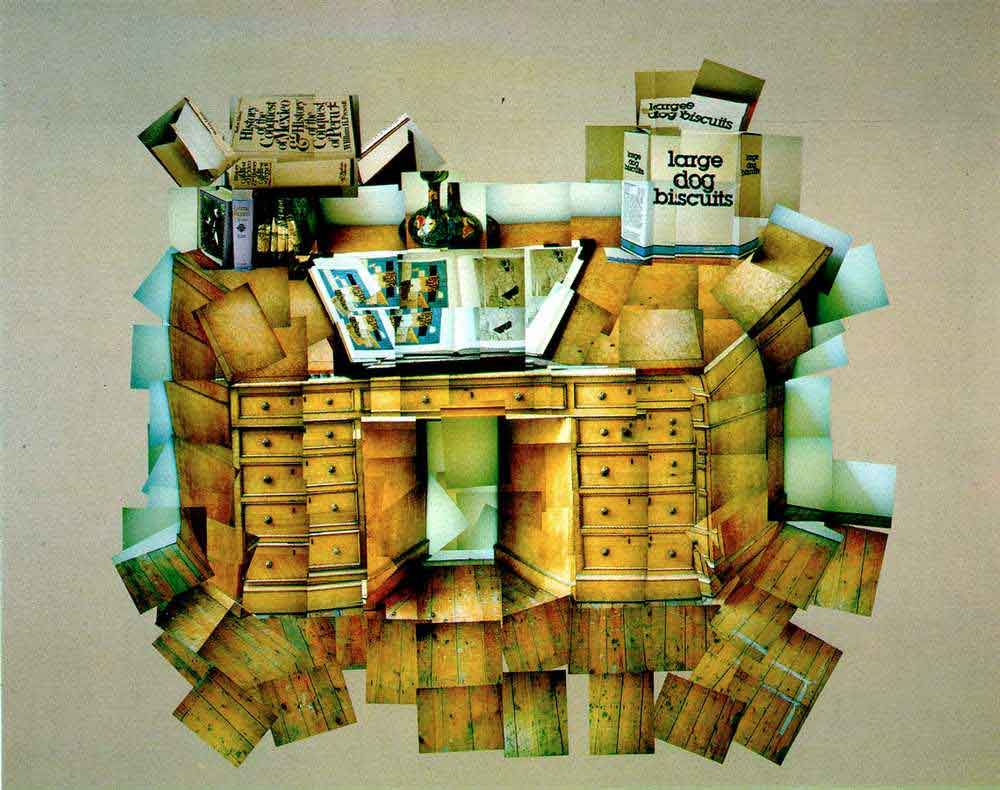
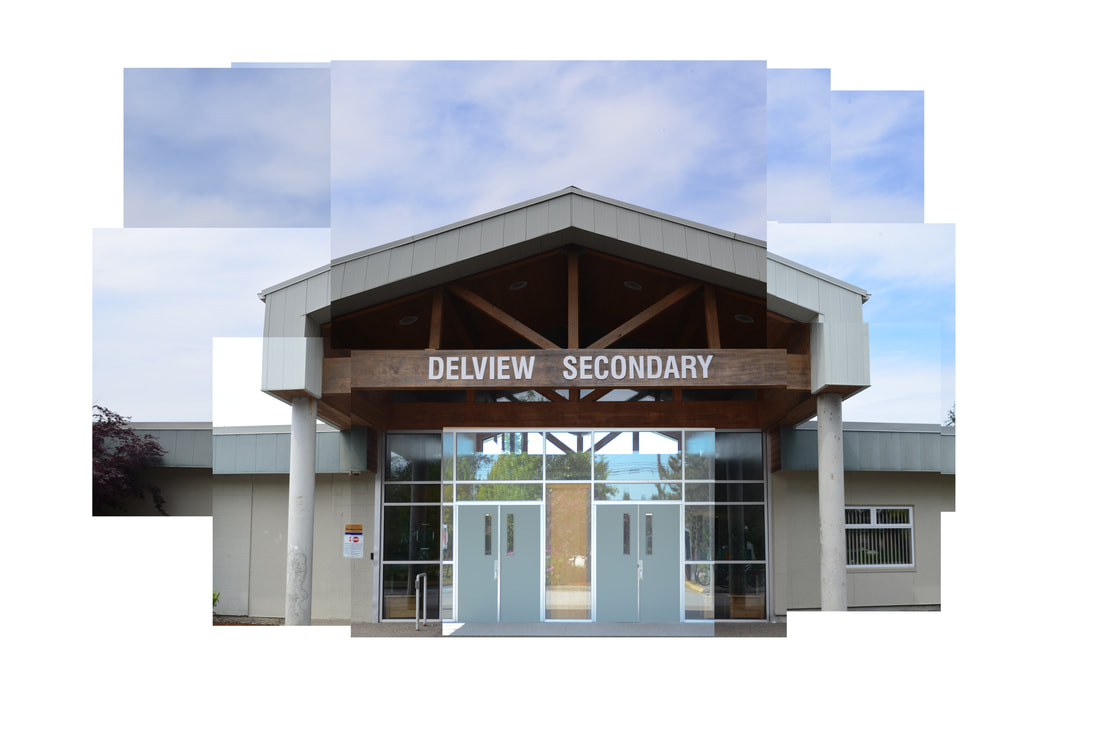
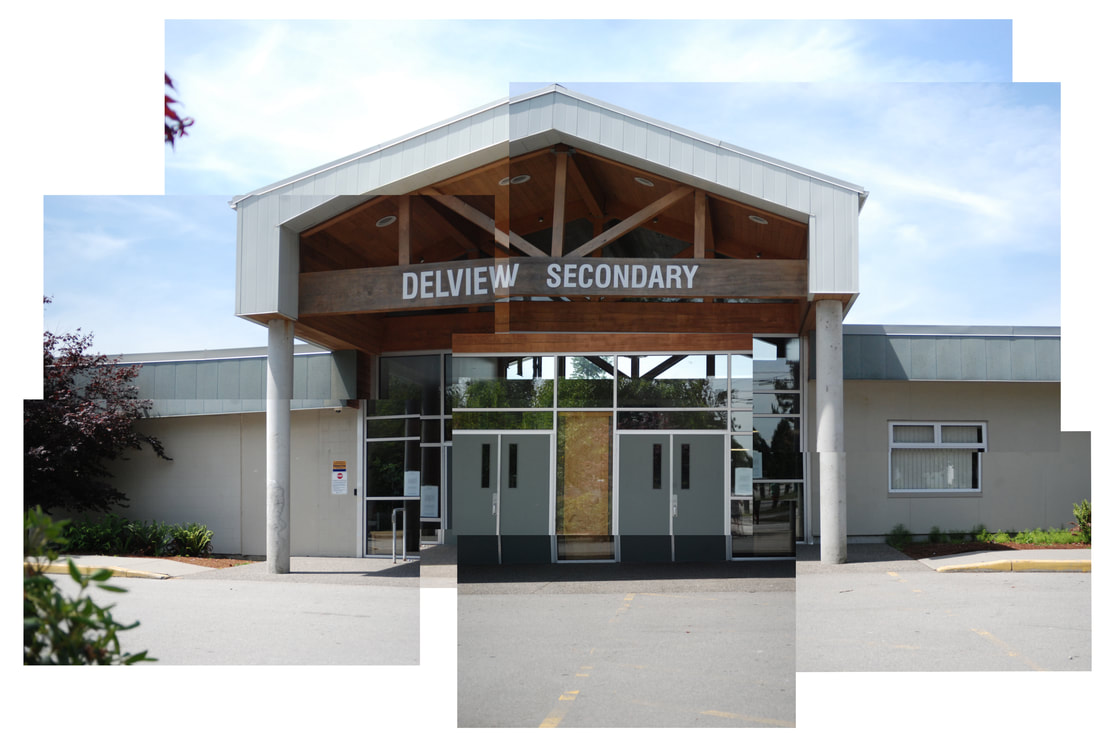
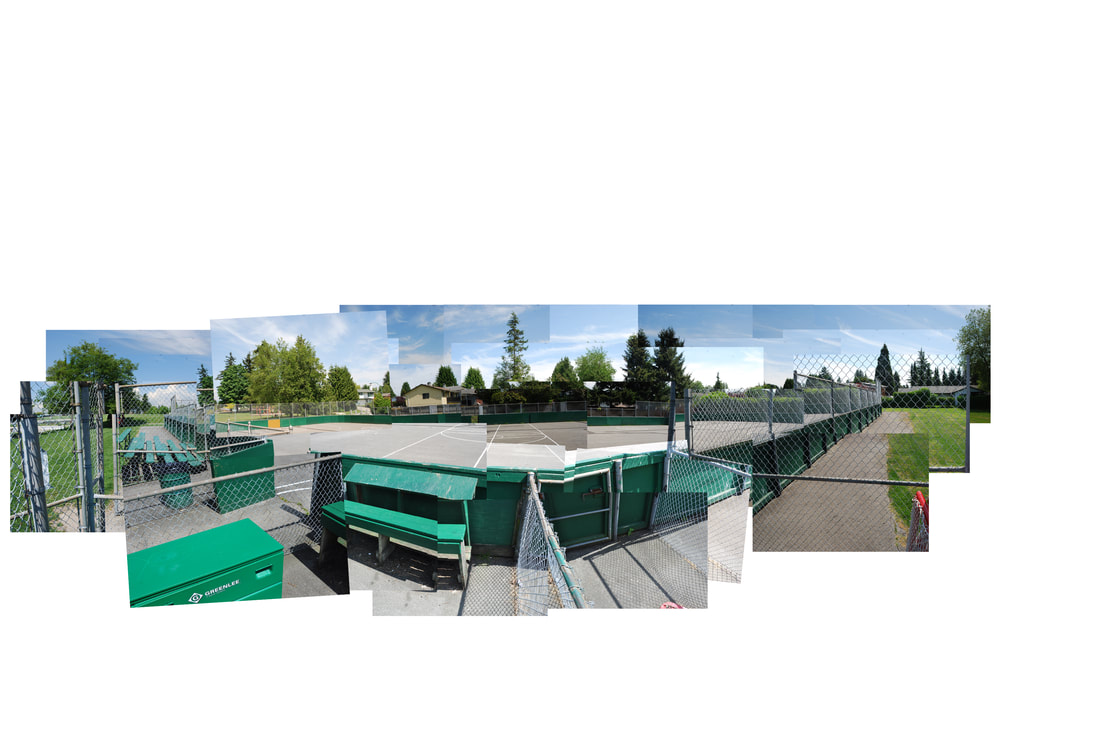
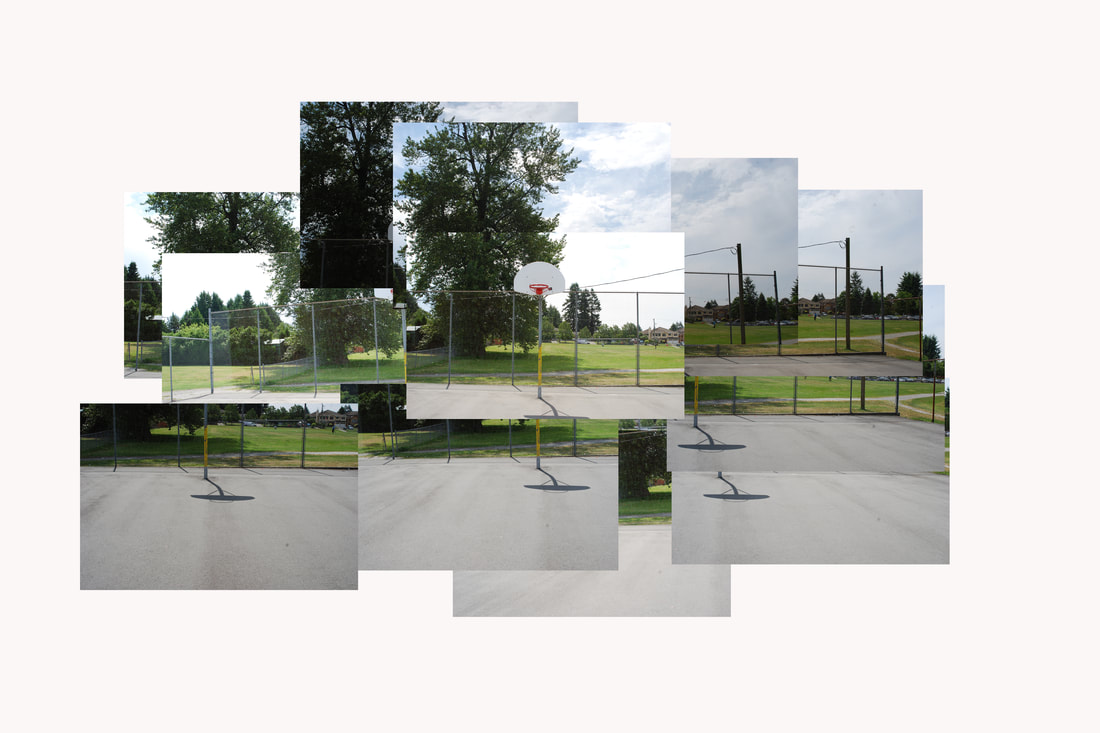
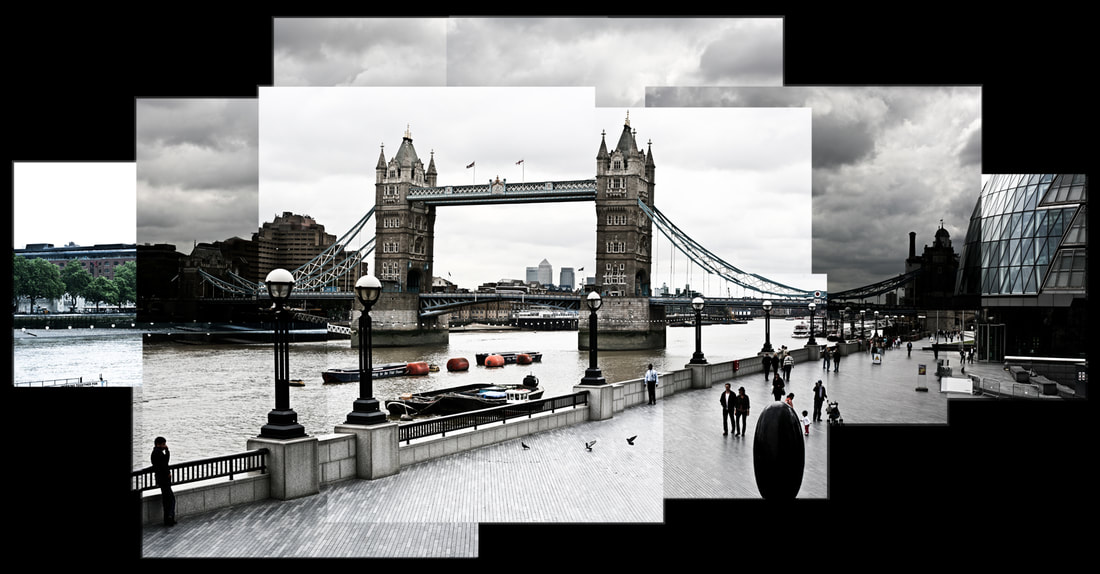
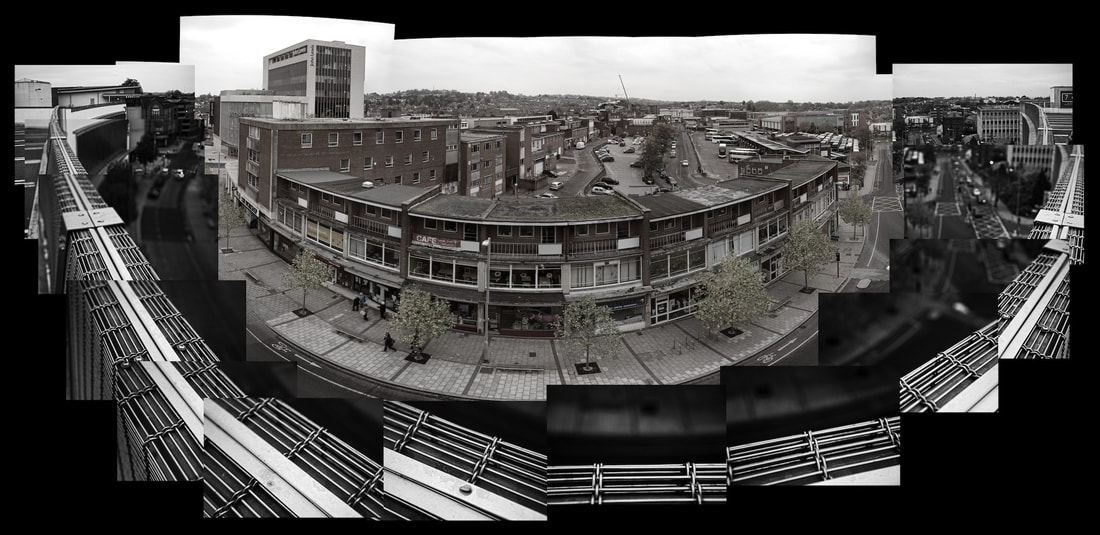
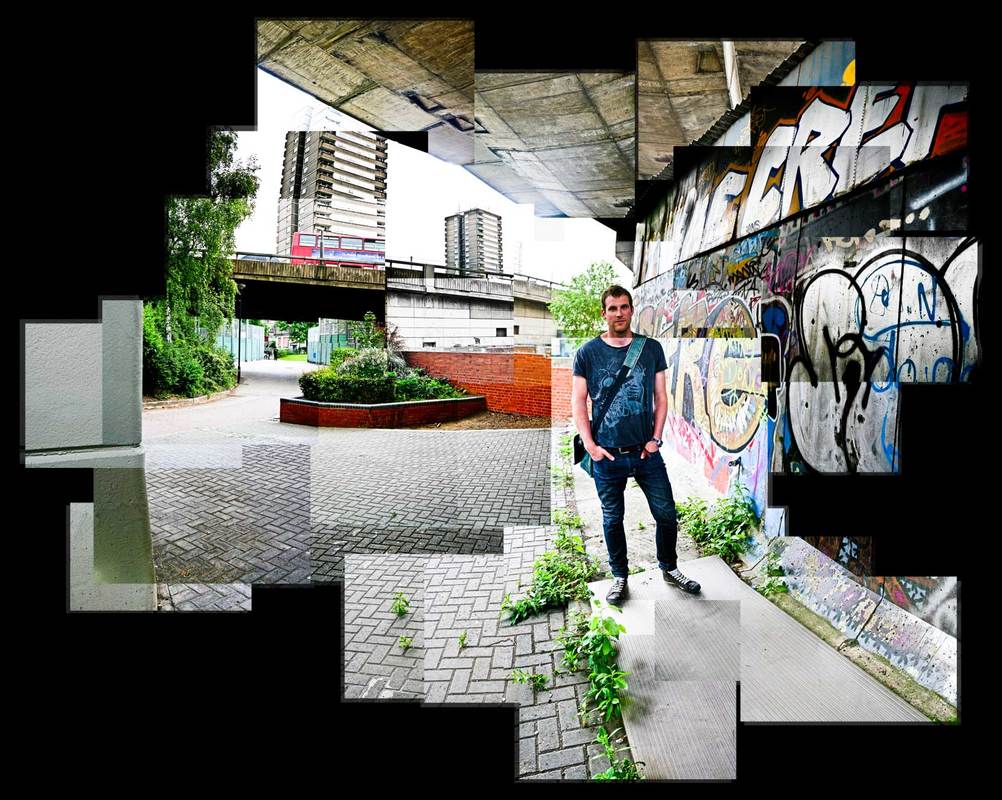
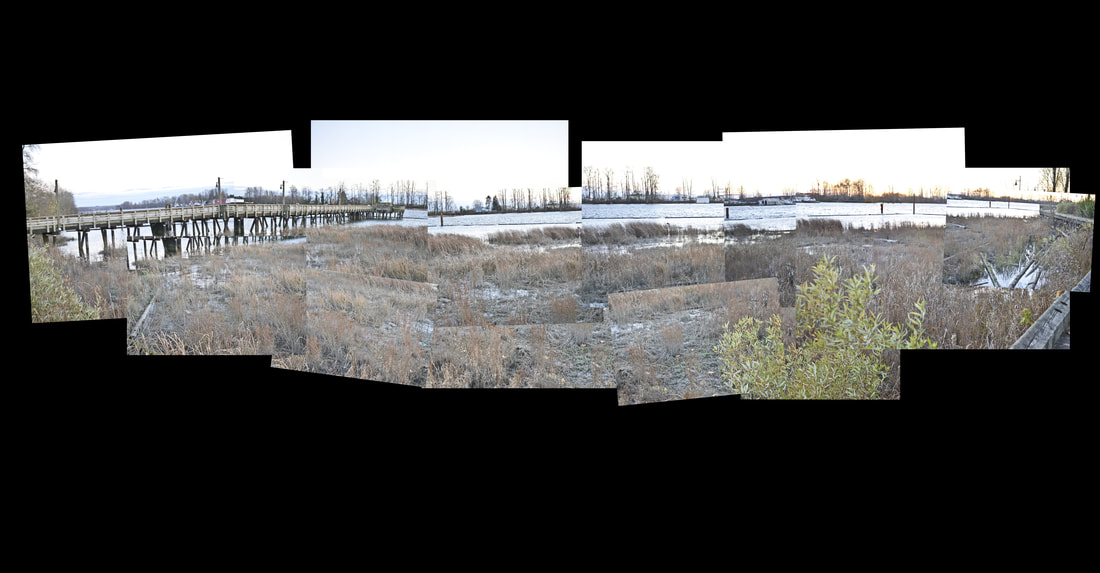
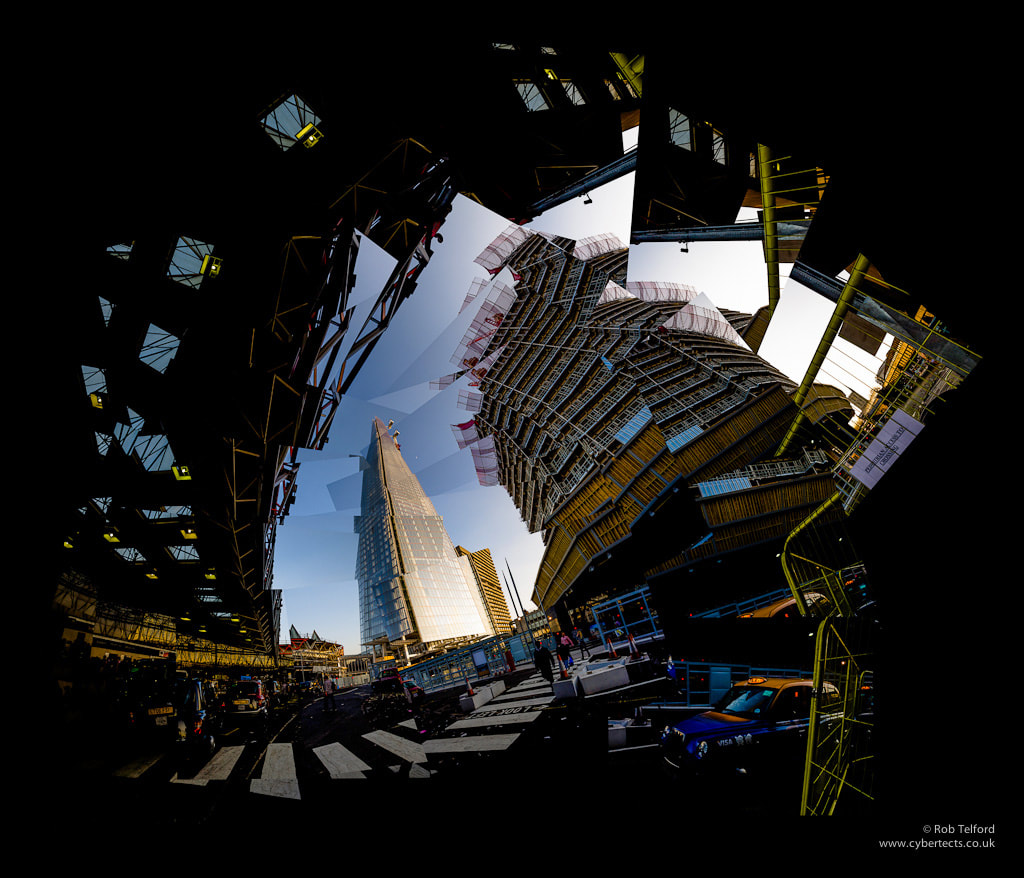
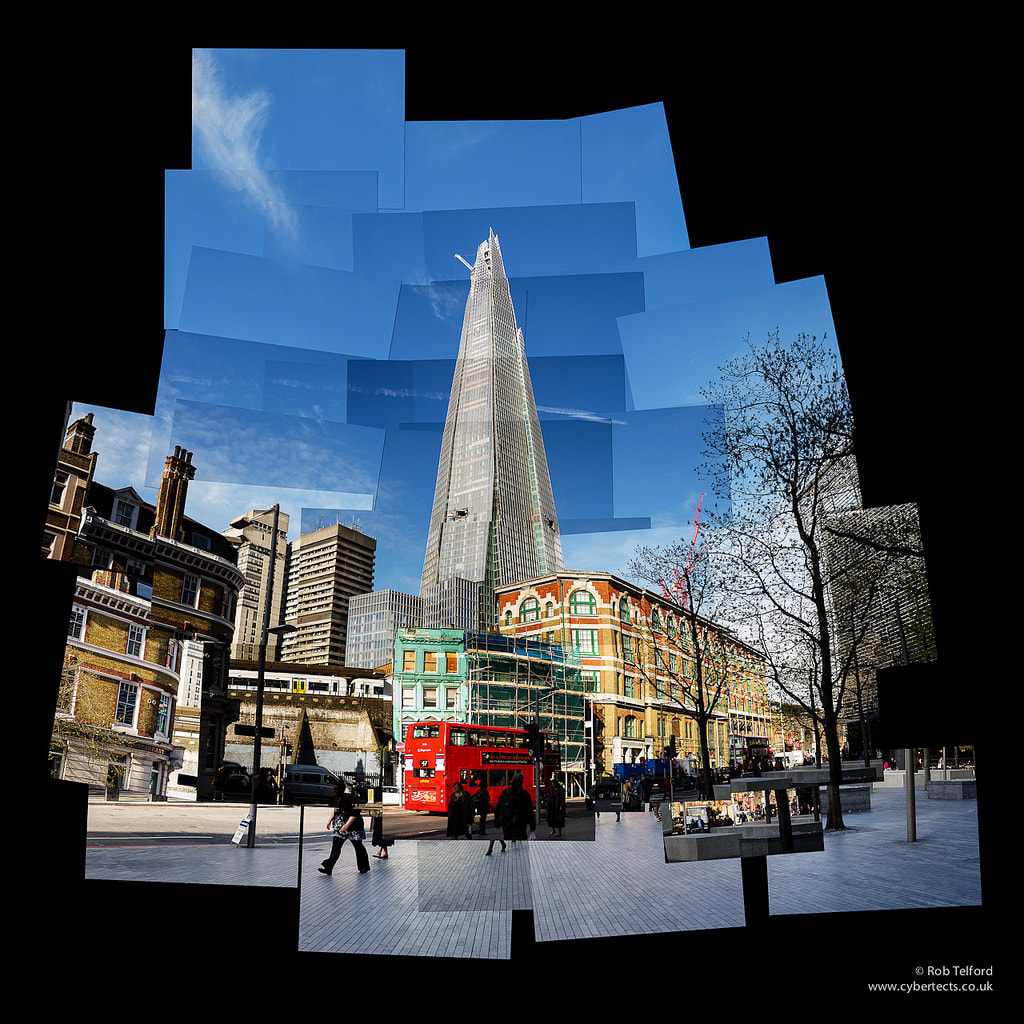
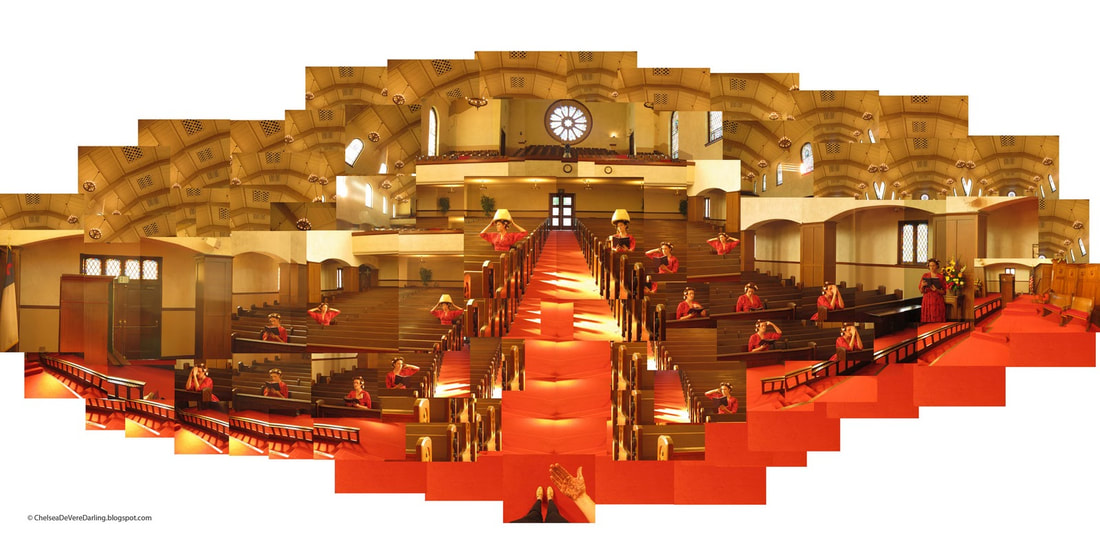
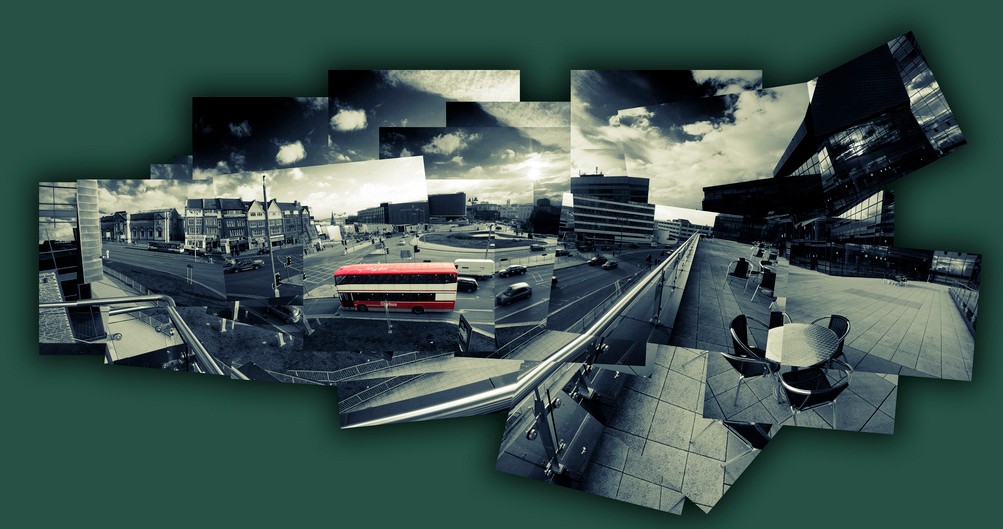
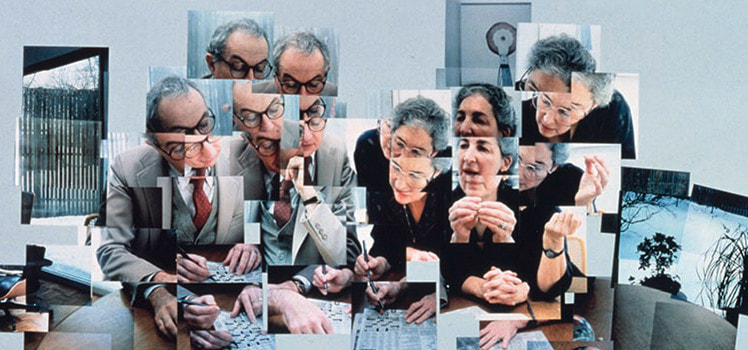
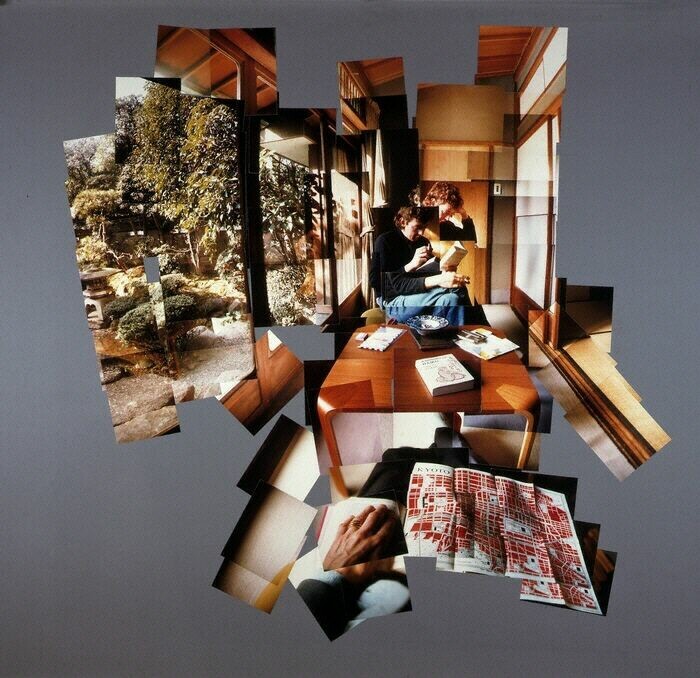
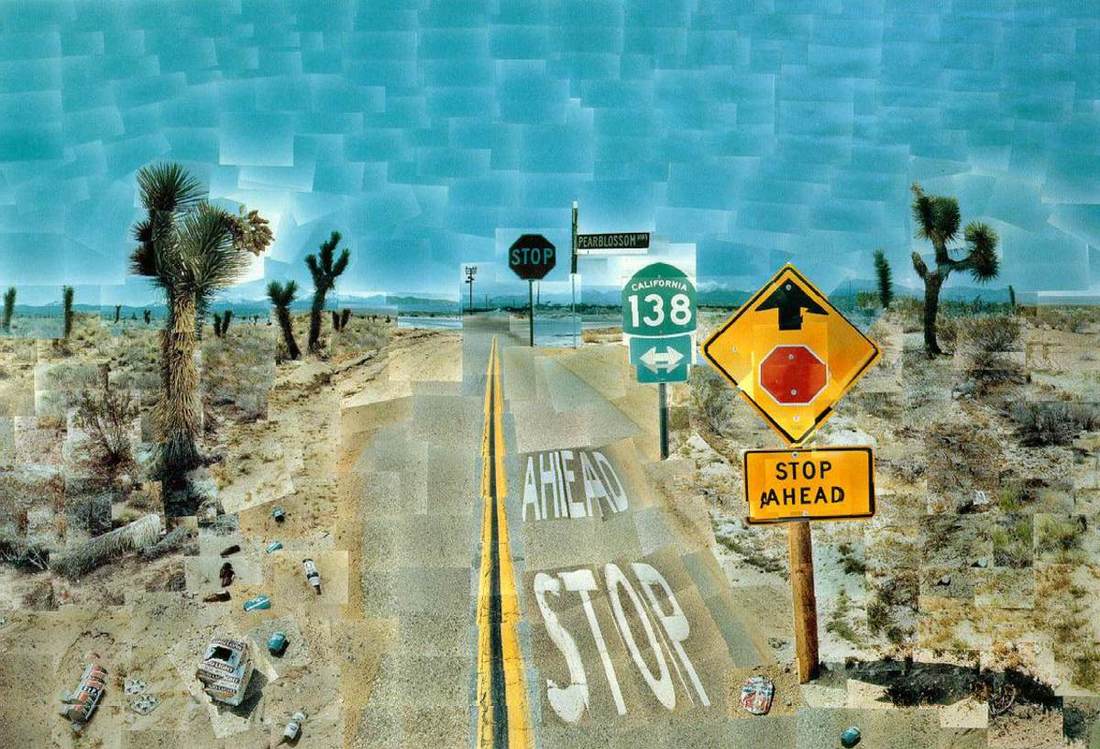
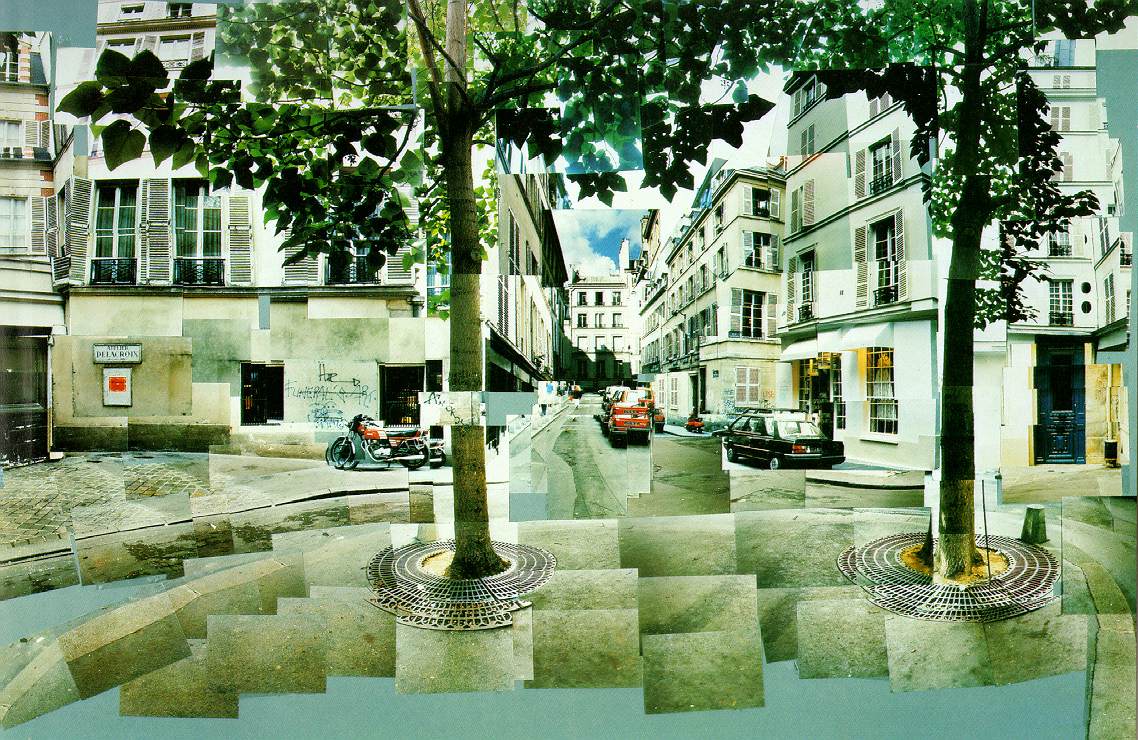
PHOTOGRAPHY: DAVID HOCKNEY'S JOINERS
|
|
Multi-viewpoints from a single point in space.
How do you see the world? Look around you - do you see the scene in front of you as a whole scene, a neat little square with every thing visible at once - just like a photograph or painting? Or do you see a variety of elements and fragments? For example if you look at a person in a room do your eyes see the whole or do your eyes flicker between different parts of the scene. This is probably a closer description of how we see the world - from multiple viewpoints that are then pieced together by our mind. This is the most obvious and common joiner. You stand in one place and take photos all around you. With a ‘panorama’ you simply swivel and take from left to right or vice versa. To record a greater field of vision you work both up and down and across. You can move around, walk closer and away, and Create a mini joiner photograph using 10+ photos. You will want to work with a file dimension that can eventually be re-sized or can be cropped into a 8x12 dividable size for printing. Some joiner photographers will have a white background or a black background. This is your choice. You will want to work in Photoshop to complete this project. Use your creativity and choose an object that is meaningful for you! Save the final project as Joiner_yourname.jpg (Keep a PSD version for yourself so you have your layers saved) TEMPLATE DOWNLOAD HERE:
| ||


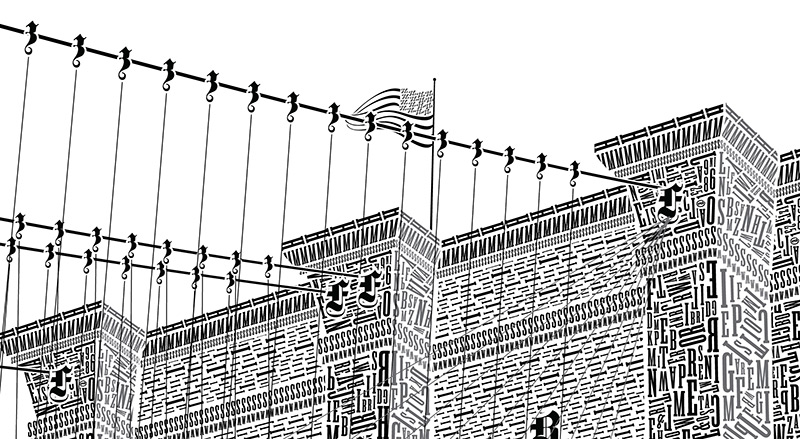
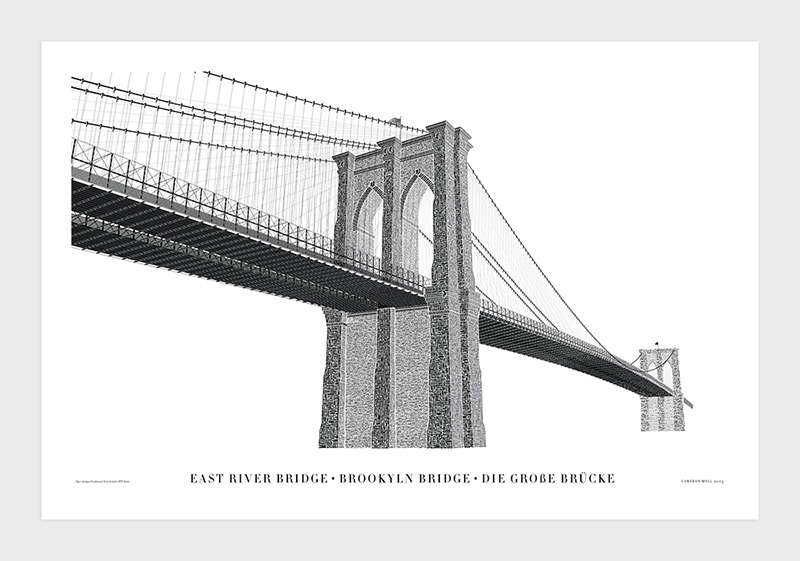
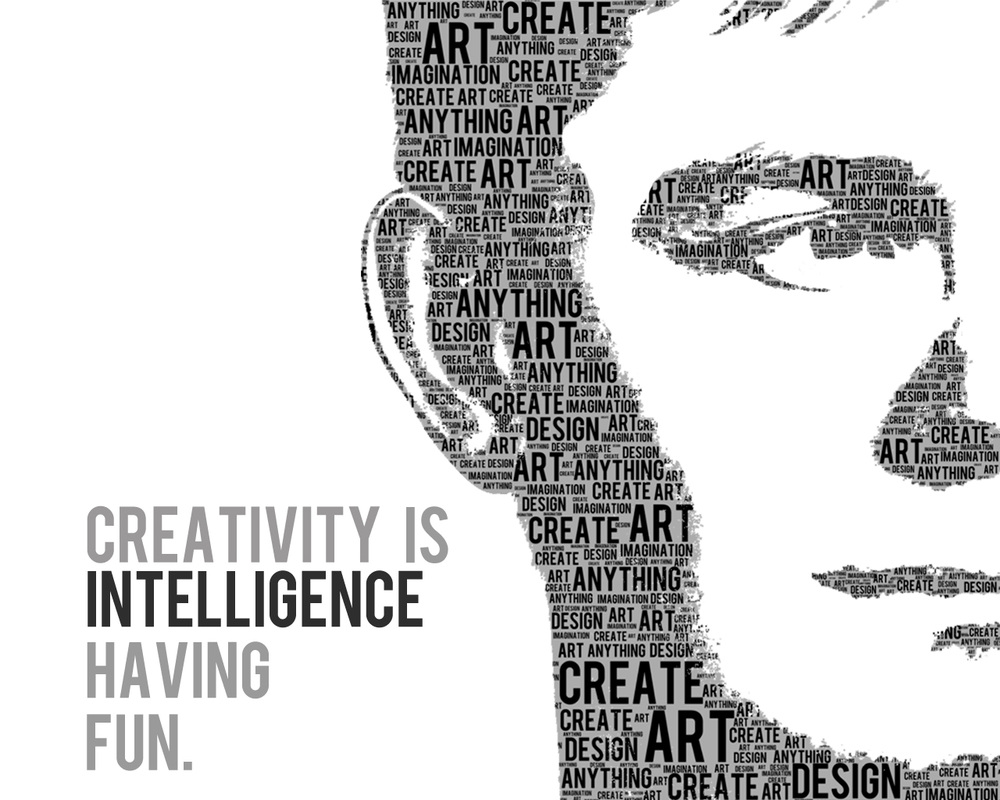
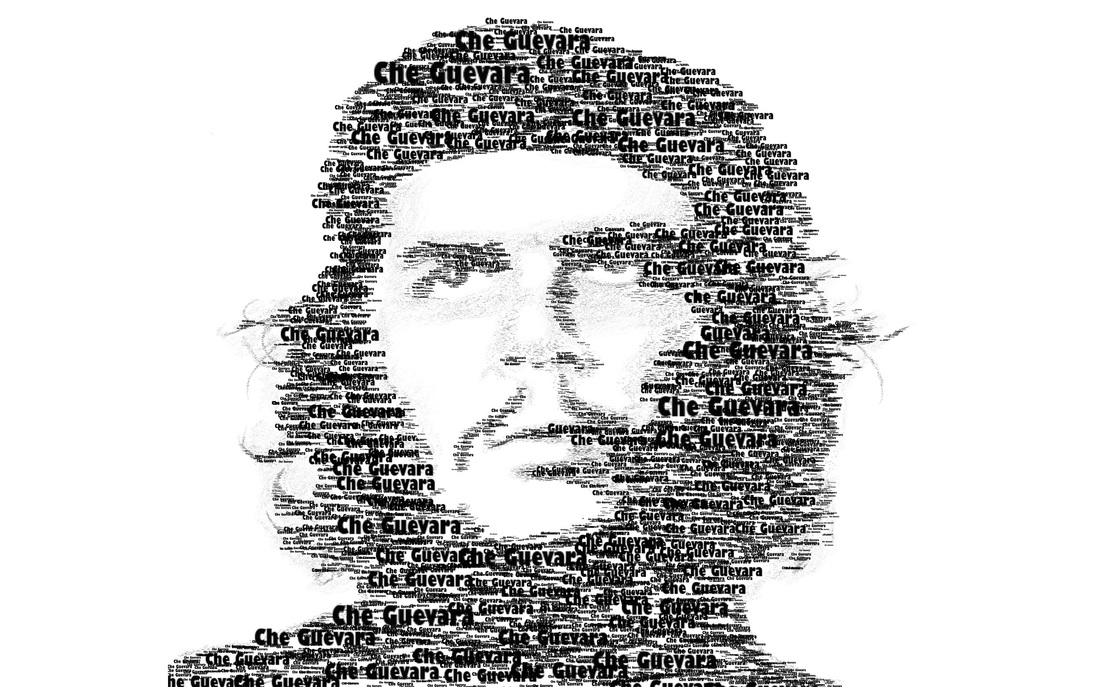
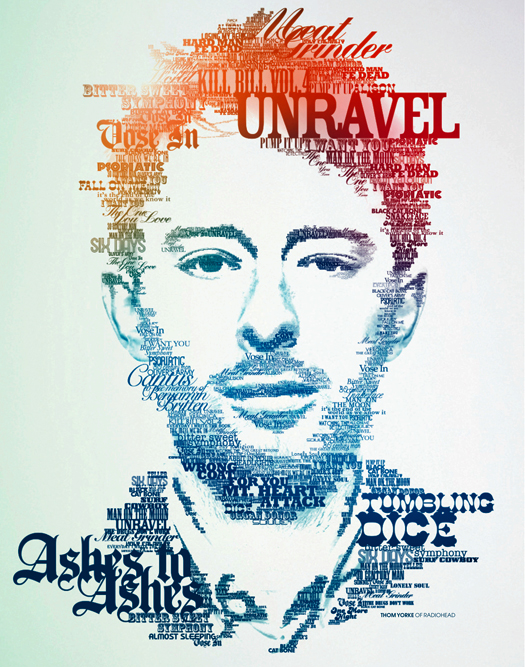
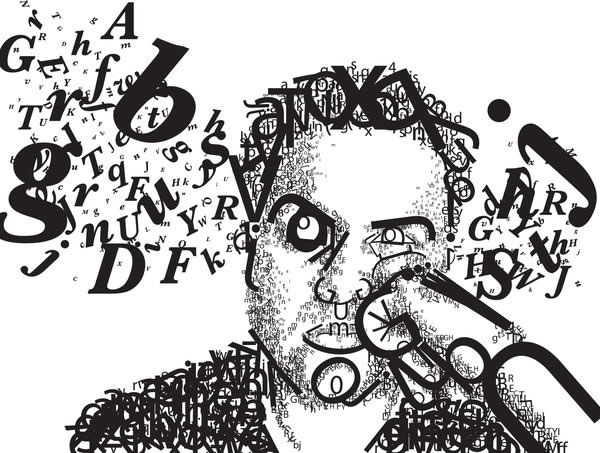
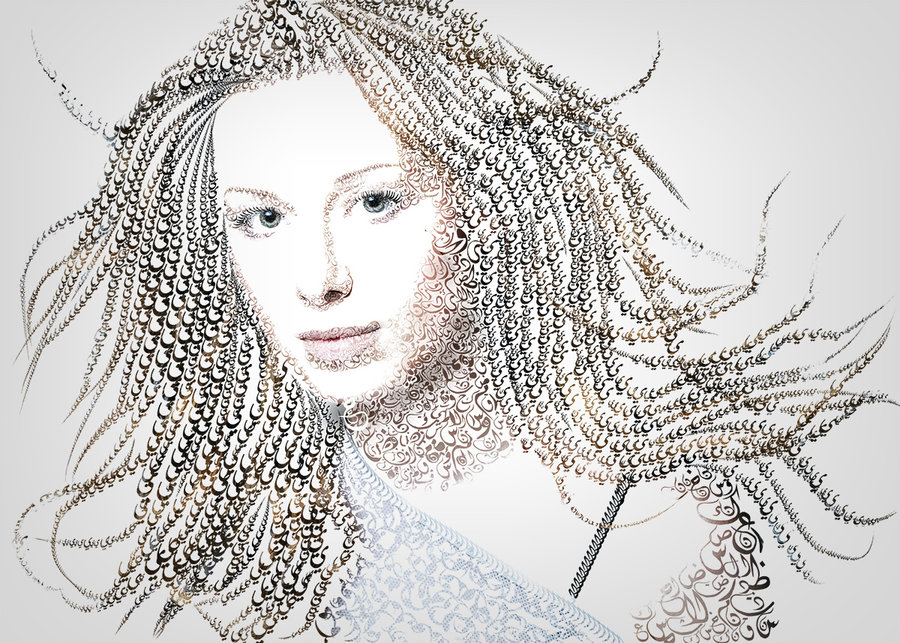
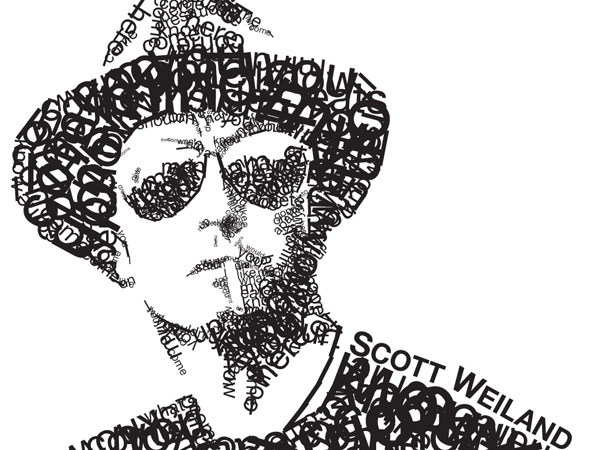
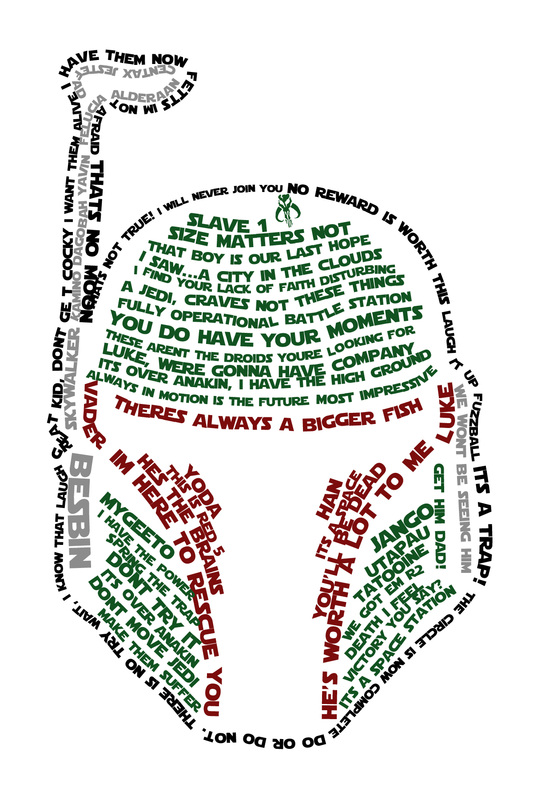
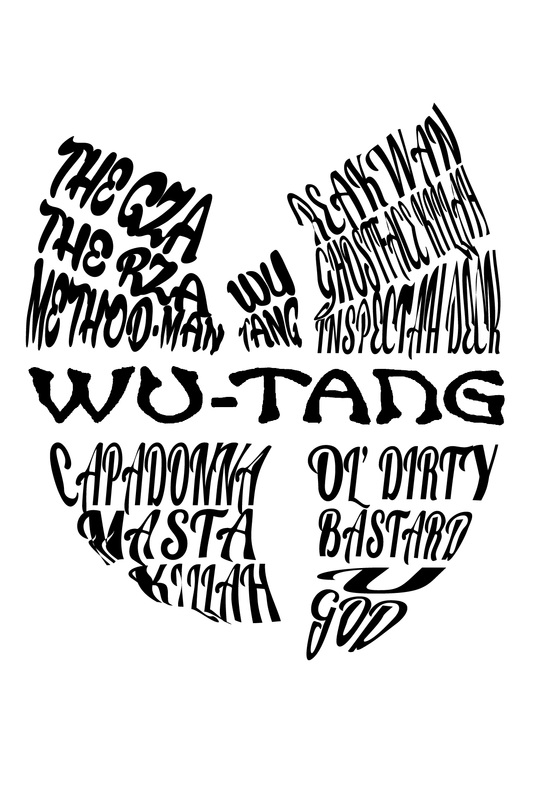
TYPOGRAPHY DRAWINGS
Content Vocabulary:
- Typography - the balance and interplay of letterforms on a page. The study and process of typefaces; how to select, size, arrange, and use them in general. In modern terms. Typography includes computer display and output.
- Abstract -art that depicts real forms in a simplified or reduced way
- Font -a specific size and style of type within a type family
- Letter form - each letter of an alphabet can be distinguished from the others by its unique shape, or letter form
- Stroke -the thickness or thinness of a line
- Color Theory -the concept of combining colors to reach a desired result
|
|
Text can be attached to a line, curve, spiral, circle or almost any path you can draw. A graphic program such as Adobe® Illustrator® is good to use for this. I have created 3 Tutorial links that you can use. Each one deals with Type and illustration, but in a different way.
Goals / Objectives: Student will:
Process:
Reminders:
|


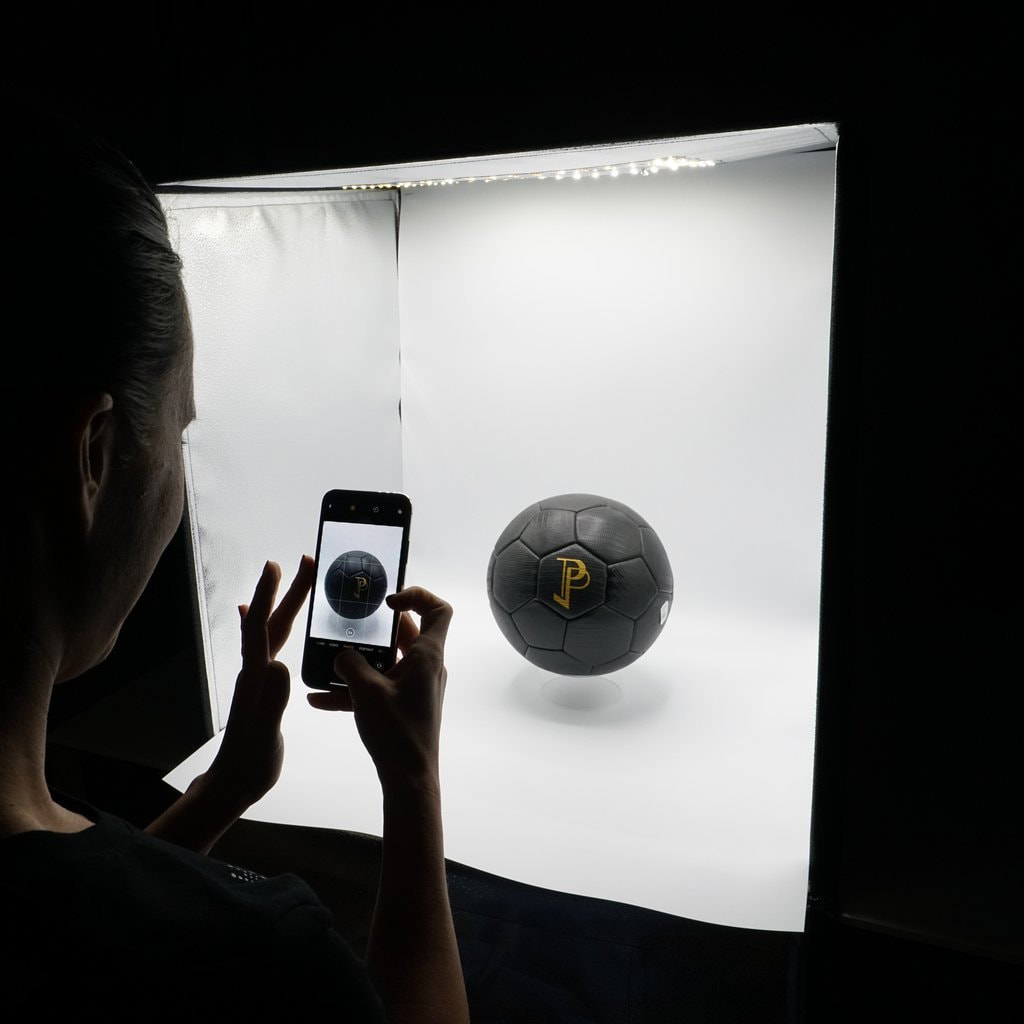
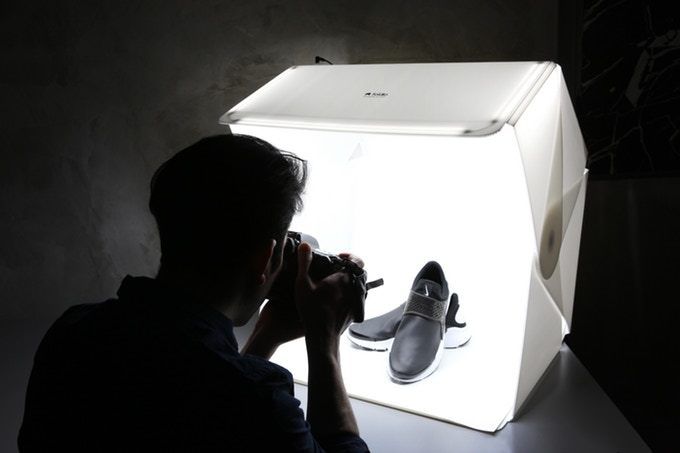
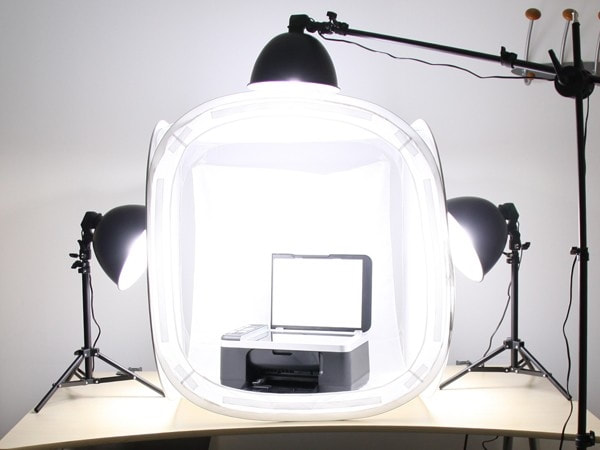
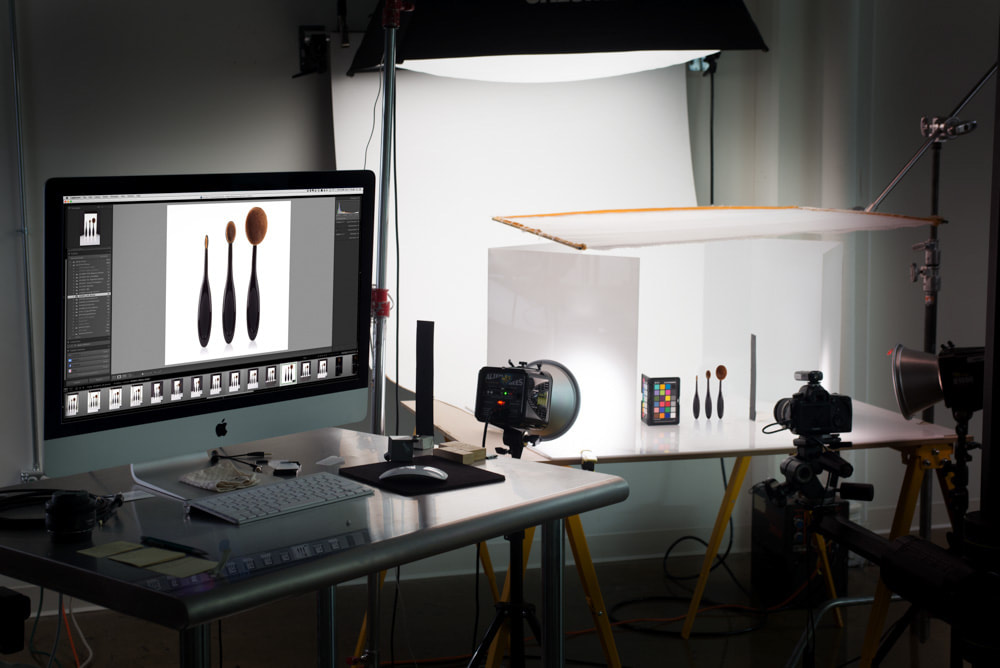
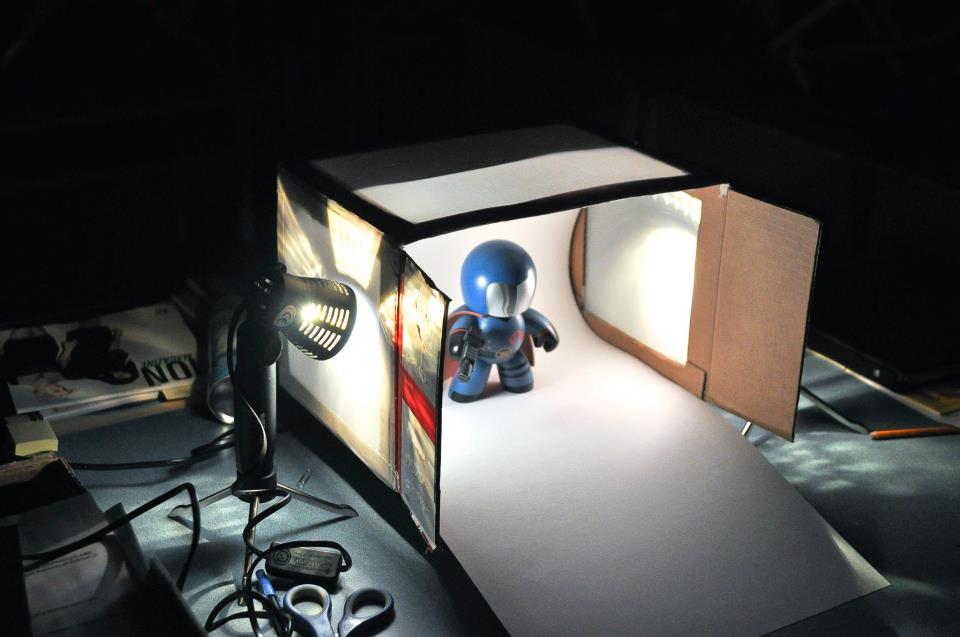
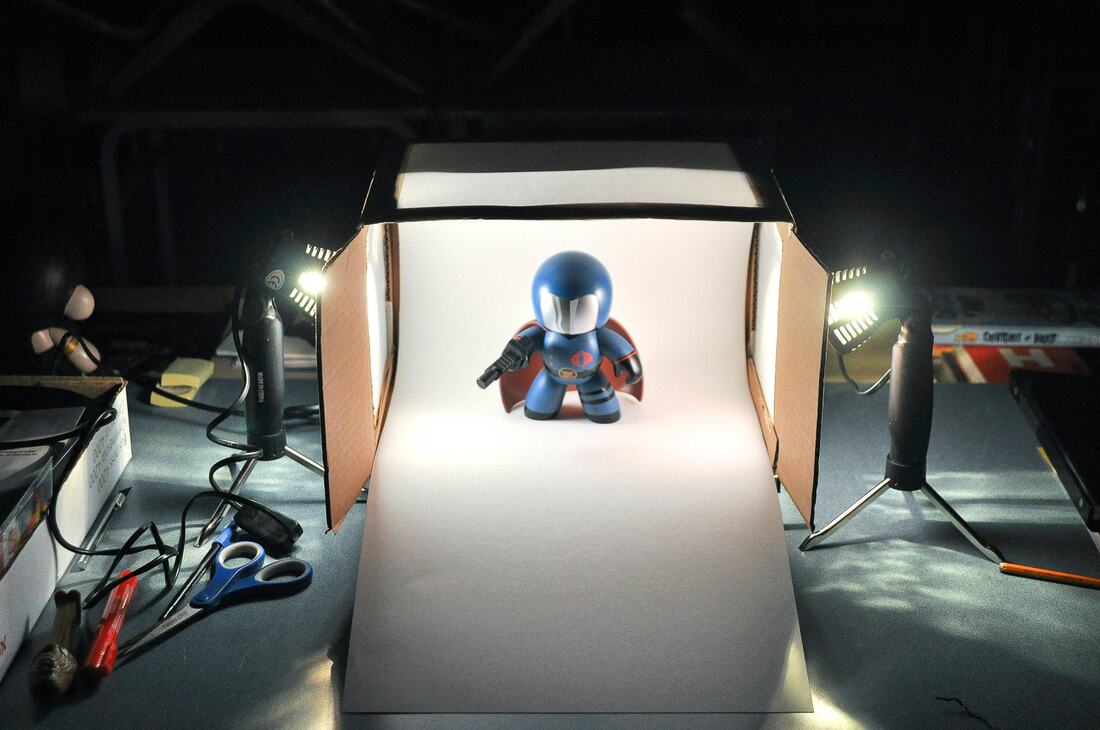
PRODUCT PHOTOGRAPHY
|
|
Definition
Product photography is a branch of photography, which accurately and attractively represents a product in advertising. Product photography can make a major improvement in many websites as professionals, who understand the procedure, use correct lighting, background materials, camera angles, focus, and depth of field and other technical features as part of the job. Commercial photography is another term referring to advertising and marketing as it is intended to promote and sell a service or product. It is usually noted as photography where the photographer takes and Photoshop (or edit) the pictures. How To The equipment used in product photography is very important and can make the difference in quality and end result. It isn’t just taking a picture with the iPhone. For most products, the standard set up is a light tent big to cover its range, a cove, micro-lens, tripod, and some studio lights. Instead of strobes, some photographers use photofloods to make the picture more visualizing with the shadows. For products like jewelry, a textured cloth in a contrasting color is used. Some products may have a soft reflection, which can be helpful if there’s a particular look preferred and helps differentiate them from others. PROJECT: Bring 3-5 objects that have significant meaning to you to use as your product subjects. Using the tutorials and demos create clean and professional looking photos that could be used as product promo images. Hand in a minimum of your 3 strongest images after spending time organizing and editing the photographs. |

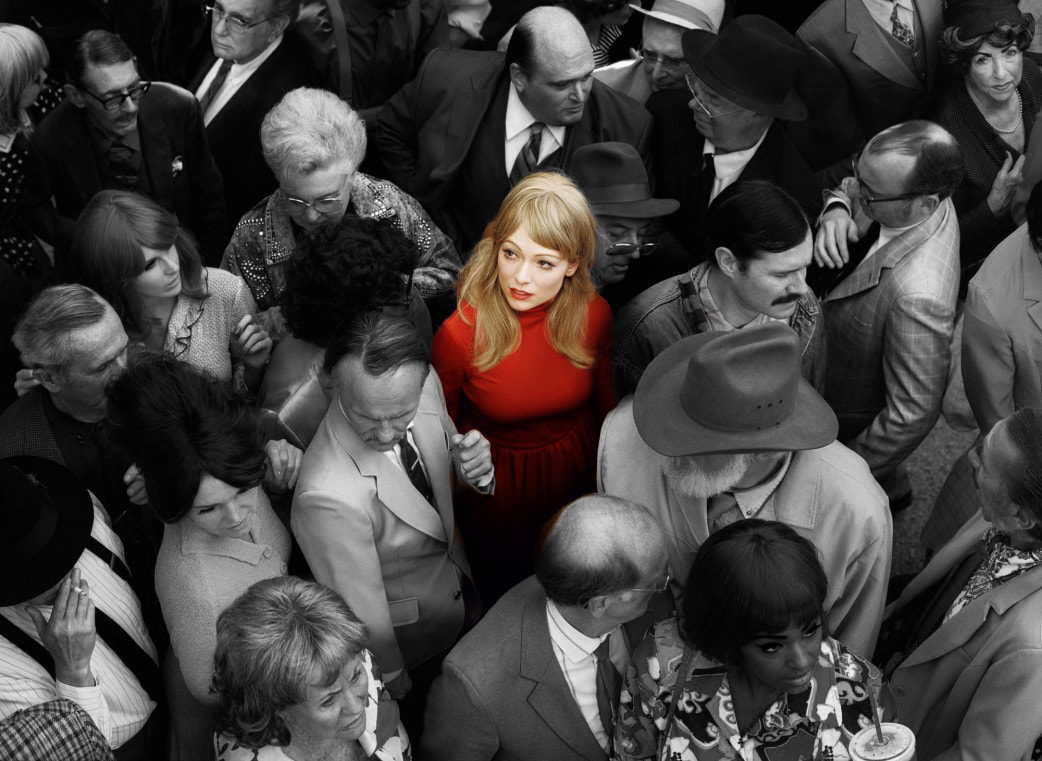
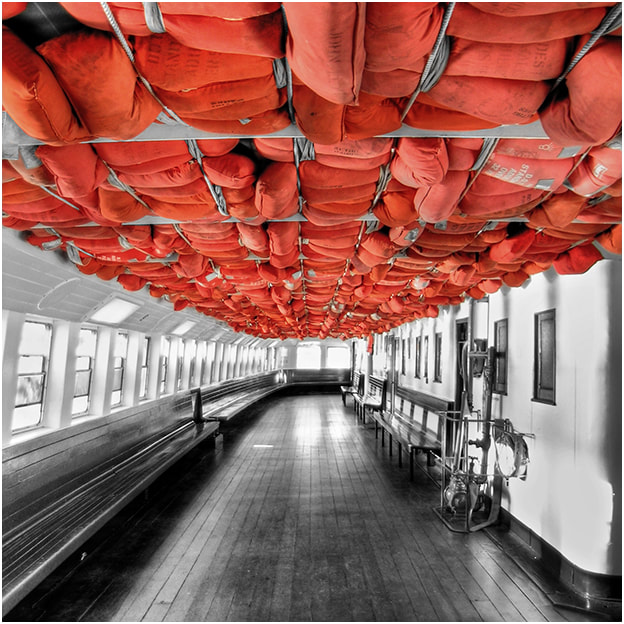
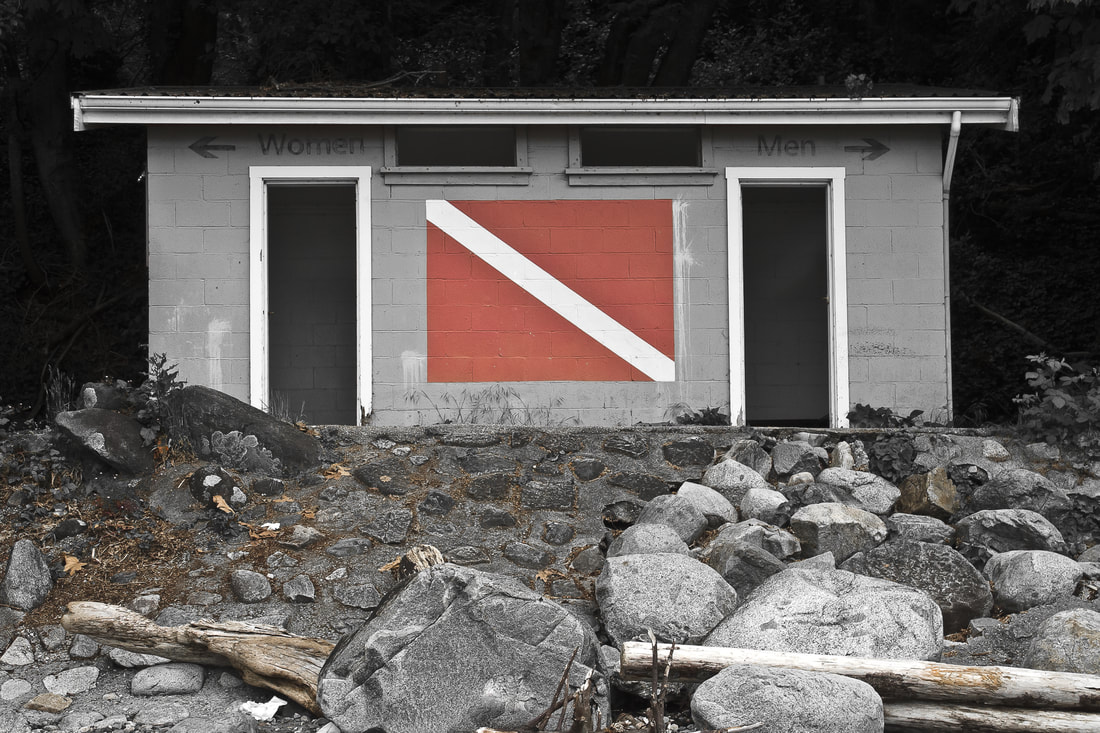
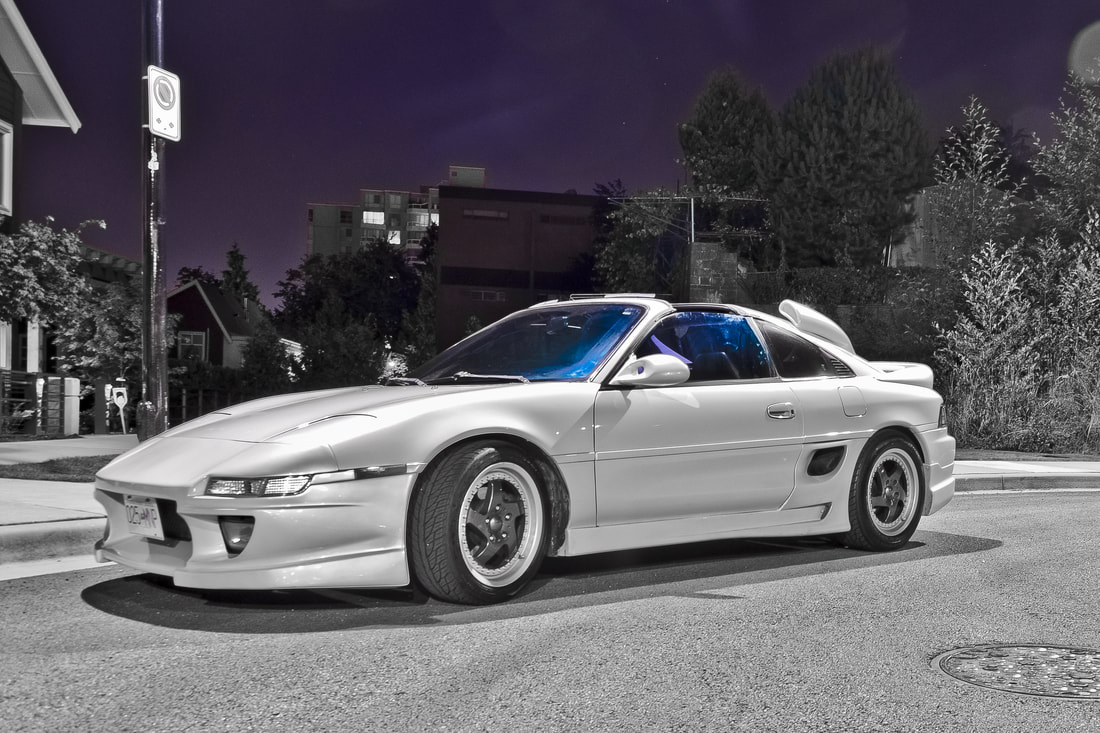
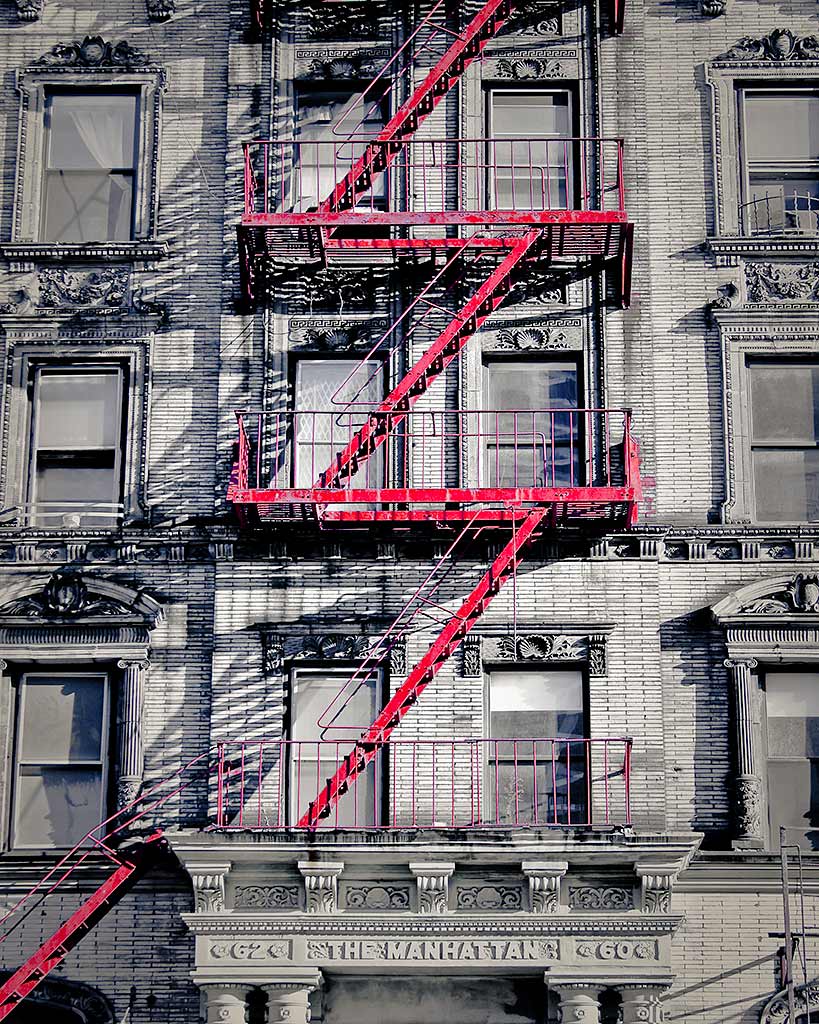
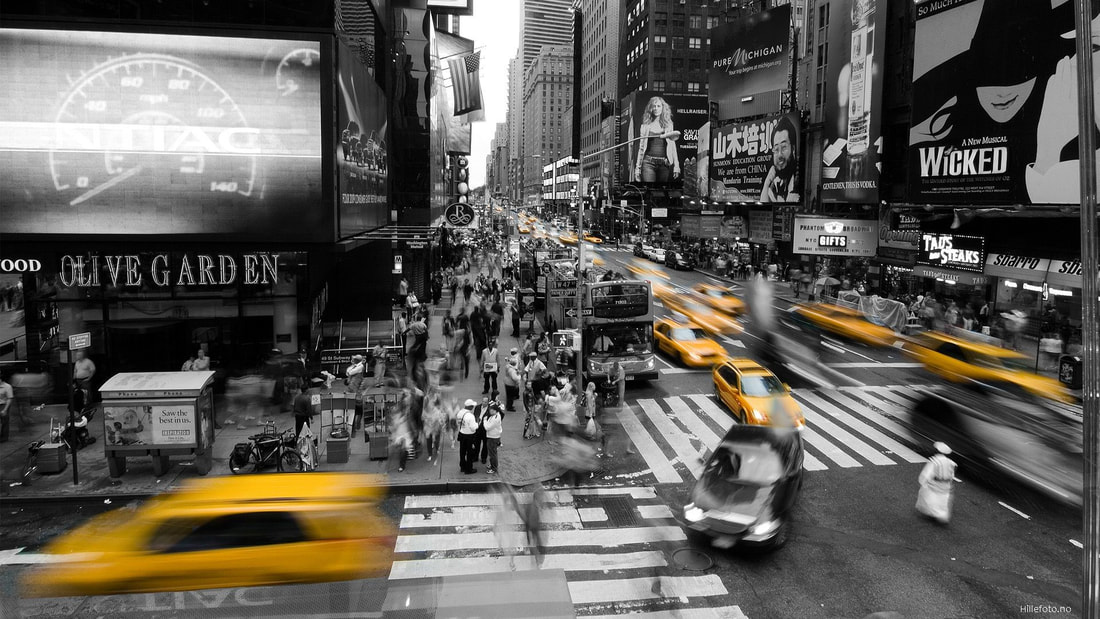
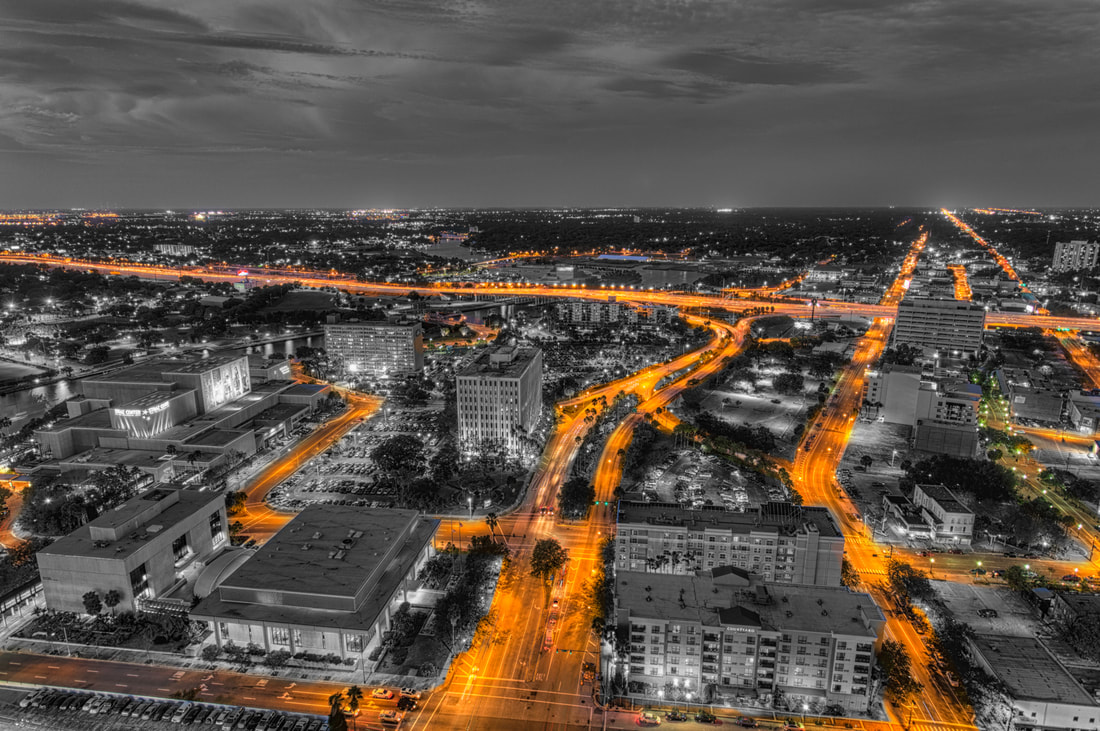
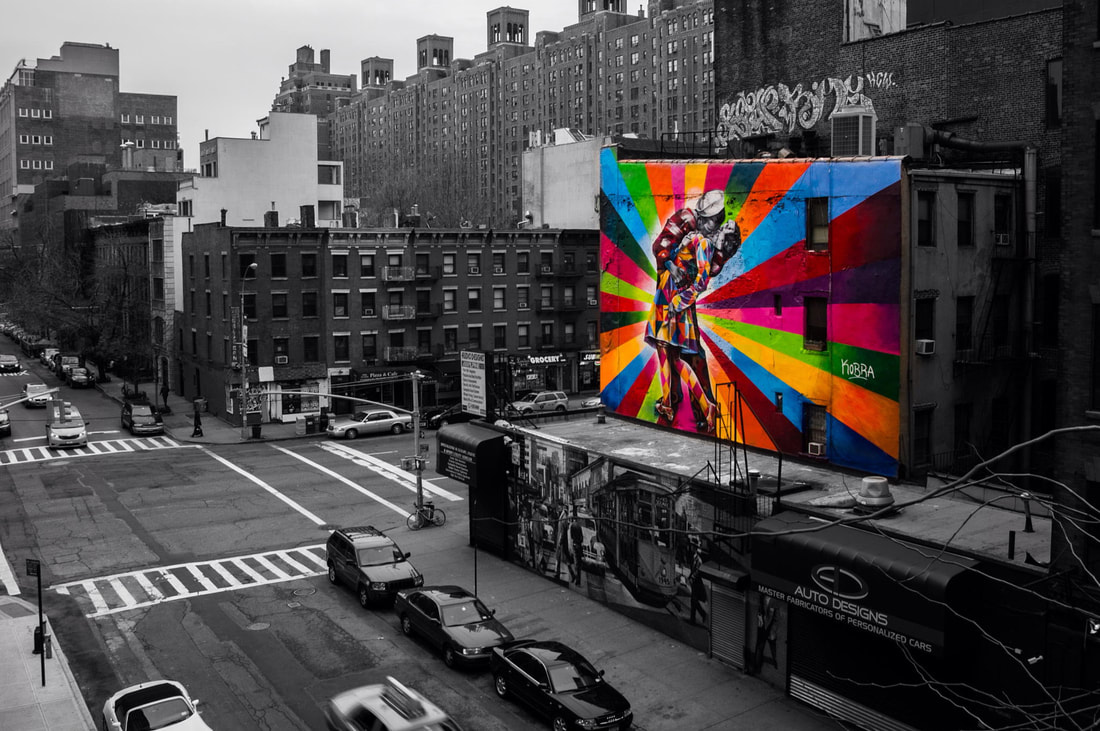
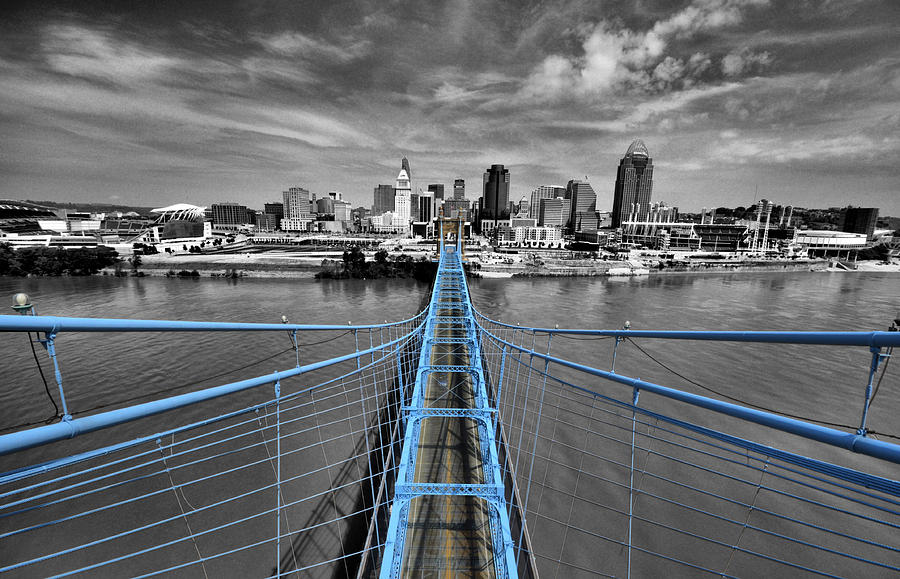
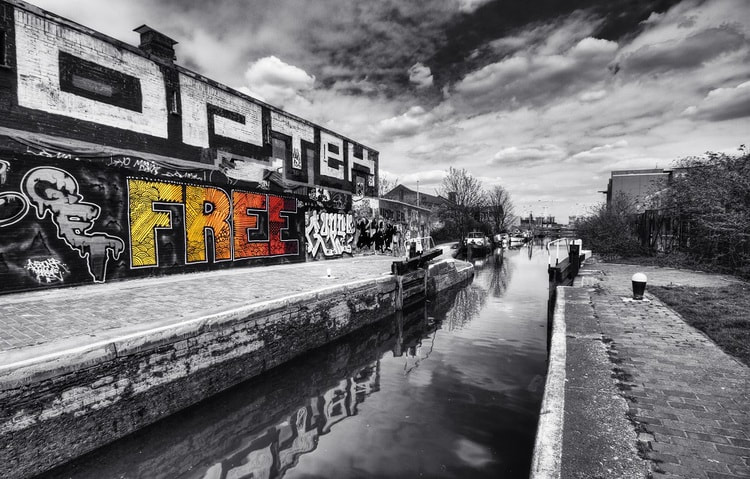
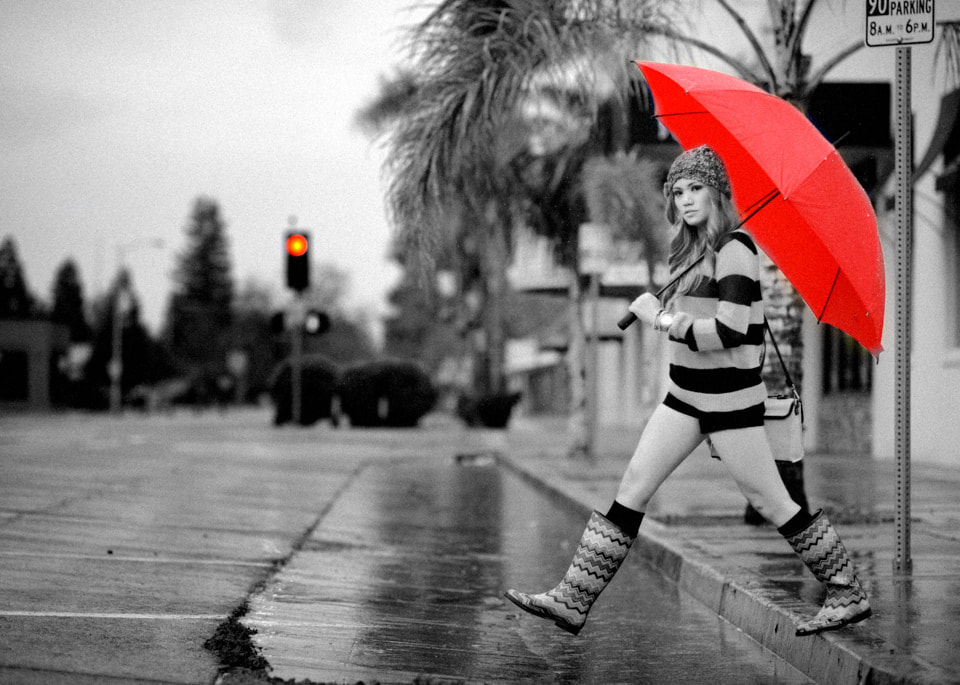
PHOTOGRAPHY: COLOR SPLASH & ISOLATION
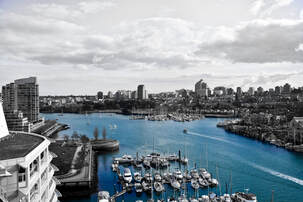
Washing out or “color splashing” certain objects is an effective way to either dramatize or call attention to what you deem important. It creates a center, even when that object isn’t in the center.
Go through some of the 'good' photos you took for your previous photography projects or go out and take new ones. Choose 3-4 photos that would be strong choices for using the "color splashing" effect. Use the tutorial links to help you walk through the steps required in achieving this effect. So, you took a picture, but that one part of it that you really wanted to stand out... doesn't? Maybe the rest of the scene is too cluttered, maybe it's simply too big. Maybe you just want something that makes a striking impact, or maybe you want to further differentiate and alienate your subject from the surrounding scene. ASSIGNMENT: 3 Color Isolation Photos
TIPS:
|
|
AD CHALLENGE
|
Create a LETTER SIZE 8.5 in X 11 advertistment.
You will be taking one of the photos you took for the product photography project and using it for your design layout. Come up with a clever tagline/slogan to sell your item. You can even make up a fictitious brand name. There should be a logo, description, and the image (well edited) in the advertisement. This can be created in either Photoshop or Illustrator. Submit your file as ad-poster_yourname.jpg Maybe there will be a competition for best ad campaign. |
|

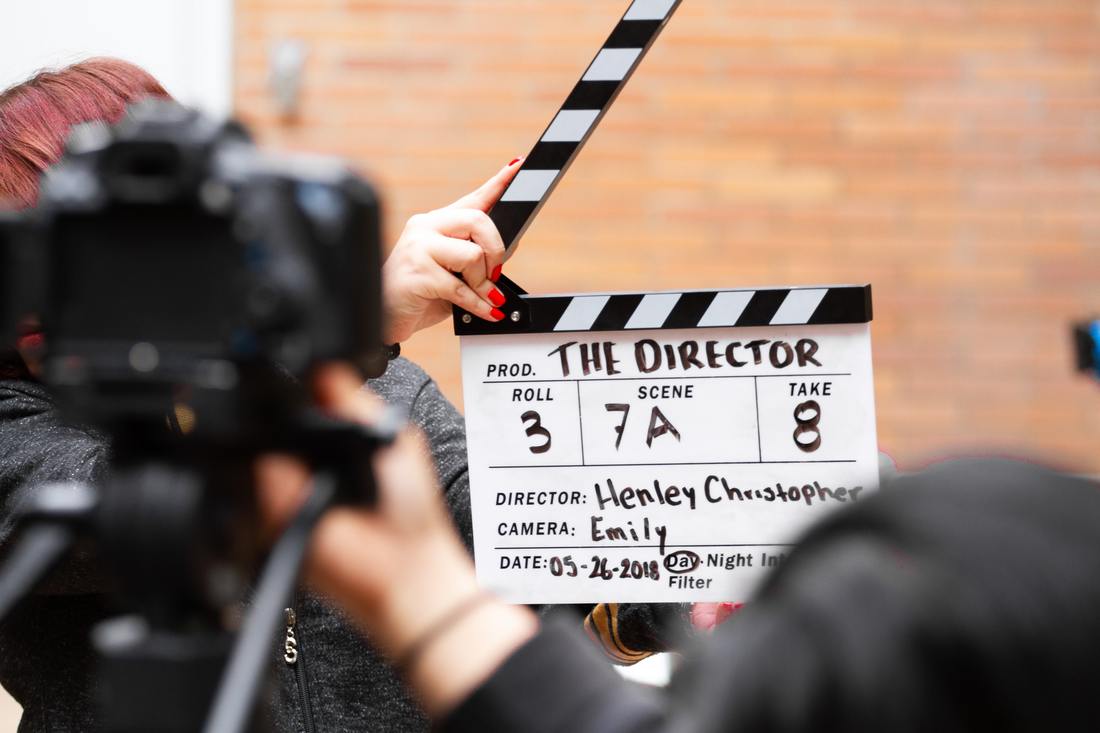
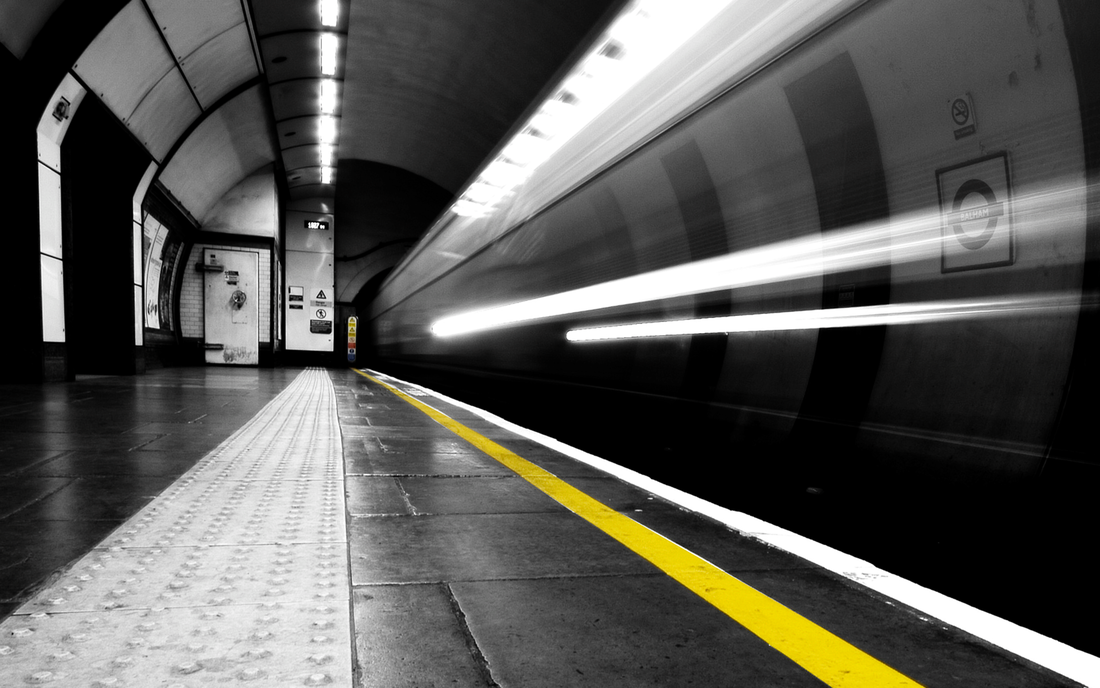
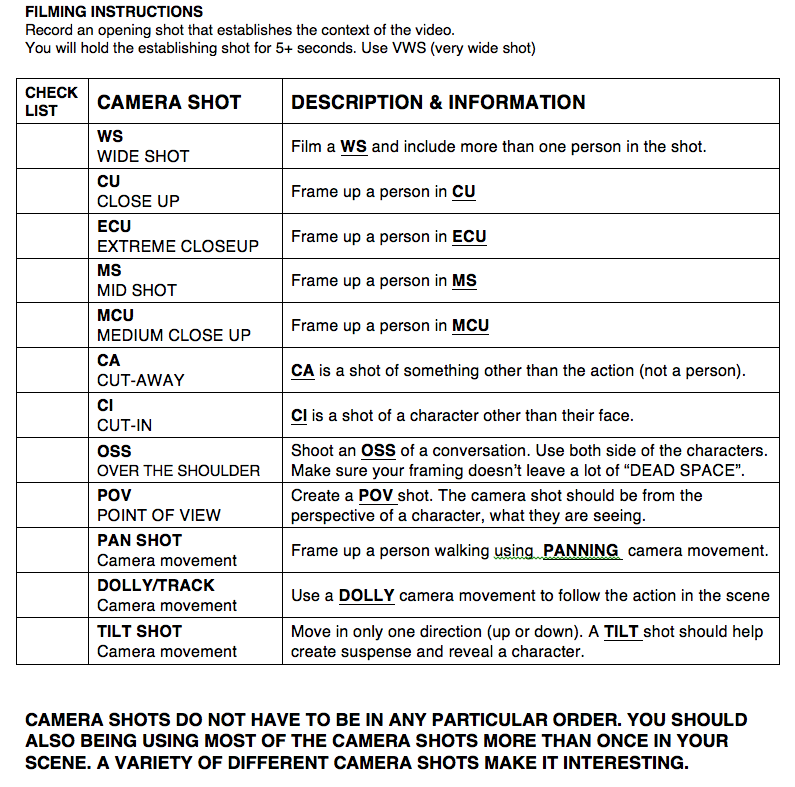
INTRO TO FILM: CAMERA SHOTS

THE CAMERA SHOT LIST
|
GROUPS OF 3
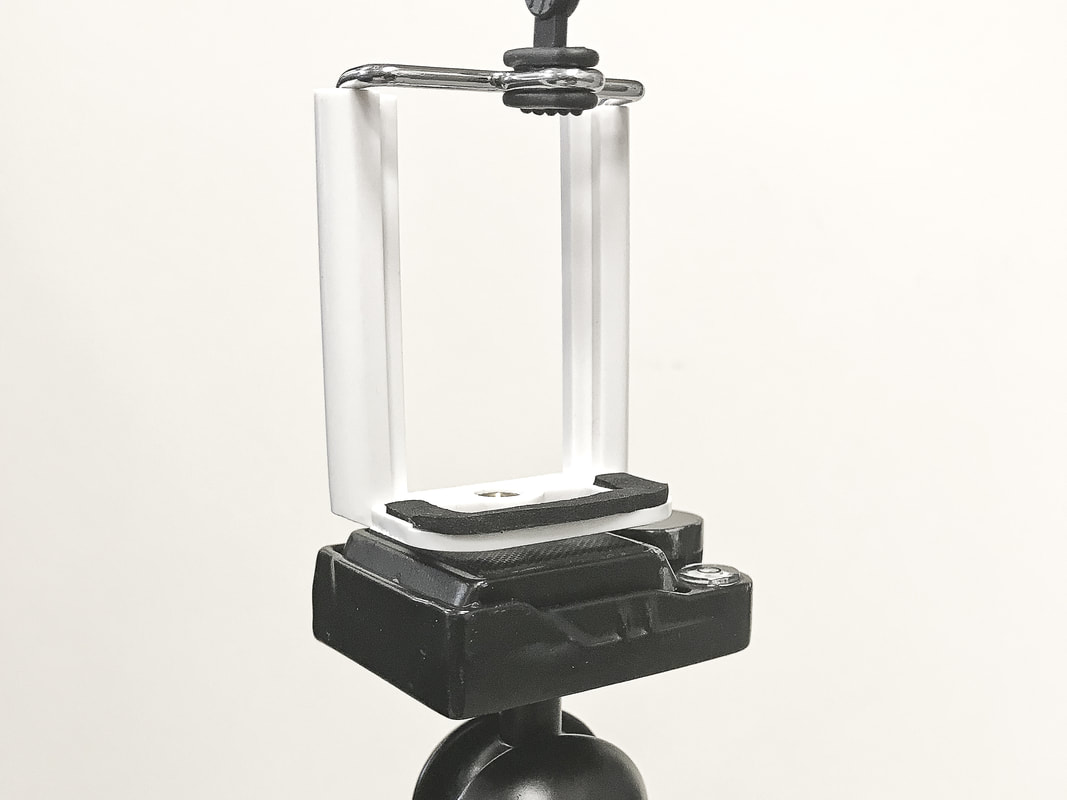
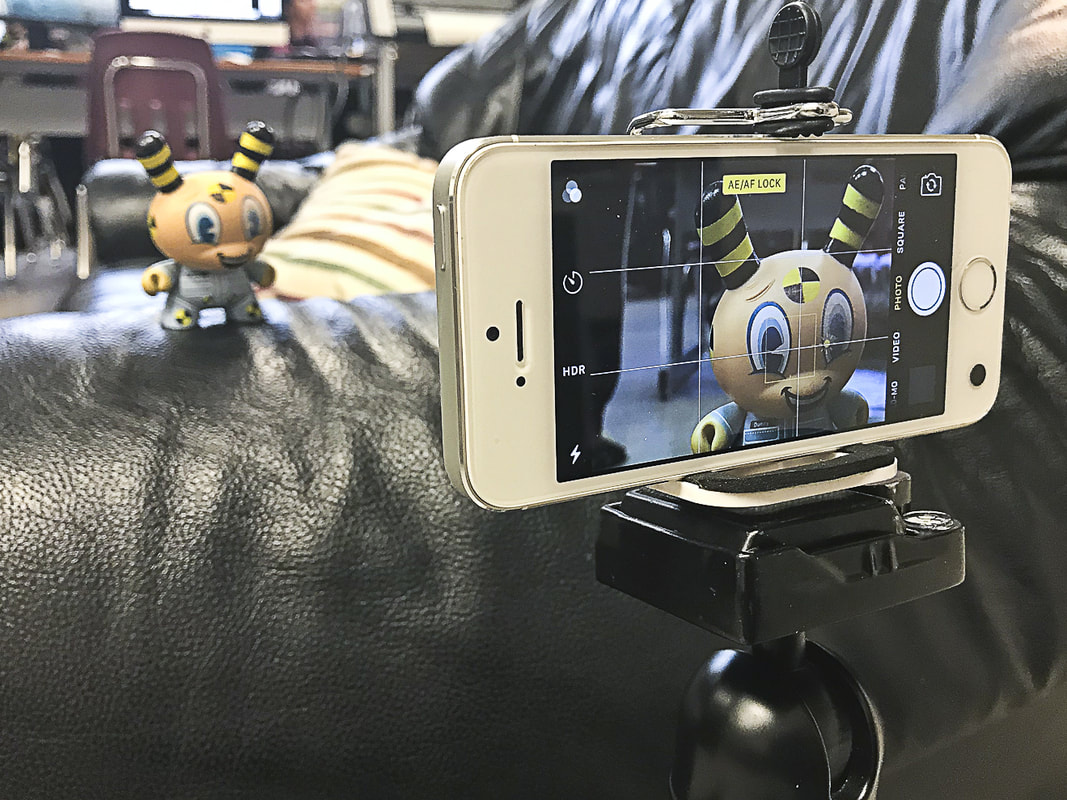
Film-making is storytelling. We use CAMERA SHOTS as tools and devices that help us tell our stories effectively. When using different camera shots think about WHY you are making that decision in how you tell your story. Camera shots that are closer up help show expression and emotion, while shots that are wider allow the audience to make a connection to the location and setting of that scene. Camera shots are very important in shaping meaning in a film. Create a video clip montage in iMOVIE of the CAMERA SHOTS you learned in class. Each CAMERA SHOT clip should be no more than 5 seconds. Include a TITLE/LABEL on top of your clip. Use the RULE OF THIRDS, LEADING LINES, You will be using your phone and a tripod to capture your video clips. Set up your phone onto a tripod and turn on your camera/video app. Make sure you have good lighting as you film your shots. Autofocus lock onto the subject to ensure your subject is in focus and sharp. Film for 5 seconds. Once you have all your clips begin to upload your footage onto the computer.
|
FILM: SCRIPTS, STORYBOARDING, ACTING, FILMING, & EDITING
|
Camera Shots, Angles, and Movements .
I’m sure you’re itching to start shooting. Do you know the tricks of the trade? Do you know the industry standards? Before you start making a new style for yourself, you better know what tools you have to choose from. The first thing to learn is how to frame your subject. From photography you’ll already know about the rule of thirds. This works for film-making as well. Camera shots are tools that help you effectively tell your story. Nobody wants to watch a film that is shot entirely from one spot, angle, and zoom. PROJECT OBJECTIVE Using the given scene from Dumb + Dumber, recreate your own version in groups of no more than 4. The only thing you can not change is the dialogue. The settings, costumes, props, and characters can be changed. Be creative. You must include the camera shots and technique instructions that are given. Download the script on the right hand side, the full details of the project are on it. Please spend the time to read through it. You will create a storyboard before doing any filming. Your storyboard must have all sections filled in. The drawings need to be the best that you can do. You need to hand it in to the teacher when you are done for safe keeping. Please also save your final edit as a QUICKTIME file. In iMovie go to SHARE>EXPORT MOVIE, settings are changed to FULL QUALITY HD
|
FILM PROCESS STEPS:
| |||||||
|
|
|
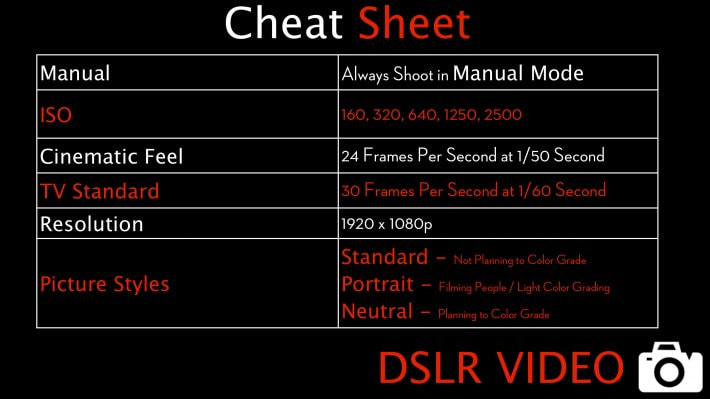
DSLR CAMERA FILM SETTINGS
Learning to shoot video takes a lot of trial and error, and can be frustrating to say the least. When you’re just starting out you’re more likely than not to come back from your fair share of shoots only to realize that the footage you’ve captured doesn’t look right.
9 times out of 10 the issue is a technical, not creative – which is good news as you can always learn the technical side of things. As for the creative side, you usually either have it or you don’t! Shutter speed determines the amount of time the camera sensor is exposed to light. When deciding your shutter speed for video, use this general rule: double your frame rate. If you're shooting at 24fps, your shutter speed should be 1/48 (rounded up on the DSLR to 1/50). If you're shooting at 30fps, your shutter speed should be 1/60. ISO determines how sensitive the camera is to light. In a nutshell, the higher the ISO, the brighter the image will be. The lower the number, the darker the image will be. Use a high ISO (greater than ISO 640) if you're shooting inside without a ton of ambient light. Keep your ISO number low when you're shooting in broad daylight outside or under bright studio lights. Remember that the higher your ISO, the grainier and noisier it gets. |
|
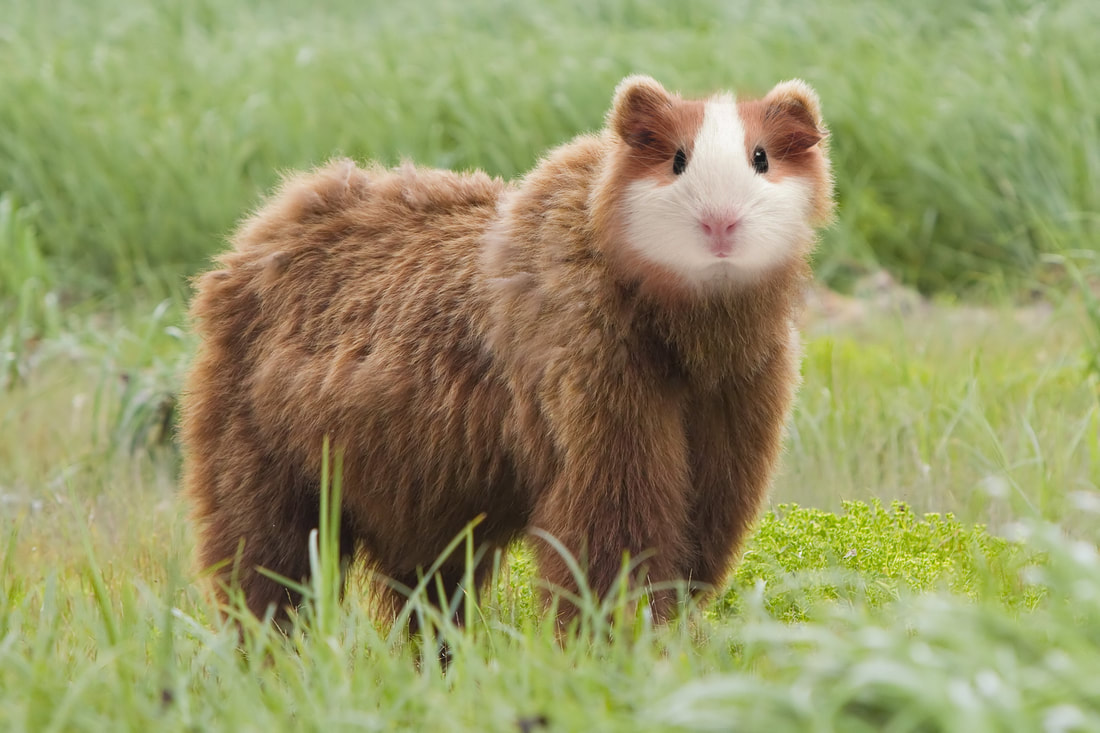
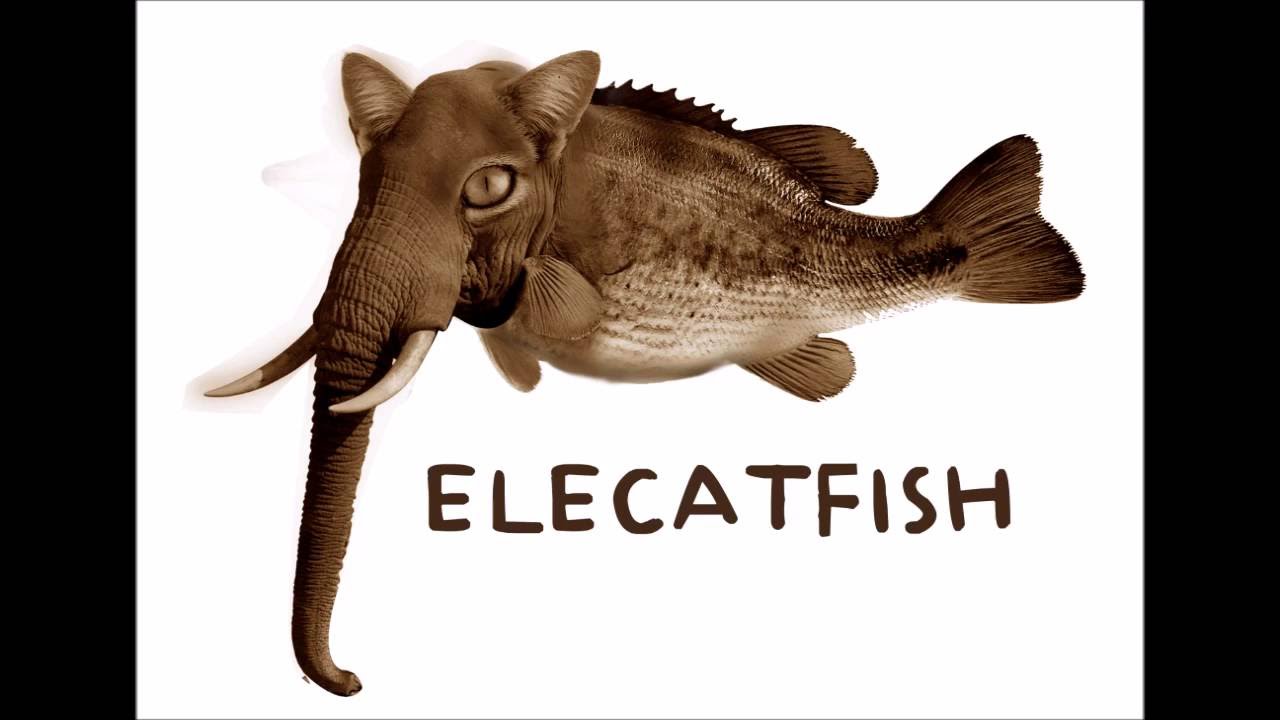
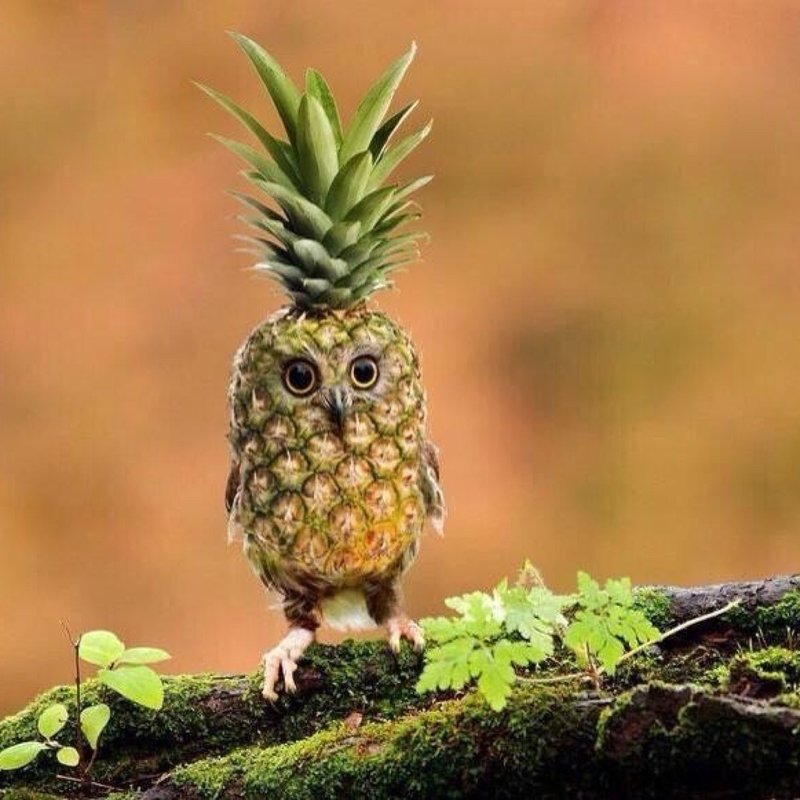
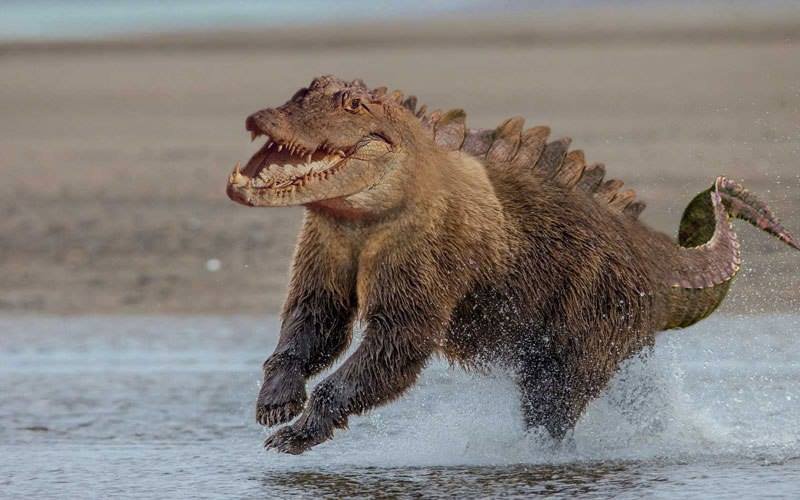
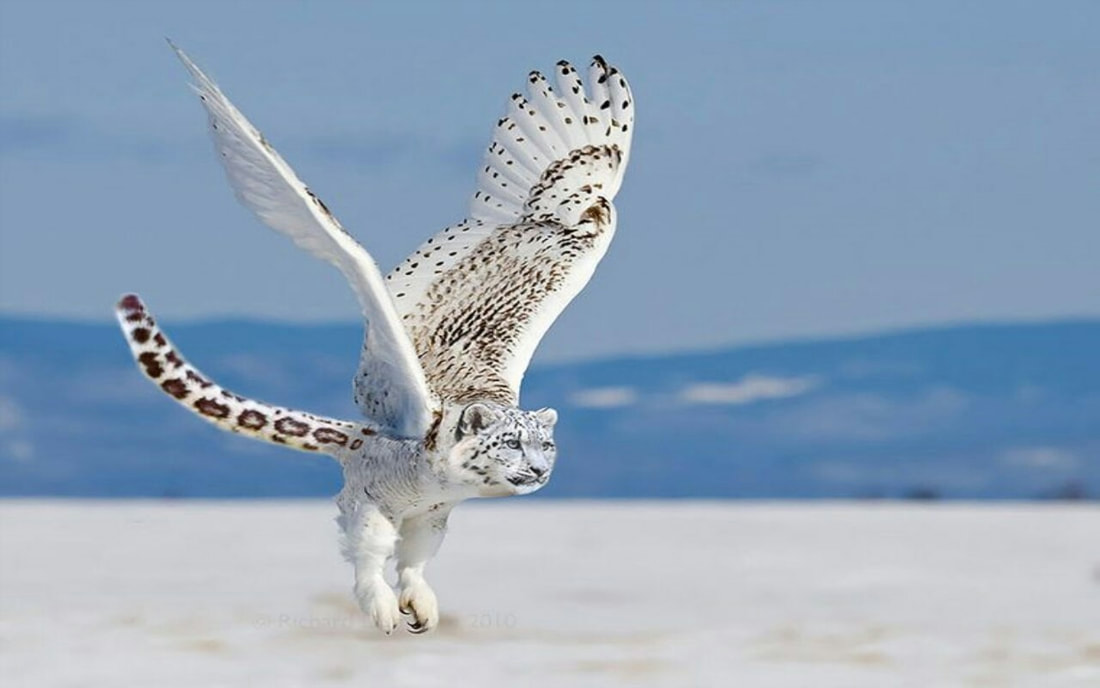
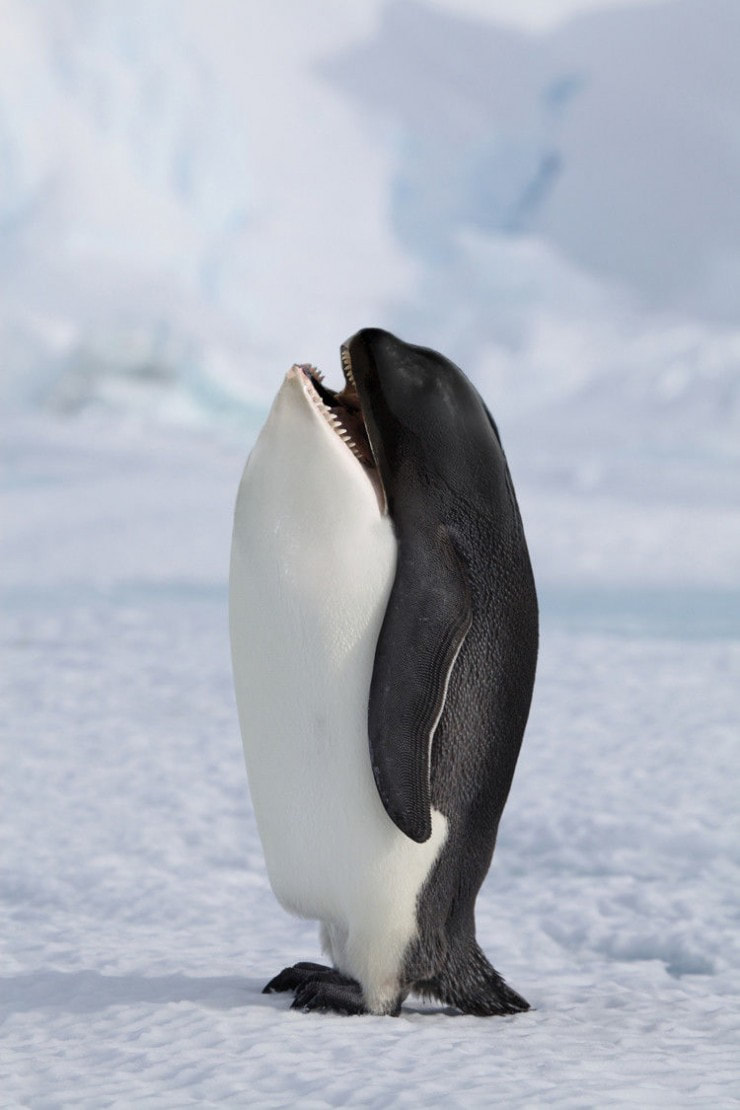
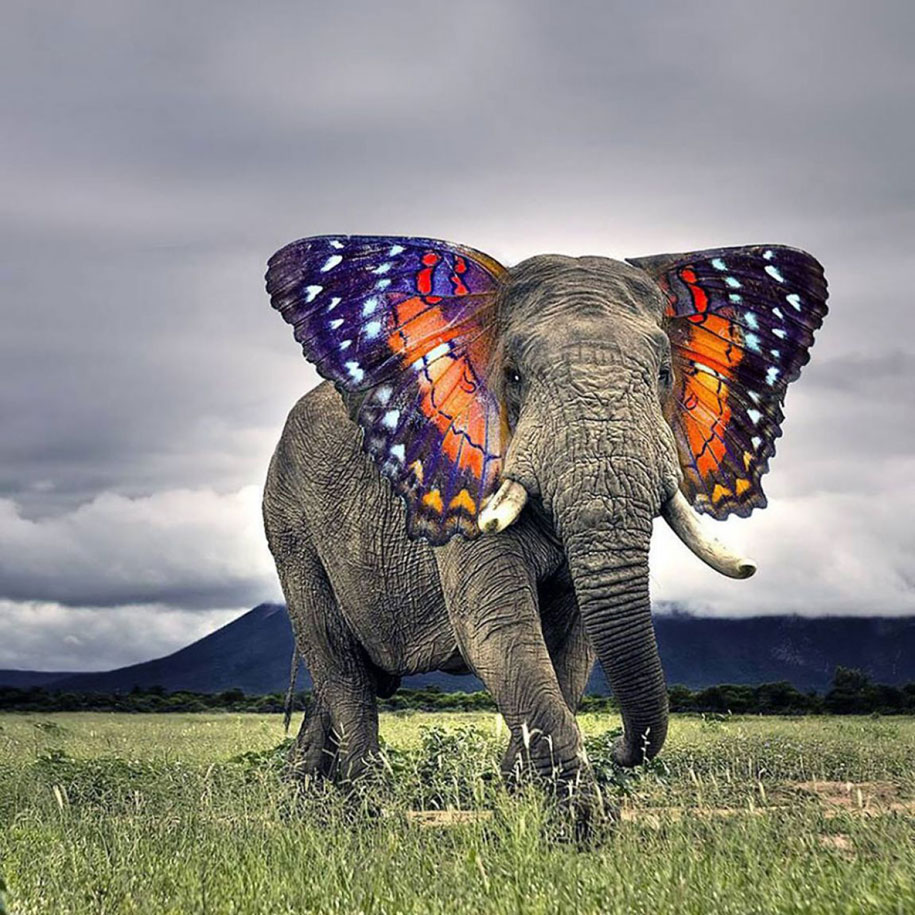
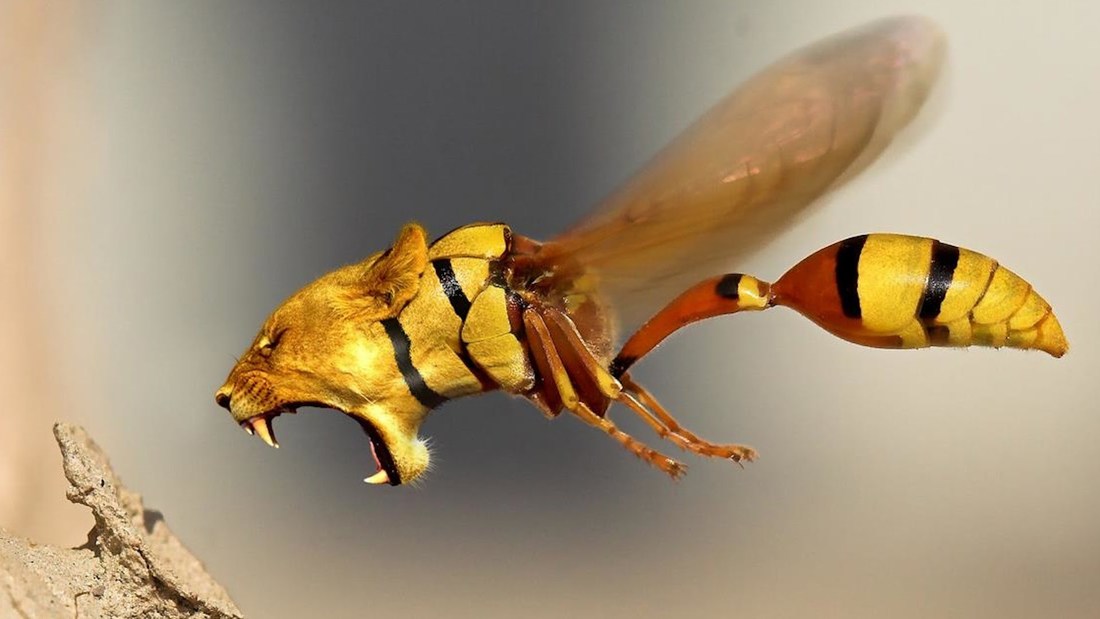
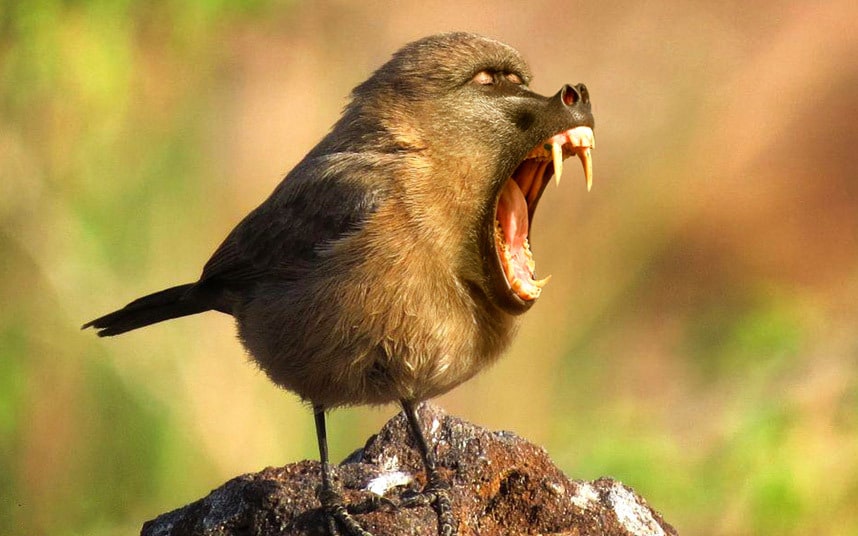
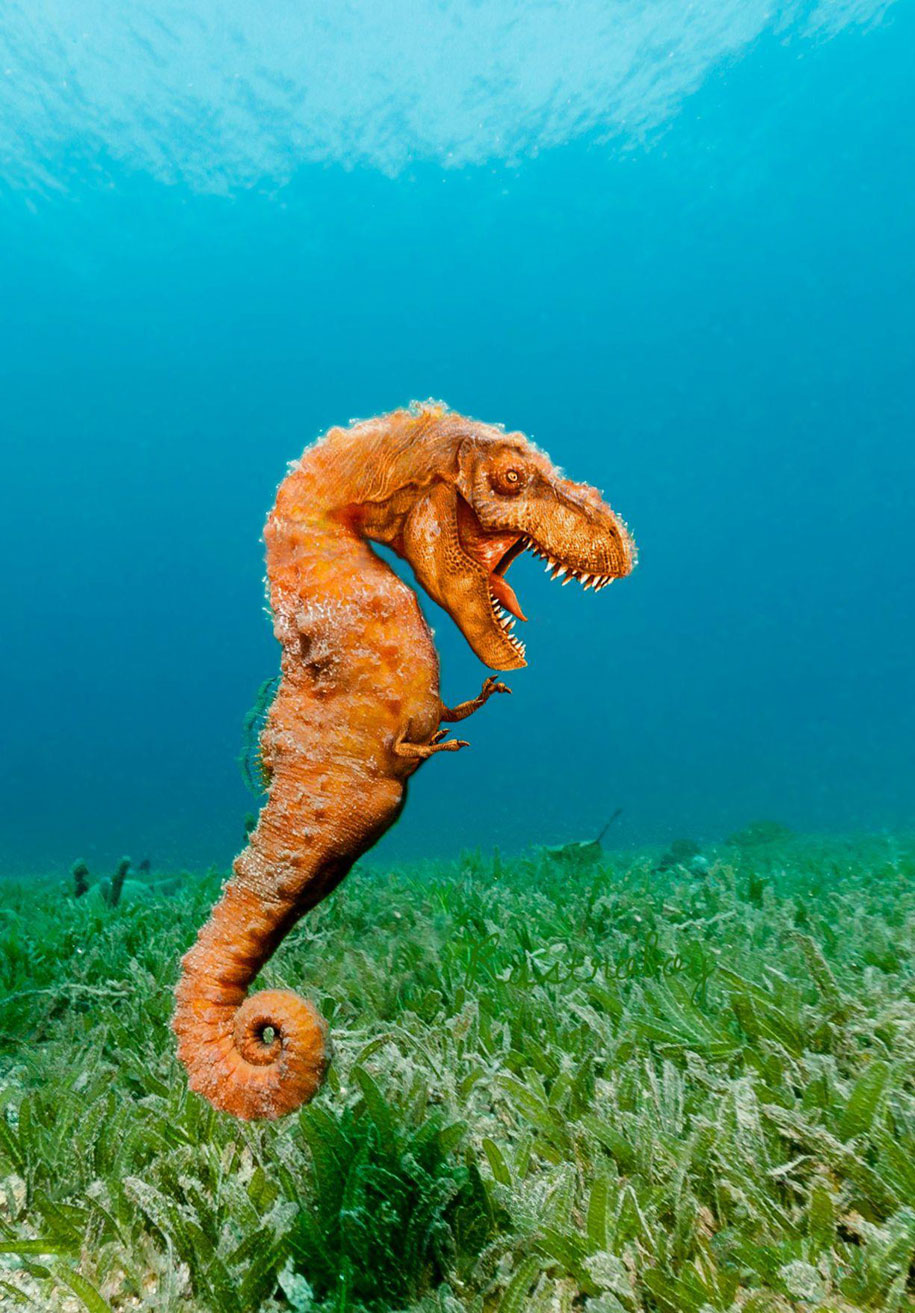
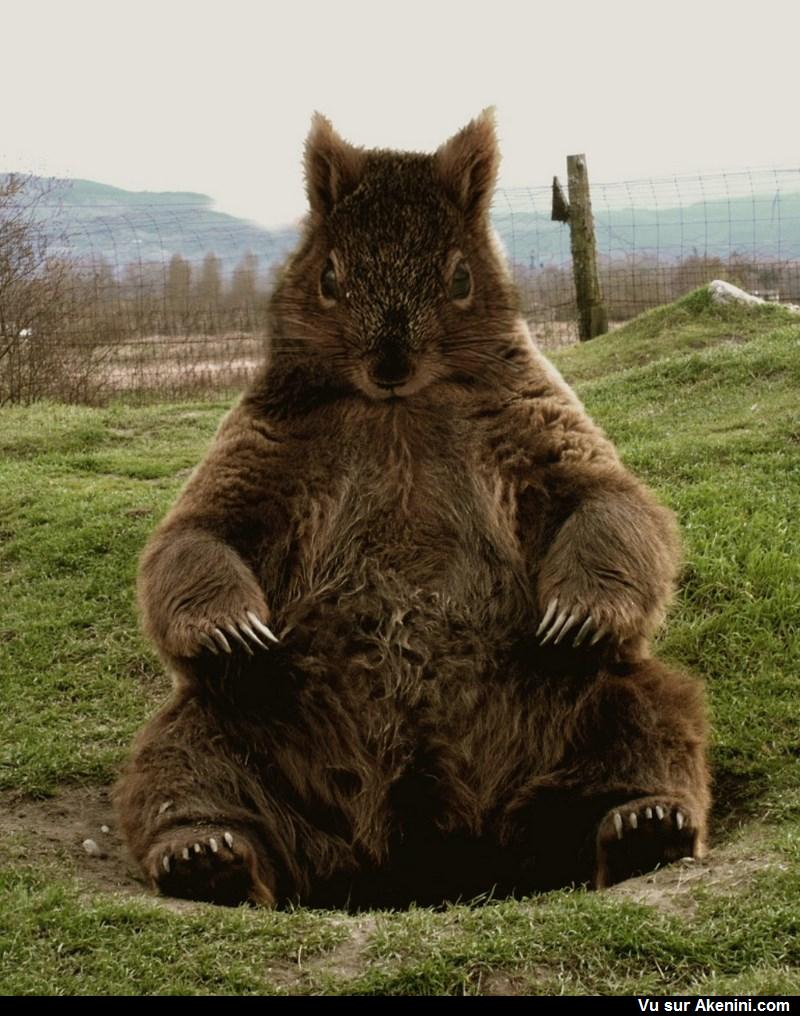
HYBRID ANIMALS [Photoshop]
|
|
Having done a couple of Photoshop projects this semester here is your chance to have some fun and be creative with the tools and skills you've learned. In our Photoshop projects we learned how to use MASKING layers, BLENDING options, SELECTION tools, COLOR adjustments, and CLONING (to clone fur, skin pattern/texture, etc...)
Mr. Choy has created a simple and quick video demo for you to watch. The example I made in the video is the first photo in the gallery. Pay attention to what I was doing:
THINGS TO KEEP IN MIND:
Save your Photoshop file as a JPEG. Submit it to Google Classroom as hybrid_yourname.jpg. |